 12/10 12/10
| quote: My wife made some seriously strongly worded comments
Congratulations !!!! I think it looks great!!! Maybe (hopefully) it'll grow on her.... My ex-girlfriend (wife) cooked a pumpkin roll in the oven in ours and she was hooked.... Good luck !!  Patch1st 35' Regency 1985 MCC Chassis 8.2 Detroit Diesel "Partly Cloudy" |
| | | Posts: 455 | Location: Michigan | Member Since: 10-17-2009 |    IP
IP
|
|
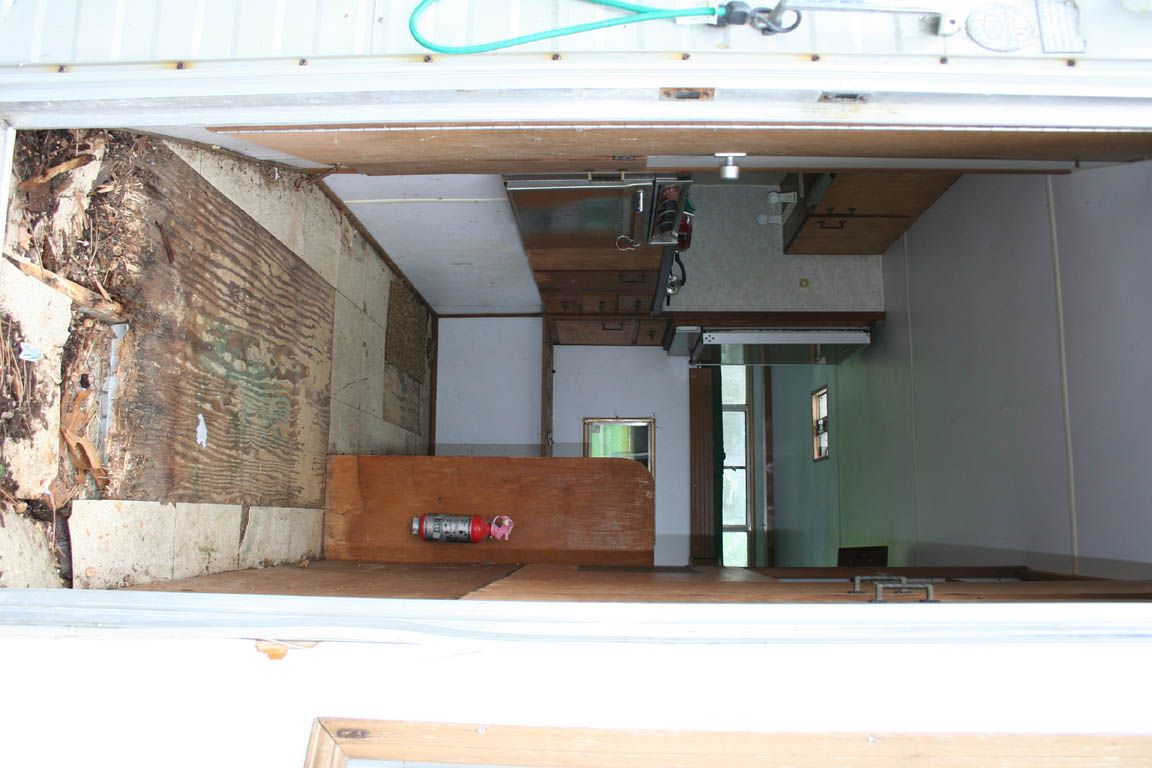
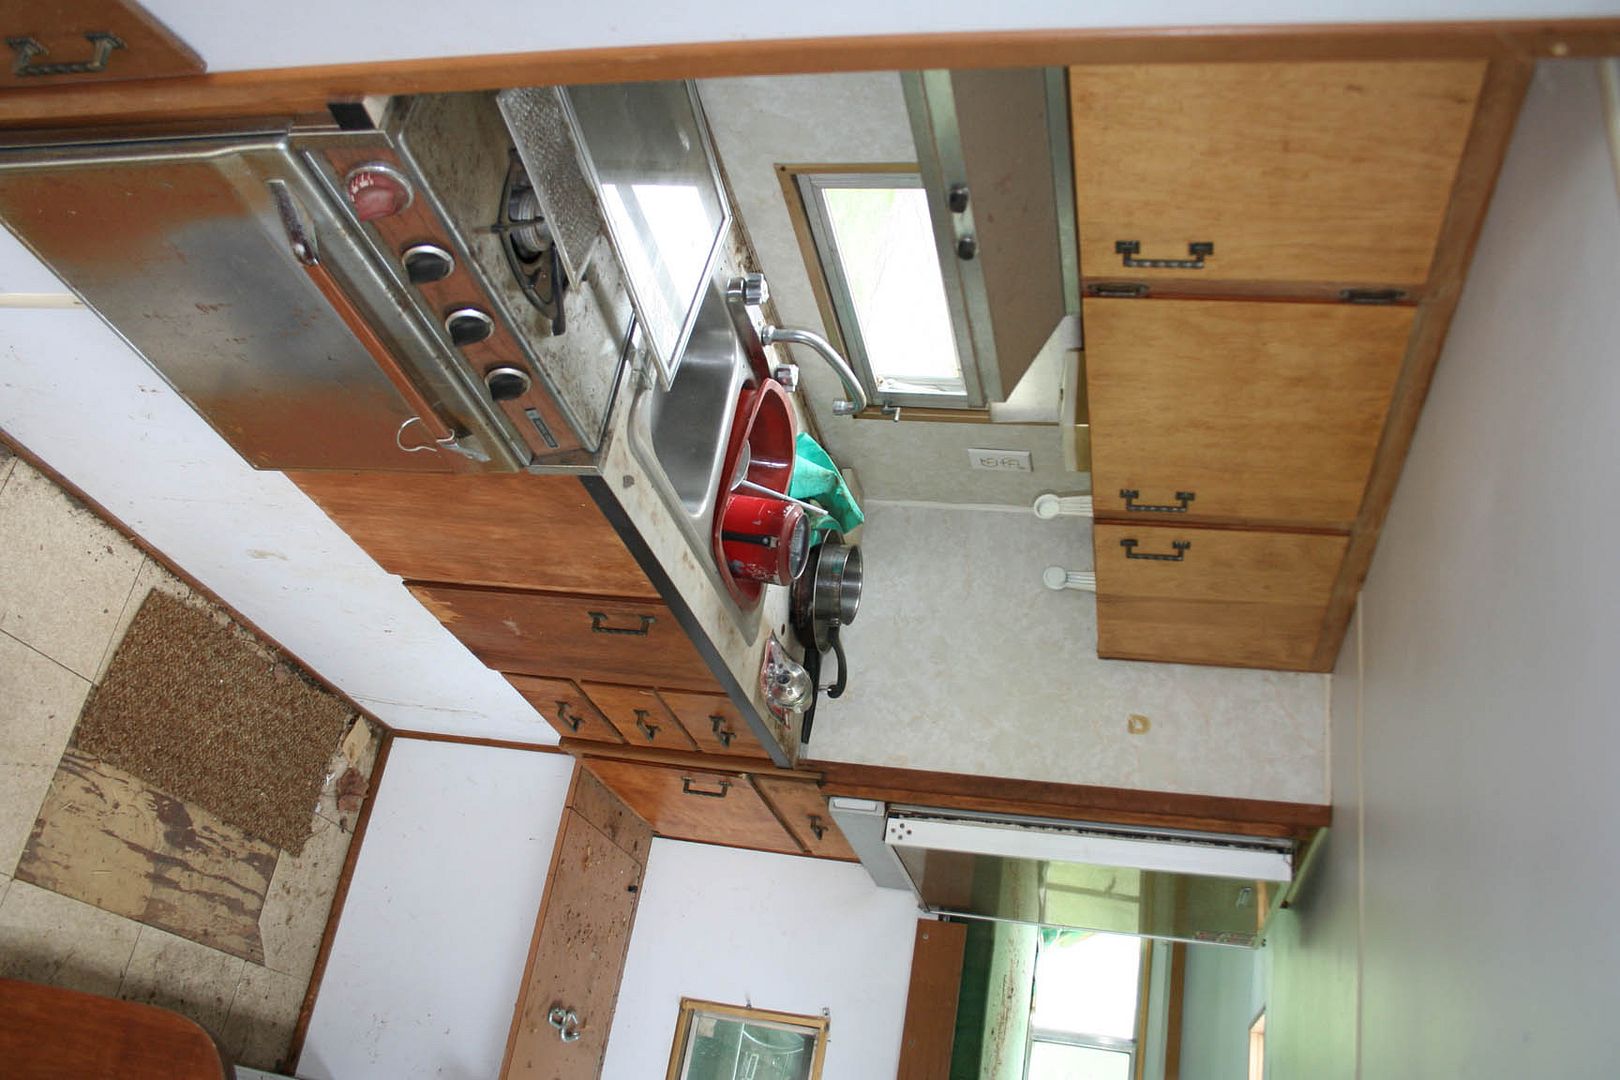
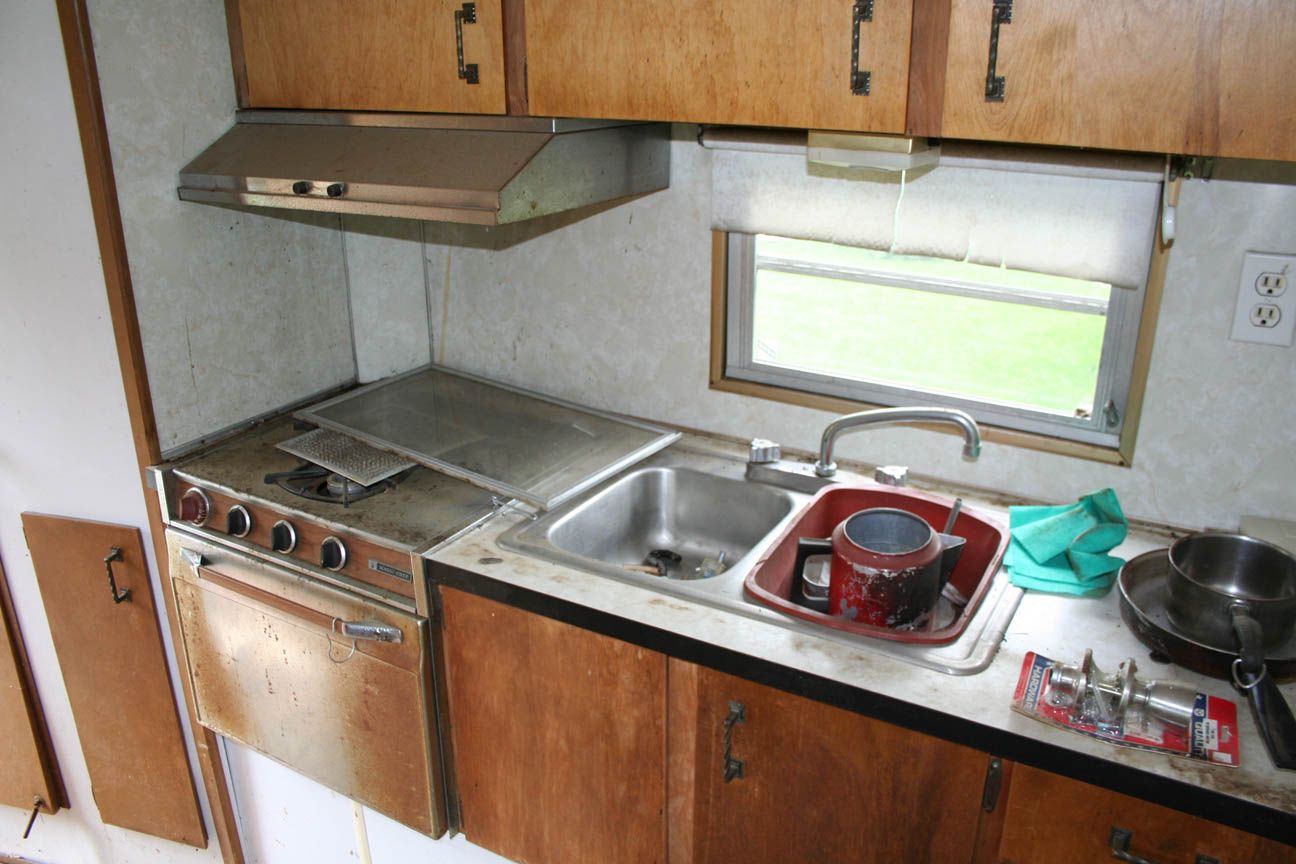
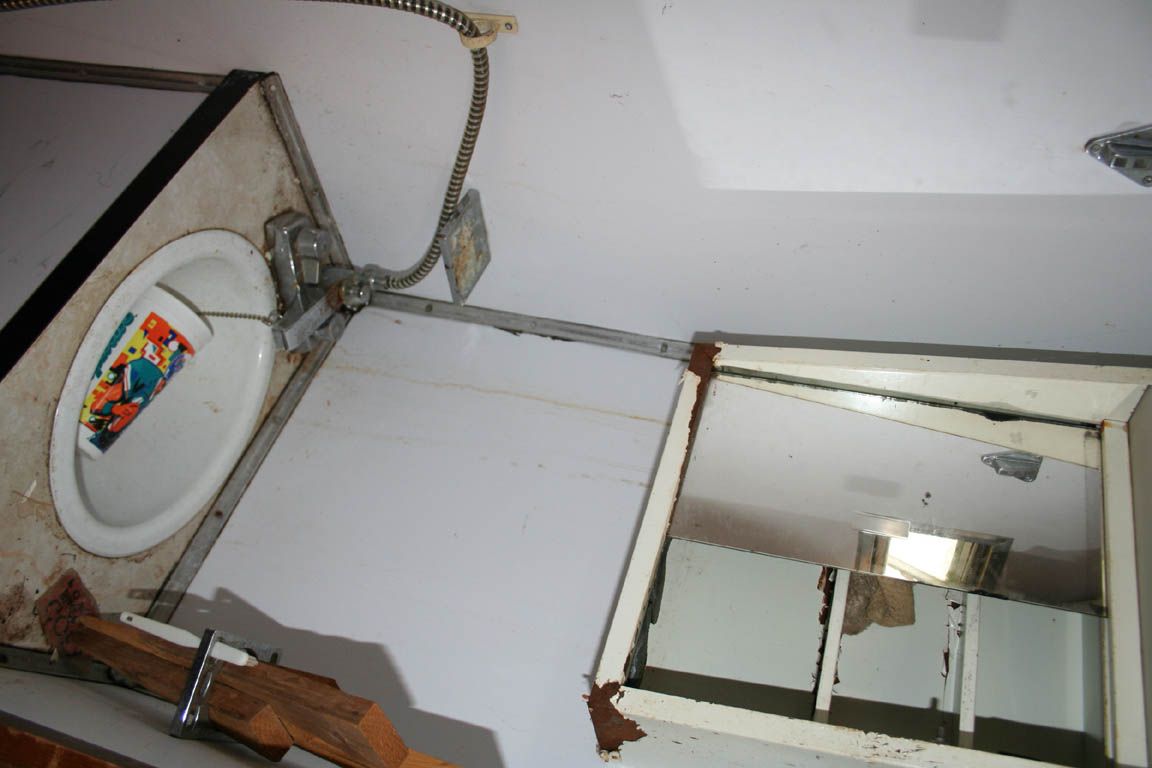
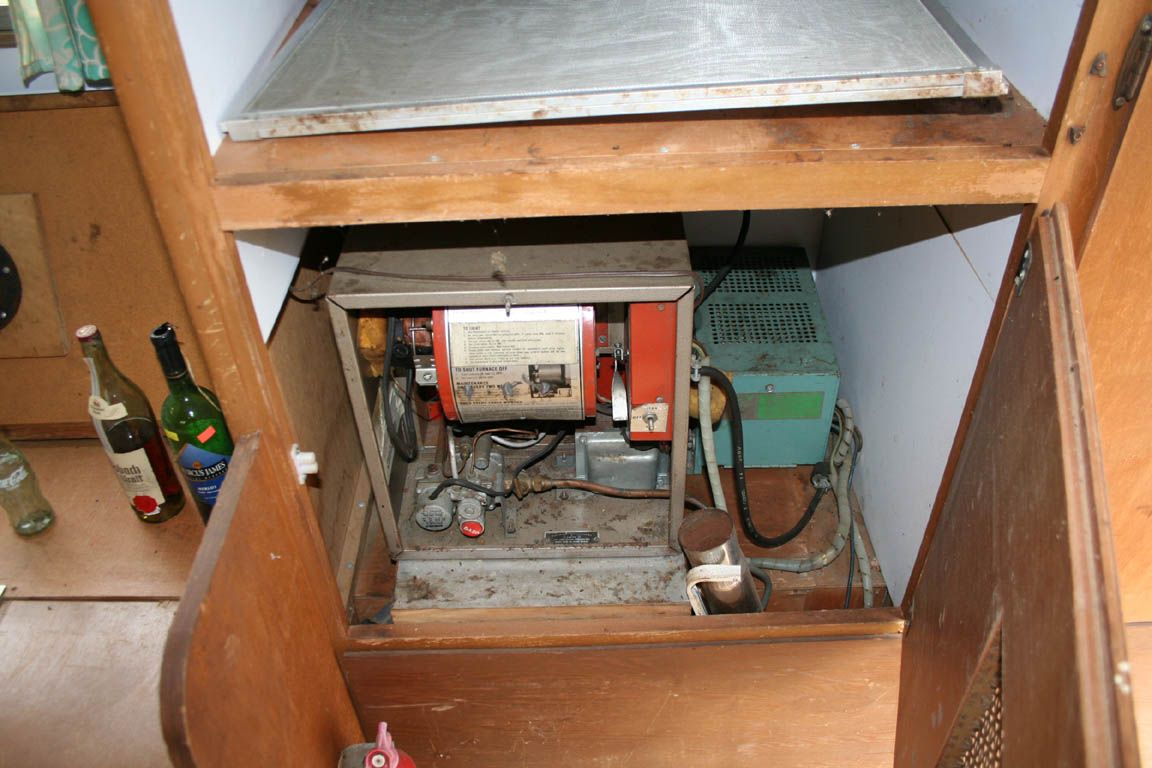
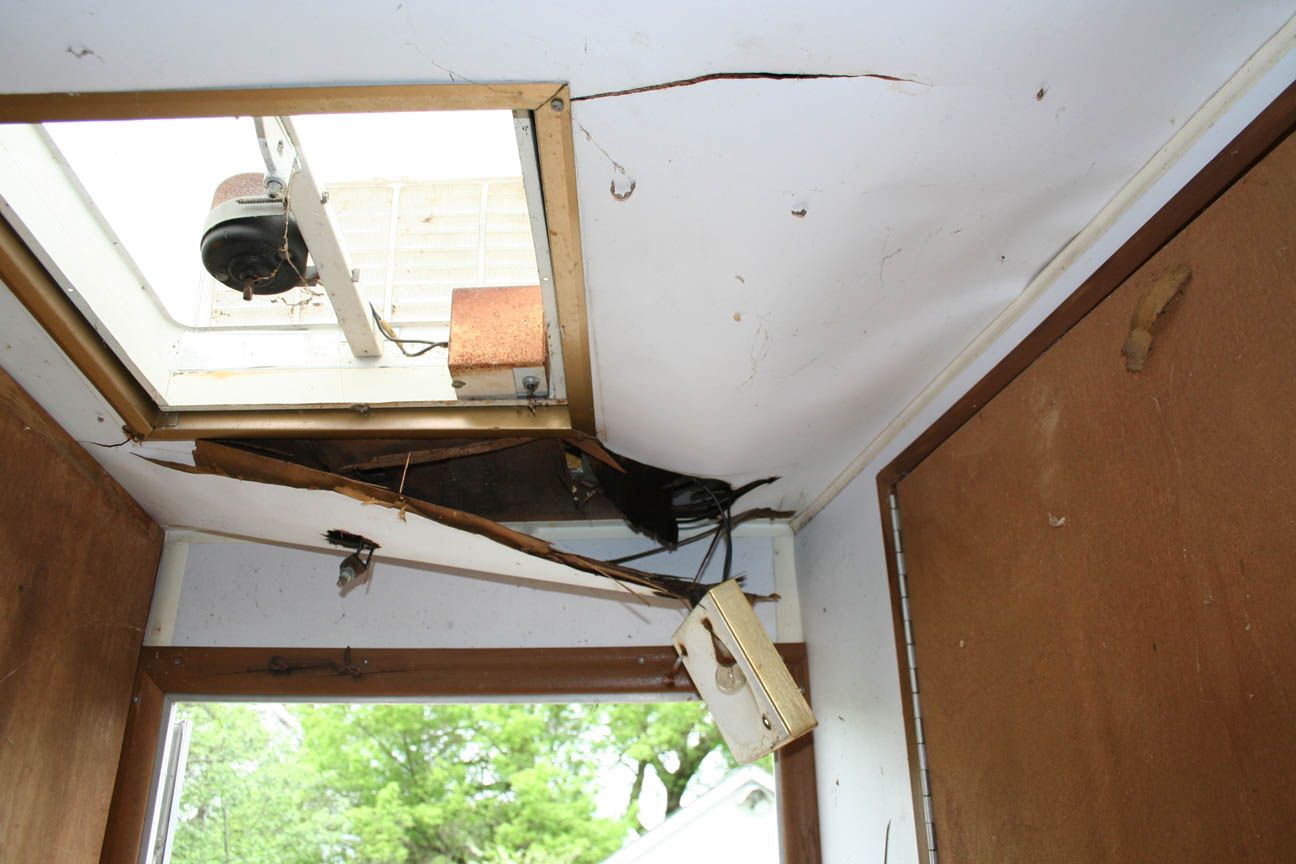
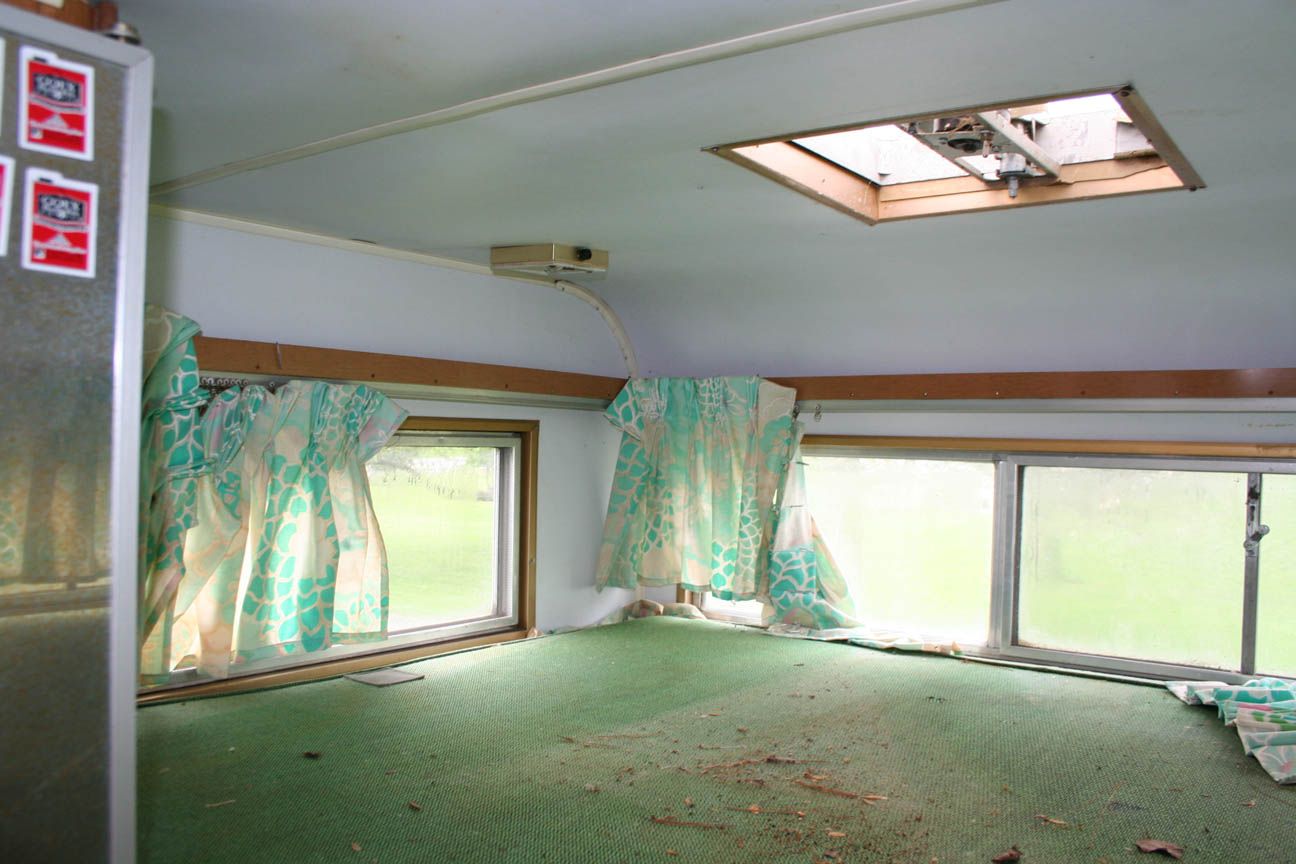
| After looking it over, it appears that the water came in an old puncture on the top of the roof near the ladder. It had an old tin patch that rotted away. The camper was tilted back quite a bit so the water that came in concentrated in the back area. The floor near the door is shot. The roof above the door is also shot. The ceiling in the bathroom is rotted out. There is a good bit of mouse staining in secluded areas, drawers etc. the front two thirds of the inside don't appear to be rotted. Quite a project, but thankfully the framing is aluminum channel instead of wood like most other campers! Must...look....for...the silver lining! H. 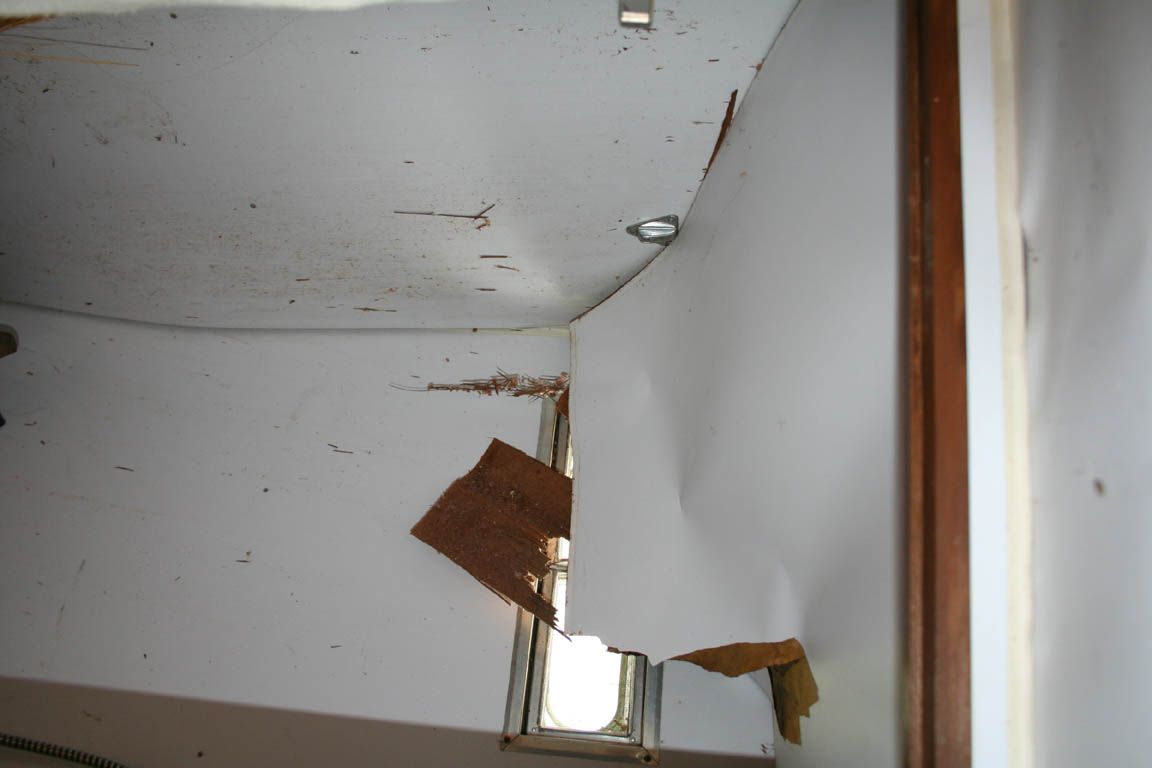 |
| | |
 3/11 3/11

| Having been to that rodeo with an SOB I would advise you start with a measured floor and wall plan and then design the unit to what you want it to be. Write it down, develop your specs and bill of materials and then photograph every inch of the camper. Then basically tear everything out including every wire, switch, appliance sink etc. Throw everything away and then once it has been stripped of every piece of wood, plastic window etc you start on the skin. Remove every pop rivet (one at a time) and replace with aluminum closed head rivets. Since this is not going to be exposed to long term water you should consider marine plywood for the floor, followed by a vapor barrier and underlayment. Use stainless screws, not nails or clips. Replace all wiring with new 3 wire romex and use new GFCI outlets in the kitchen and bath. You can add outdoor duple weather proof outlets to the front, sides and rear. Plumb your propane with copper and add an outlet for you outdoor grille to the back or one side. After you get woodworking advice from others on this site and start the rebuild you will create the new Barth. Overall with new appliances that use less power and are modern you and your wife will get to enjoy this for many years. It will not be cheaper than a new plastic camper, but it will be better. Restorations always cost twice what a new one costs but it will have every convenience you want. You could add ducted air and heat and lots of items like outdoor tv and entertainment. It is easy to add compartments and access doors. Letting her plan and choose the appliances should get her at least to tolerate your hobby. Tell her this hobby is a lot better than gambling or Emu's.
1993 32' Regency Wide Body, 4 speed Allison Trans, Front Entry door, Diamond Plate aluminum roof &
1981 Euro 22' w Chevy 350 engine and TH 400 tranny
|
| | | Posts: 1514 | Location: Houston Texas | Member Since: 12-19-2006 |    IP
IP
|
|


 12/10
12/10
 1/19
1/19

 9/10
9/10 3/11
3/11


