Go to...  | Start A New Topic  | Search  | Notify  | Tools  | Reply To This Topic  |  |
 9/16 9/16 |
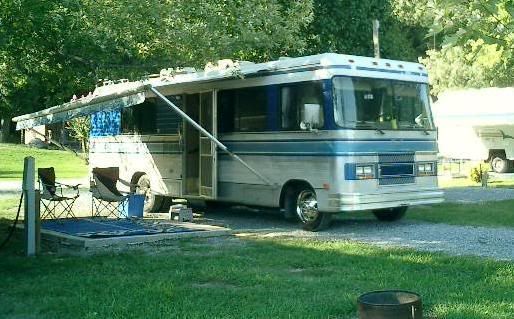
When it rains, I get water along the floor on the driver's side footwell. Fall is coming, and it might rain here (drought still) again, so I figure I should so something about it. My first thought was that this huge gap at the front corner could be the culprit: 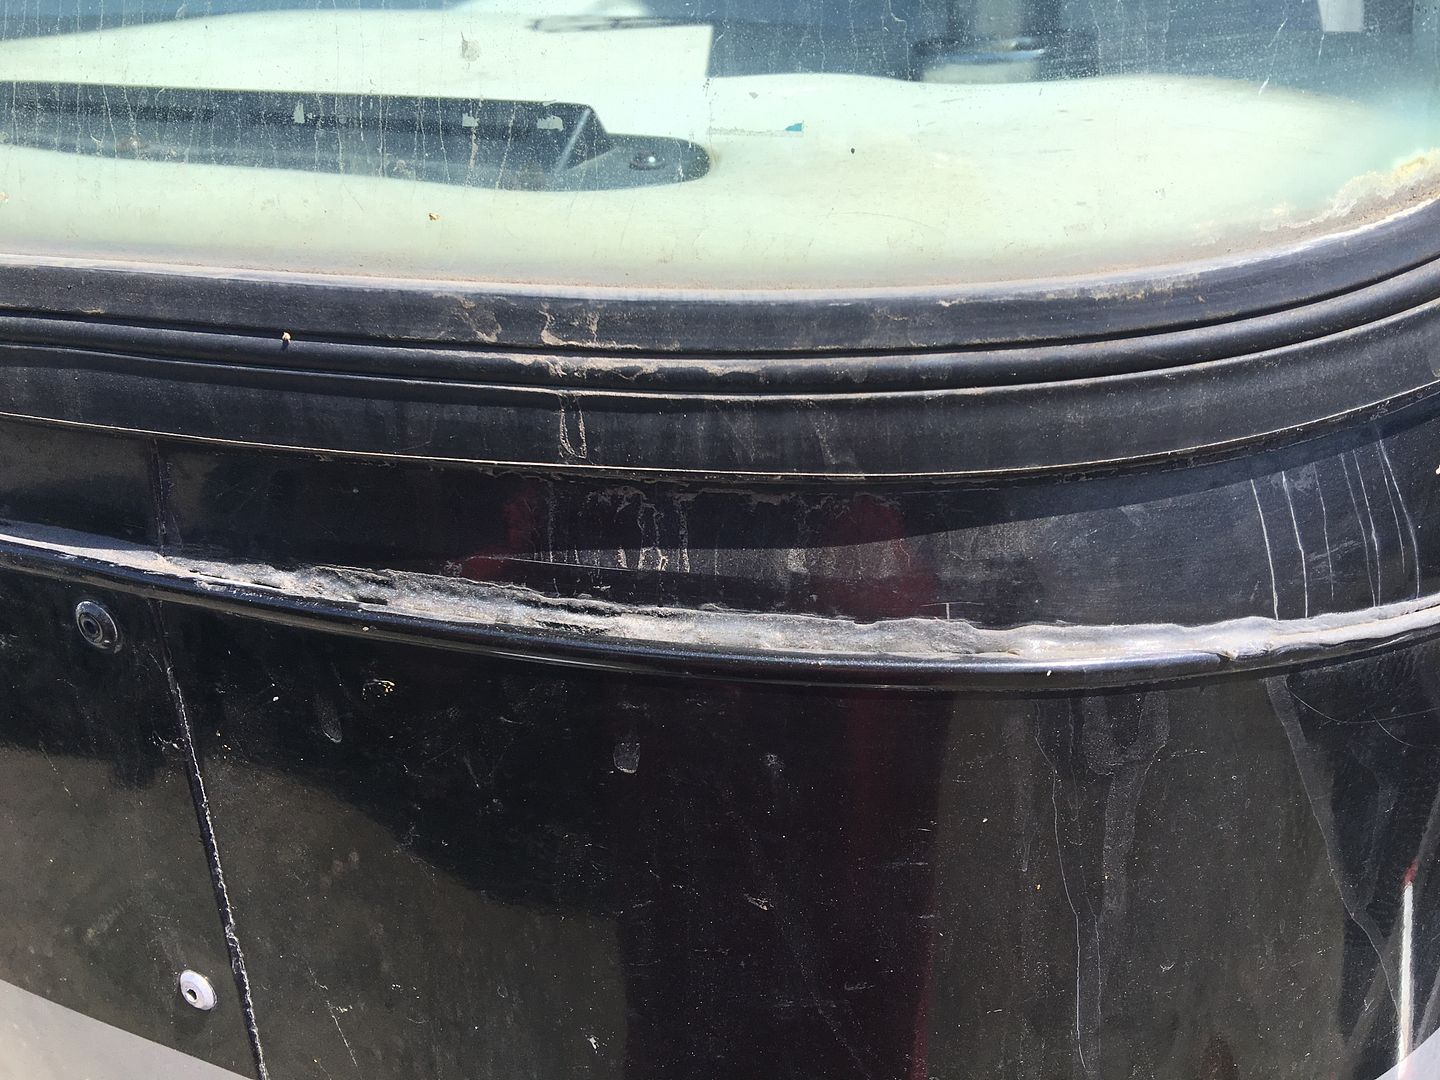 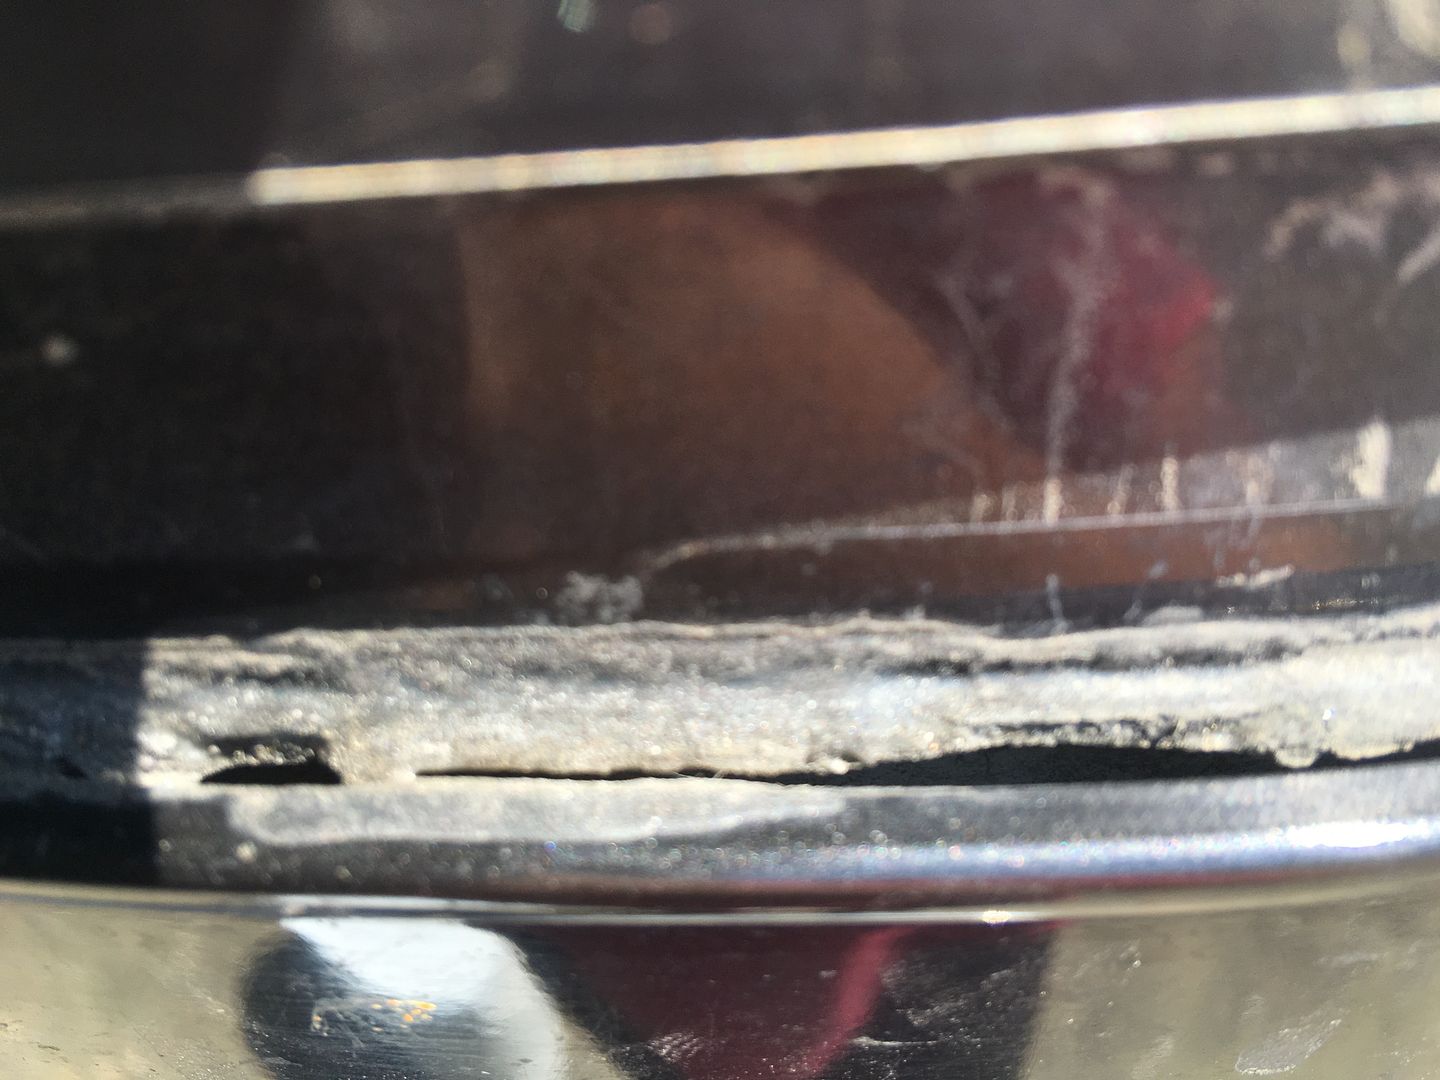 Looking from below though, it's obvious that water here drops down to a corner plate on the frame. Not the cause for the water inside, but I'm guessing it would be bad for that plate to rust out, so I had better seal it up. After scraping away with this caulk removal tool for what seemed like an eternity:  I have ended up with this (quarter to show scale):  Someone, somewhere on this forum, recommended Master Seal NP1, which I have: 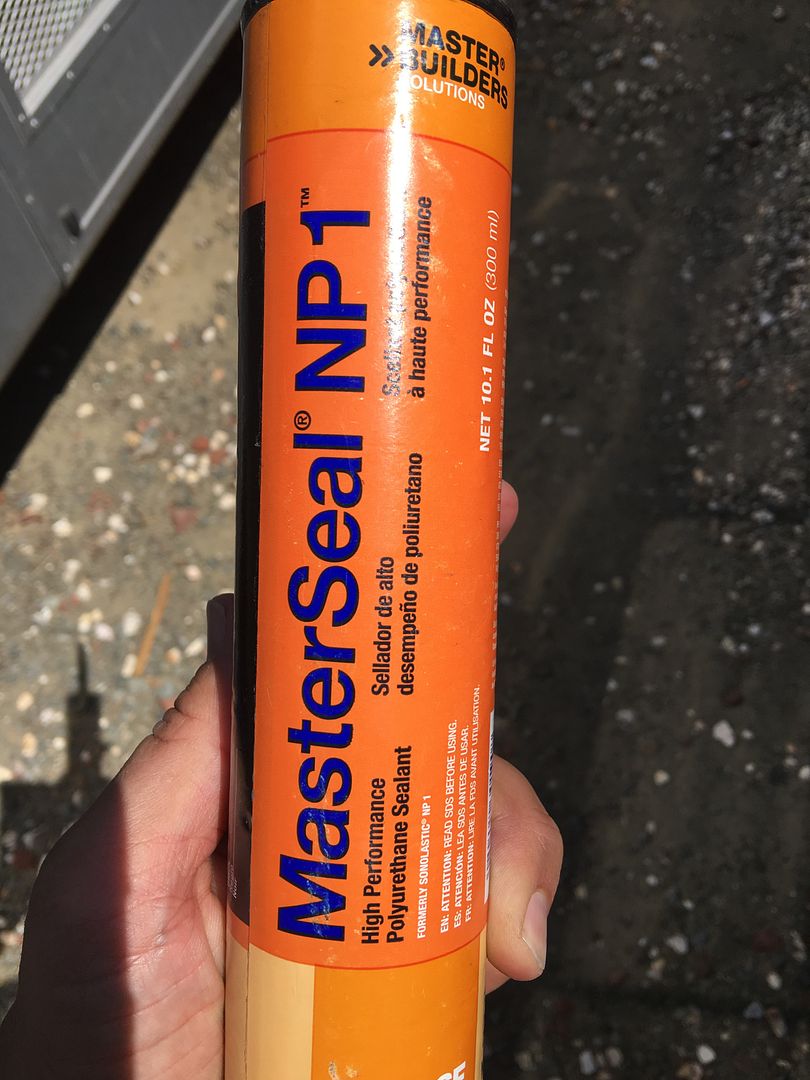 *** FIRST QUESTION *** Should I put some kind of backing material in a gap this wide, or should I just fill it up with the Master Seal? The next probable culprit is the driver's window, of course. It seems that the leak has been a problem in the past, because someone tried to seal on the inside with some really sticky black stuff that is horrendous. The front panel seam was gooped up with something soft, clear, and sticky. Anyways, even I know that you need to seal the outside, not the inside. Upon looking further, I was quite dismayed to see how much play there was between the window frame and the aluminum skin at the top rear corner: https://youtu.be/xqM9ZOnzx9c *** SECOND QUESTION *** Should I be concerned with the movement shown in the video? I was going to just to the top rear corner (video), but then after looking at the cracking along the top and front side I decided to scrape that out too: 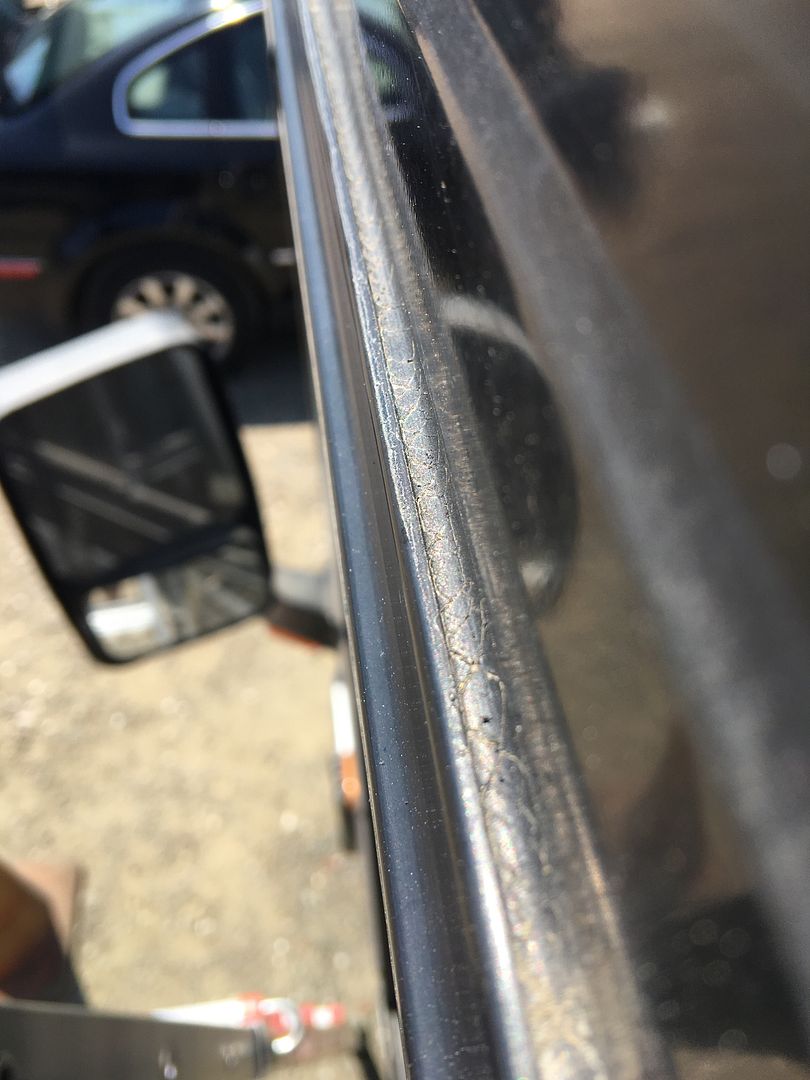 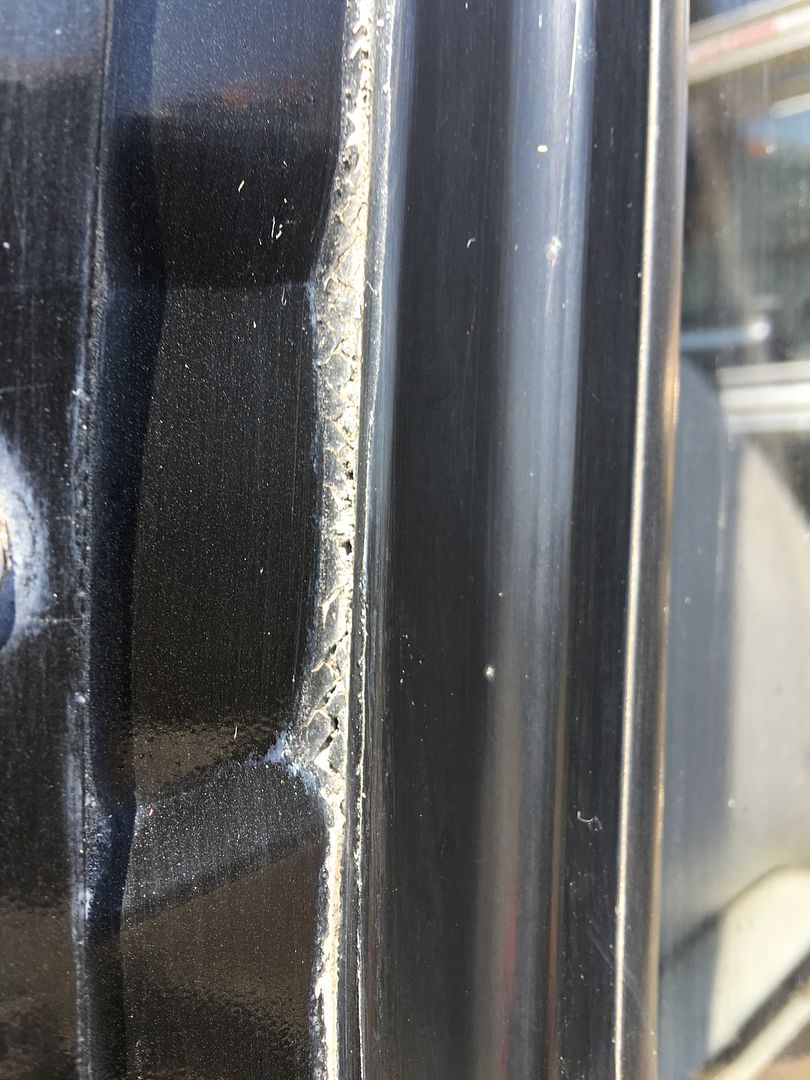 So after about 2 hours (again, seems like an eternity) scraping away with the above mentioned tool, I have this: 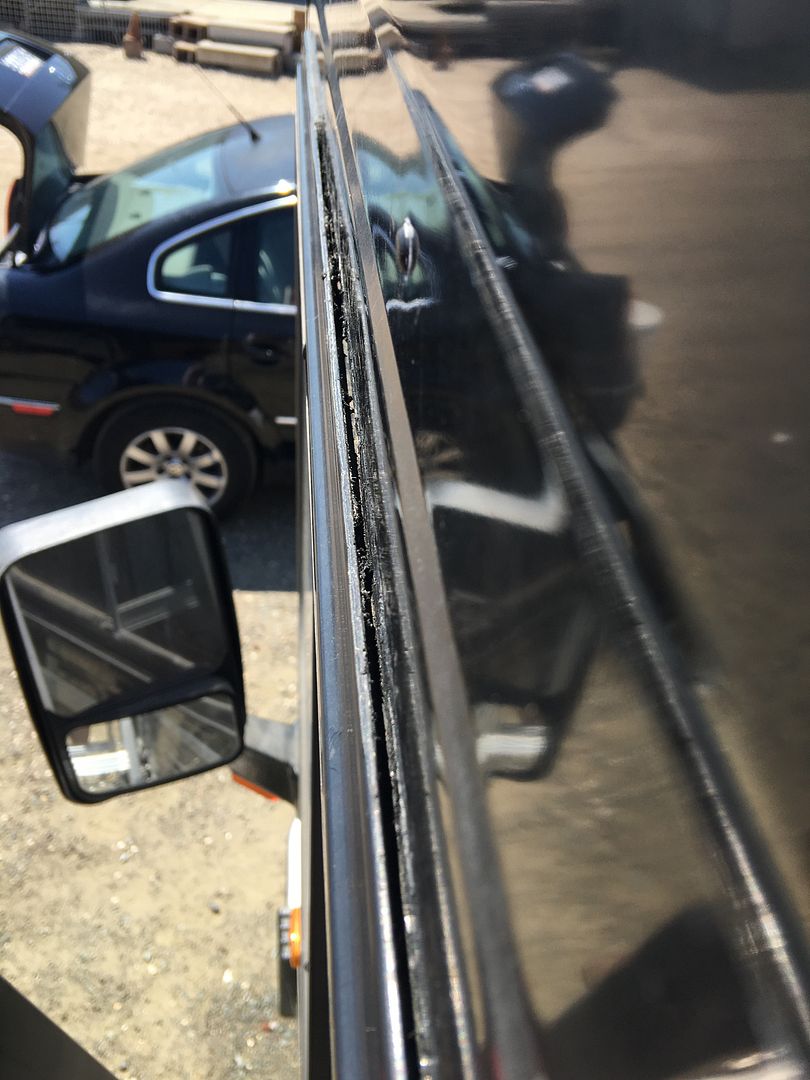 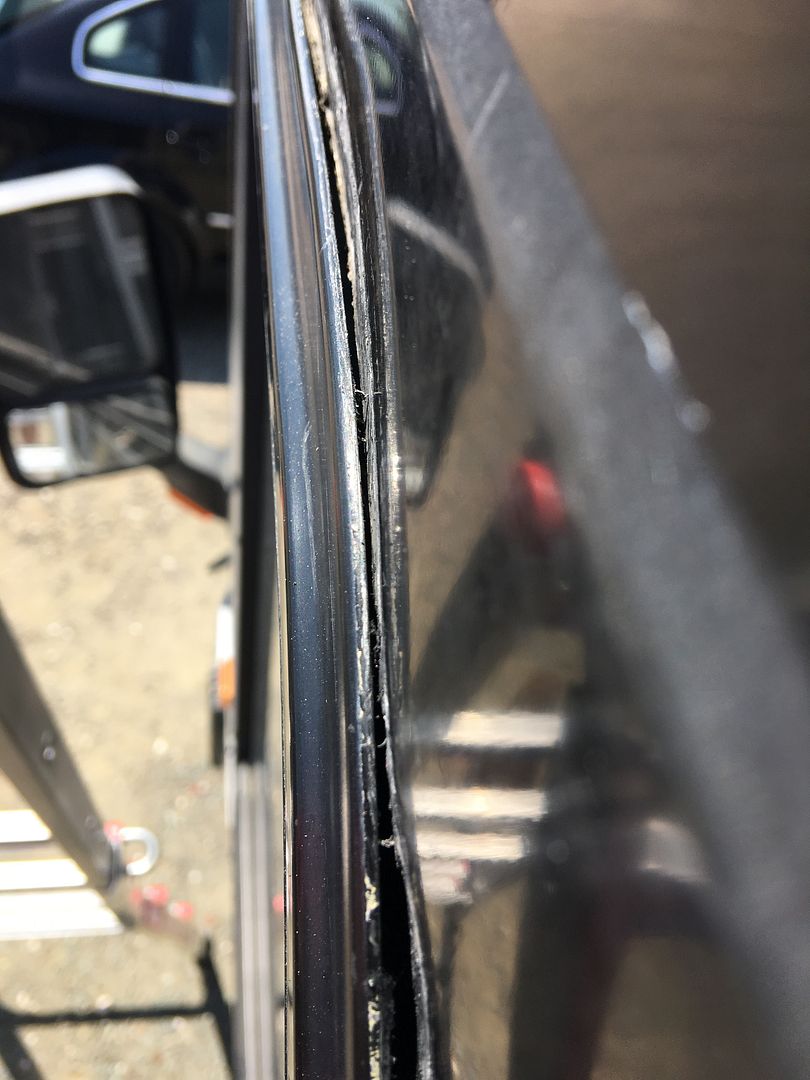 I still have the front top half and front edge to do. *** THIRD QUESTION *** Is there a better method for removing this stuff? After all that, I'm thinking that taking out the whole bloody window would have been easier, but I'm a little wary about it. Not only would I have to get someone else to catch it, but I'm the type that has a hard time getting things back together. *** FOURTH QUESTION *** If I do decide to take out the windows in the future, are these the screws that hold them in? They are located behind a piece of rubber trim: 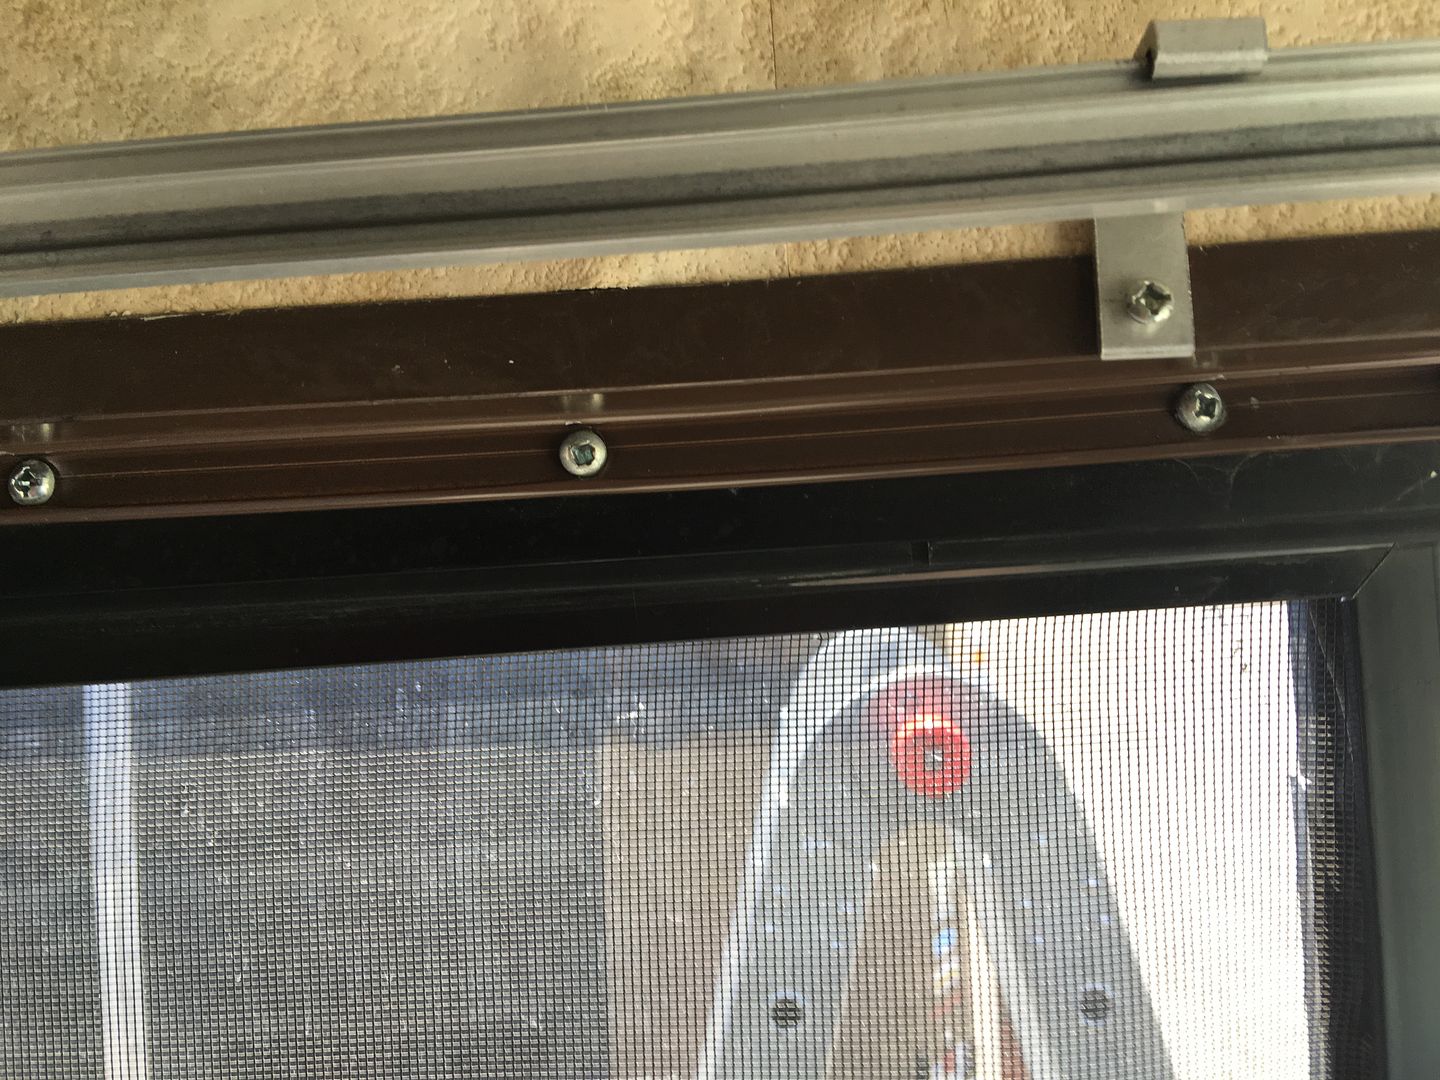 *** FIFTH QUESTION *** Am I in any peril of screwing things up so far? 89 28' Regal Quad Bunks P-30 454 8906-3623-28C-B | ||
|
 6/12 6/12Formally known as "Humbojb"  |
Have you checked seals on all of your clearance lights out side too. Seams on roof around everything. On Old Blue, there were alot of missing/damaged rivets on roof. We sealed roof seal around perimeter with NAPA grey seam sealer for semi trailers. Used Dicor self leveling on top of that around the vents. We resealed the windshield with butyl sealant. If you use the sealant not the tape be sure to tape off around seams. It is a mess but it seals great. I even taped as if we were painting with the craft paper or plastic because it seems to get everywhere. If you use butyl, remove tape within an hour because the butyl will stick to tape & then it is harder to peel off neatly. Have some sort of mineral spirits handy too. Like I said it's messy. I know you are talking more about the side windows & we haven't had much experience there. Old Blues prev. owner to us had $3500 worth of double paned Peninsula Glass put in. Worth their weight in gold. Good luck & keep the pics coming!! Tere
| ||||||||||||
|
 6/12 6/12Formally known as "Humbojb"  |
If you go to the link below, look for the picture folder named tere(287), then go to pgs 5,6,7 you can see how we prepped the windshield to seal. Pics of seals on roof & on brow where aluminum & fiberglass & fiberglass meet & how we sealed. Might help some with your windows. http://s687.photobucket.com/us.../?view=recent&page=1
| ||||||||||||
|
 8/19 8/19 |
Did you mean this Jim and Tere?  | |||
|
 8/19 8/19 |
Here is a link to page 6, and you can get to 7 a little easier. | |||
|
 6/12 6/12Formally known as "Humbojb"  |
I looked at the gap with the 2 quarters in it and IMHO, there's no amount of caulking that will permanently fix it. There has to be another problem that has created that gap and that's what I would go after. Same with the gap around the windows. In Old Blue, the front window is held in by a gasket. We just wanted to make sure no water would get into the coach. To do it properly, you really need to remove the windows and see what you have. There could be some metal deterioration that will have to be addressed. Remember, the frame for the front window is steel, not aluminum. So in that area you've got 3 things going on: fiberglass, steel and aluminum. Sort of a can of worms.
| ||||||||||||
|
 6/12 6/12Formally known as "Humbojb"  |
find a company that will show the window cut away. Peninsula glass has one that might help http://www.rvwindows.com/wp-co...stallation-guide.pdf and here https://rv-roadtrips.thefuntim...rv_window_repair.php
| ||||||||||||
|
 9/16 9/16 |
Jim, thanks for looking at those a little closer. With the front panel gap below the windshield, that's one quarter in the photo (1 is a reflection), but the gap is definitely at least 2 quarters wide. Problem is, I can't figure out a post-production cause. The narrow aluminum panel directly below the windshield is straight all across the front. The rivets securing the lower panel at the corner are in and tight. The opposite corner has a gap as well, albeit smaller. It really looks like it was constructed that way. Anyone out there willing to have a look at theirs and letting me know if it's the same as mine? The only solution I can fathom is taking out all the rivets for the lower panel, trimming off the end to tighten up the radius at the corner, then re-riveting the panel. Way beyond my capabilities, or at least beyond the time I have available to develop such capabilities. Sigh. With the window, are you of the opinion that the entire gap is too large, or just the gap at the corner, shown at the bottom of the 2nd to last picture and in the video? 89 28' Regal Quad Bunks P-30 454 8906-3623-28C-B | |||
|
 6/12 6/12Formally known as "Humbojb"  |
This is Tere here. Under windshield, I would tape top & bottom of area to fill. I would then fill with your product or butyl. Since gap is so wide you may need to create a layer to start. Let dry. Then build upon that. I would fill it to 1/2" or so above fill area then form a slope for water to roll off. That is where the mineral spirits comes in. I used my thumb to form the slope. The sliding windows have the butyl tape against the aluminum then the rubber seal on top of that. Looks like your butyl tape has deteriorated. The product you have should work the same as butyl. It is flexible & will move with the coach. The areas against the windows I'd do the same with the areas that attach to the glass. That or take to an expert.
| ||||||||||||
|
 9/16 9/16 |
Well, I didn't remove the window, contrary to best practices. I did instead seal it up with the NP1 polyurethane. Boy, I could not leave that corner with the big gap alone. Kept fiddling with the bead. I tried to get a good amount of sealant in there, which I'll probably curse when I do finally take out the window. Now the window looks like this: 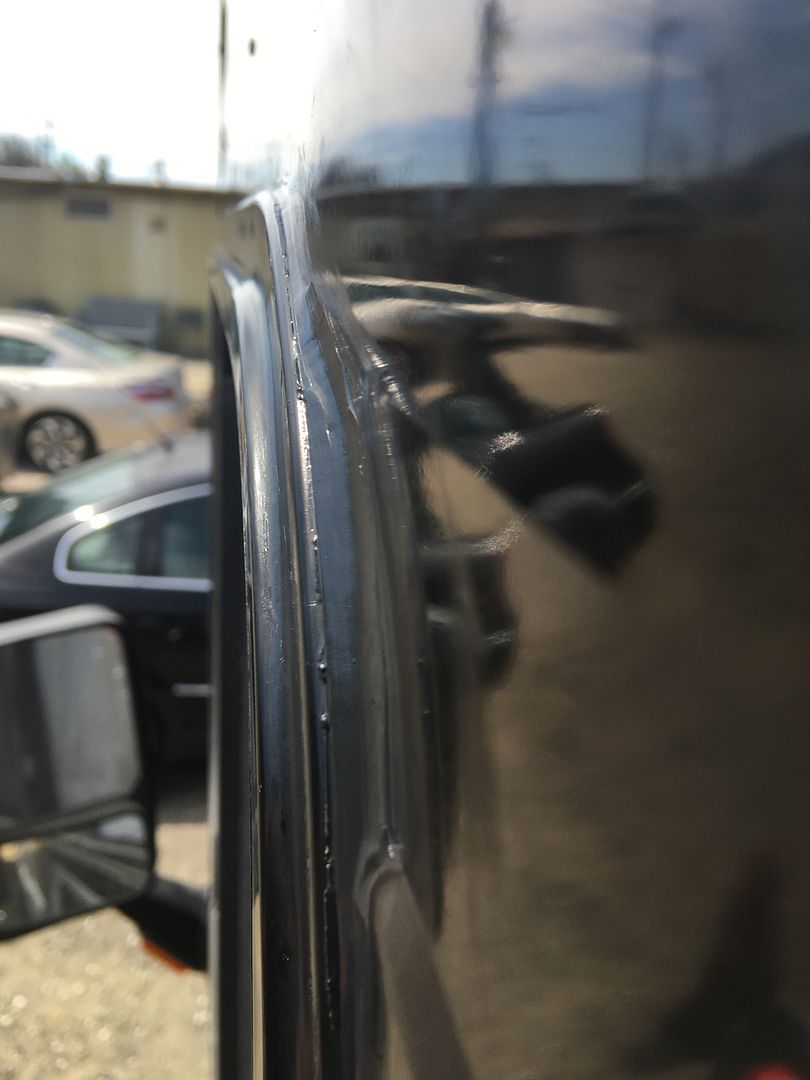 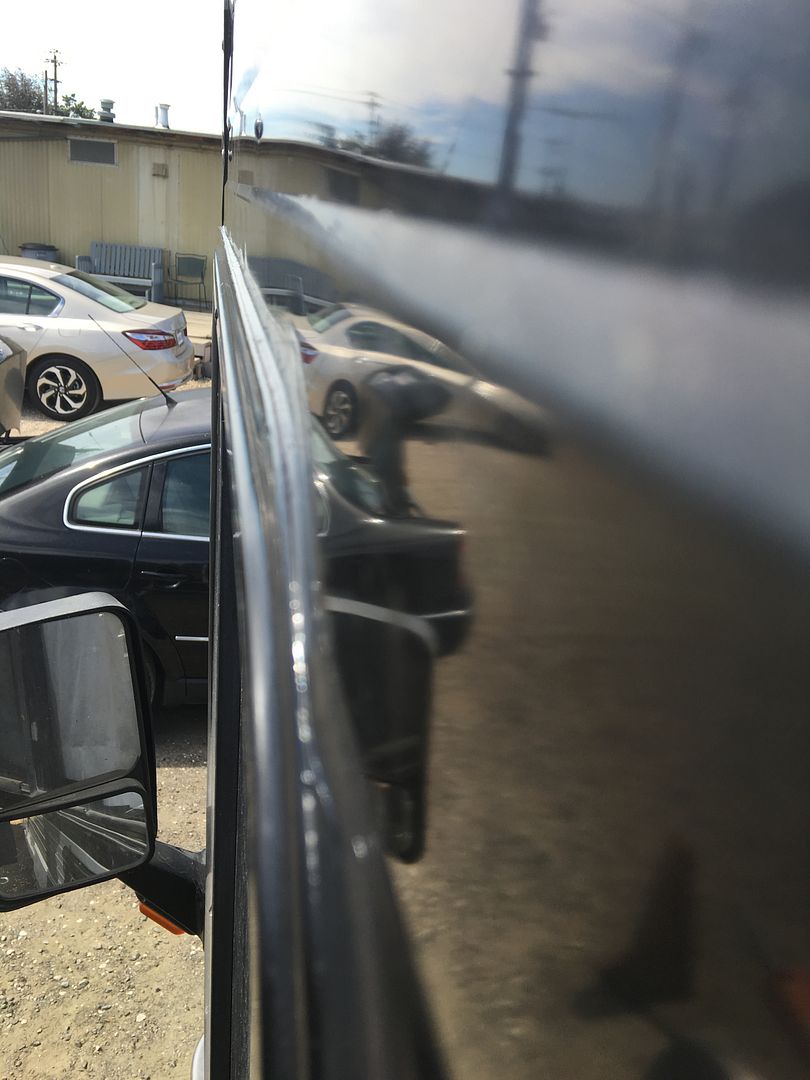  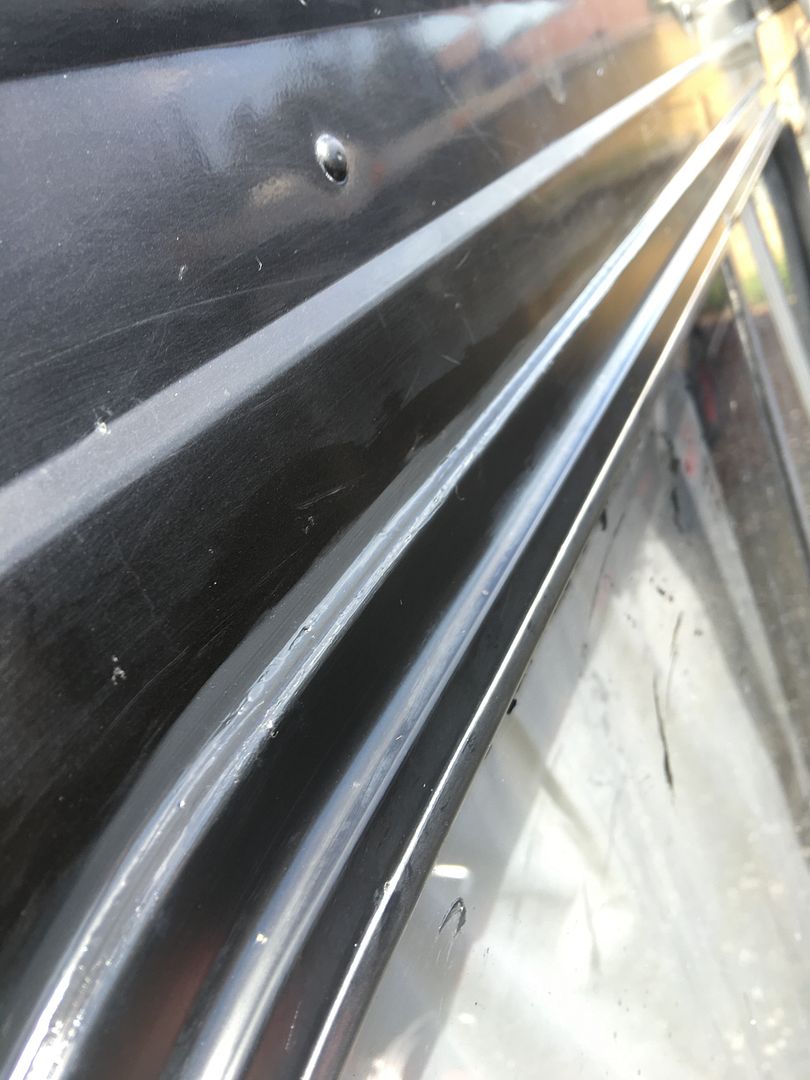 Hopefully that does it. There are a couple of small cracks in the roof sealant at the front cap seam. I'll tackle those next. 89 28' Regal Quad Bunks P-30 454 8906-3623-28C-B | |||
|
| Powered by Social Strata |
| Please Wait. Your request is being processed... |
|
This website is dedicated to the Barth Custom Coach, their owners and those who admire this American made, quality crafted, motor coach.
We are committed to the history, preservation and restoration of the Barth Custom Coach.
We are committed to the history, preservation and restoration of the Barth Custom Coach.


