Go to...  | Start A New Topic  | Search  | Notify  | Tools  | Reply To This Topic  |  |
Official Barth Junkie |
Looking at the number of 12V lights and devices in the coach, I've always felt that in spite of the price and reputation of the Barth, the 12V system is marginal in some ways. 1) The wiring and devices are good quality but the 2 coach batteries seem minimal (size 27 deep cycle) With the existing incandescent lights (several have 3 bulbs in them) TV, pumps, etc the batteries won't last long when dry camping. I prefer to avoid the generator if I can... 2) The stock GM alternator is rated only 60 amps. I always felt that 100 amp would be the minimum for an RV. If you are running the headlights (about 10 amps) and all the clearance lights,etc (another 12 amps or so) you are using a third of your output for lights alone... Upgrades to more batteries and larger alternator are possible but as my old Finnish fisherman friend said… "the secret to life is not to make more but to need less.." simplify! I decided to put the Barth on an electrical diet. Reducing loads while running leaves more for charging the batteries. Reducing loads while parked means batteries last longer. Incandescent bulbs seemed a logical starting place. I got these LED types from www.superbrightleds.com I replaced 24 clearance light bulbs with LED types. (9 red, 15 amber) old: GE 194 bulb 25 lumens ( 0.333 A each ) = 8.0 amp total new: WLED-xHP5 40 lumens 5 LED 360 degree (~0.040 A each) = 1.0 amp total NET REDUCTION = 7.0 AMPS 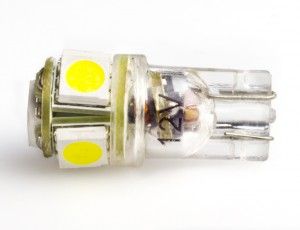  I replaced the 4 tail light bulbs with LED types. The Barth sockets require 90 degree angle bulbs. old: GE1157 27W/8W (8W parking light = 0.75 A each) = 3.0 amp total new: 1157-R2W-ARA (2W = 0.135 A each) = 0.54 amp total NET REDUCTION = 2.45 AMPS 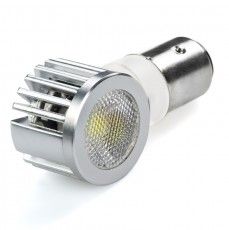  These changes reduced the total clearance/running load from 12.5 amps to 3.0 amps! About 9.5 more amps of previously unavailable power now. These lights are also brighter than the originals. (The clearance lights required the 360 degree type to fully illuminate the light housing, narrower styles looked too pinpoint, less bright.) The headlight switch is carrying less load, should last longer, too. I continued inside: The overhead lights got hot enough to melt the plastic diffusers and burn you. old: the ceiling lights had 2 or 3 bulbs in them, GE 1141 (18W = 1.5 A each) = up to 4.5 amps total new: T5-8W Fluorescent (2 tubes) 16W for 1.5 amp total (I used generic RV lights, took the insides out and mounted them inside the Barth ceiling fixture) Much brighter! NET REDUCTION = 1.5-3.0 AMPS/FIXTURE 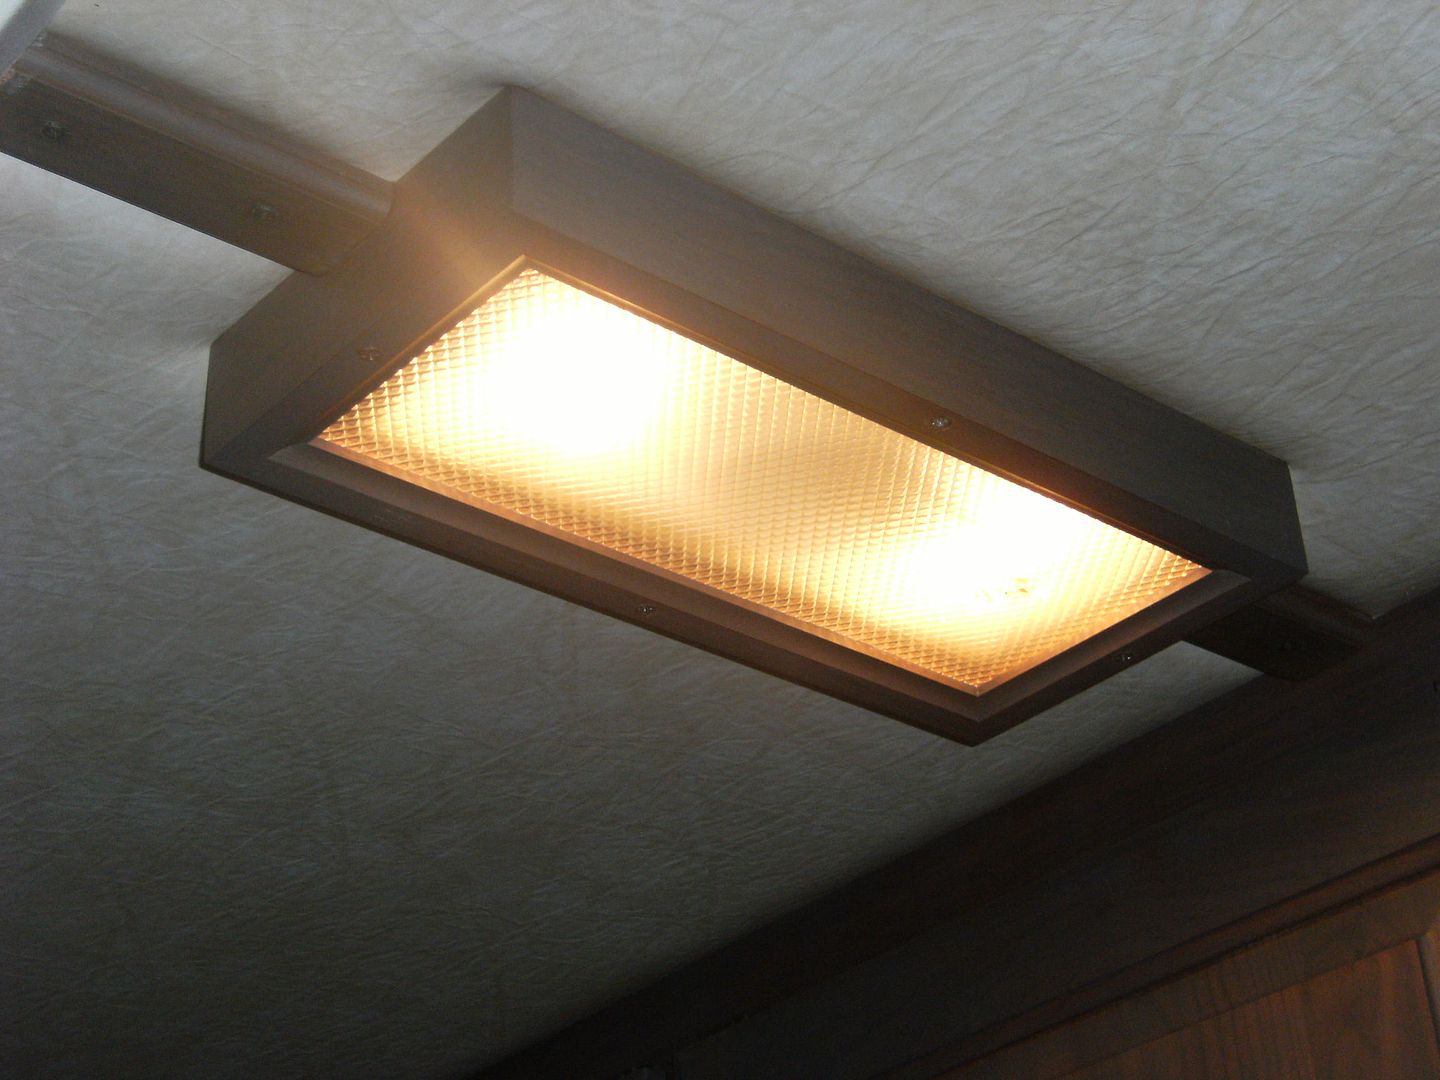 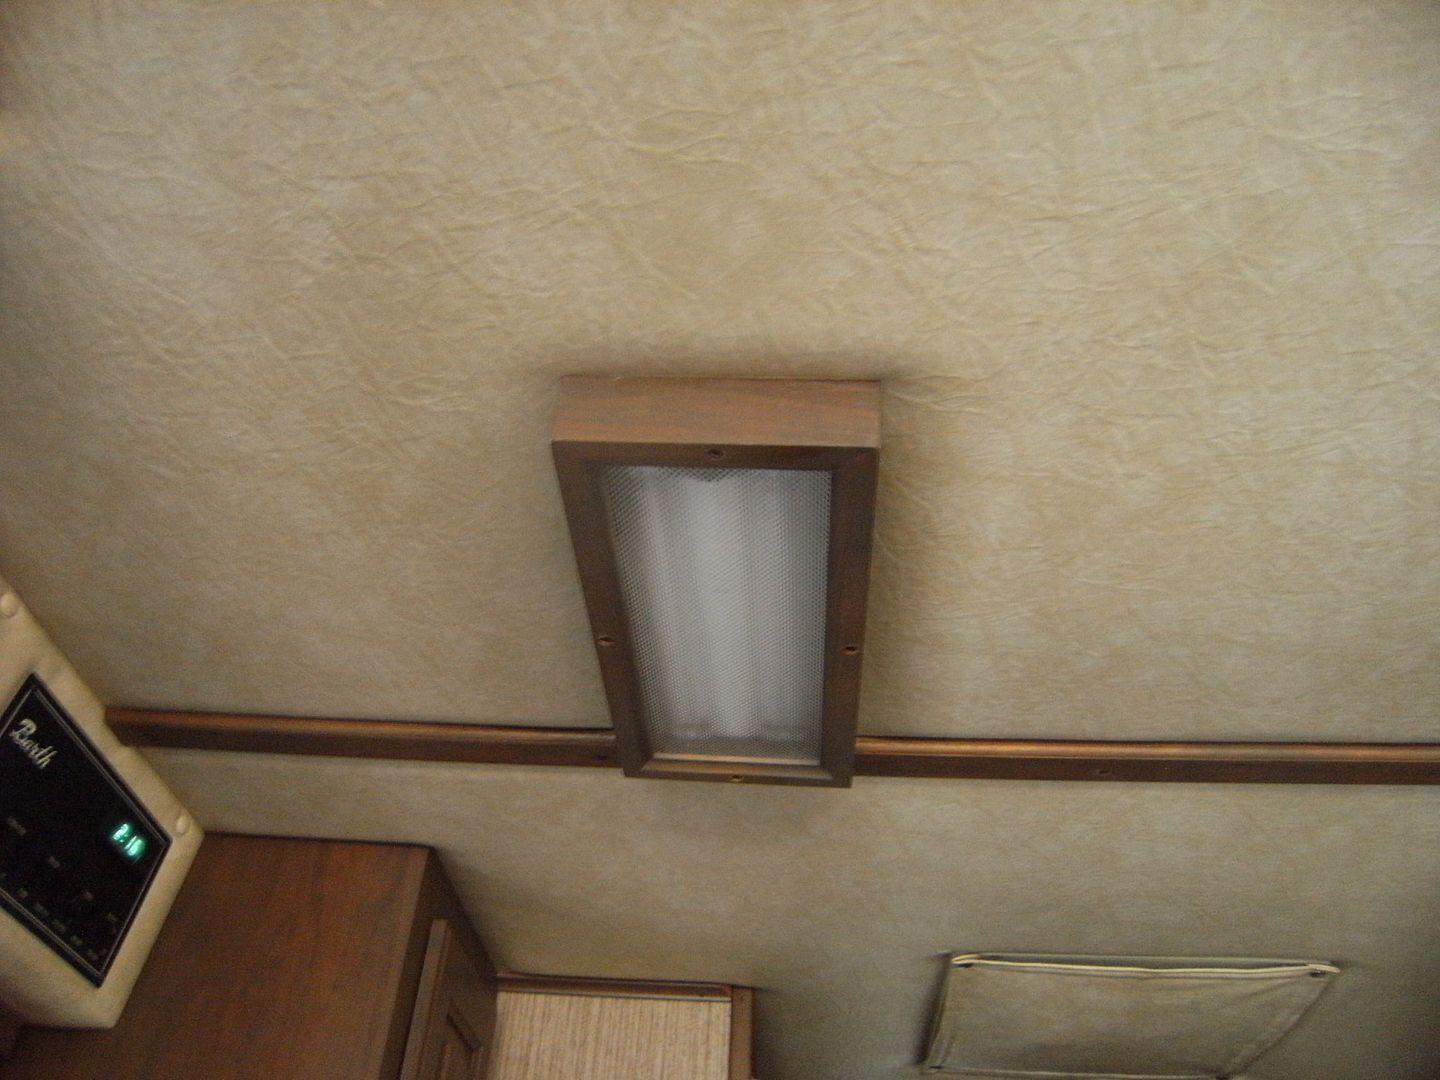 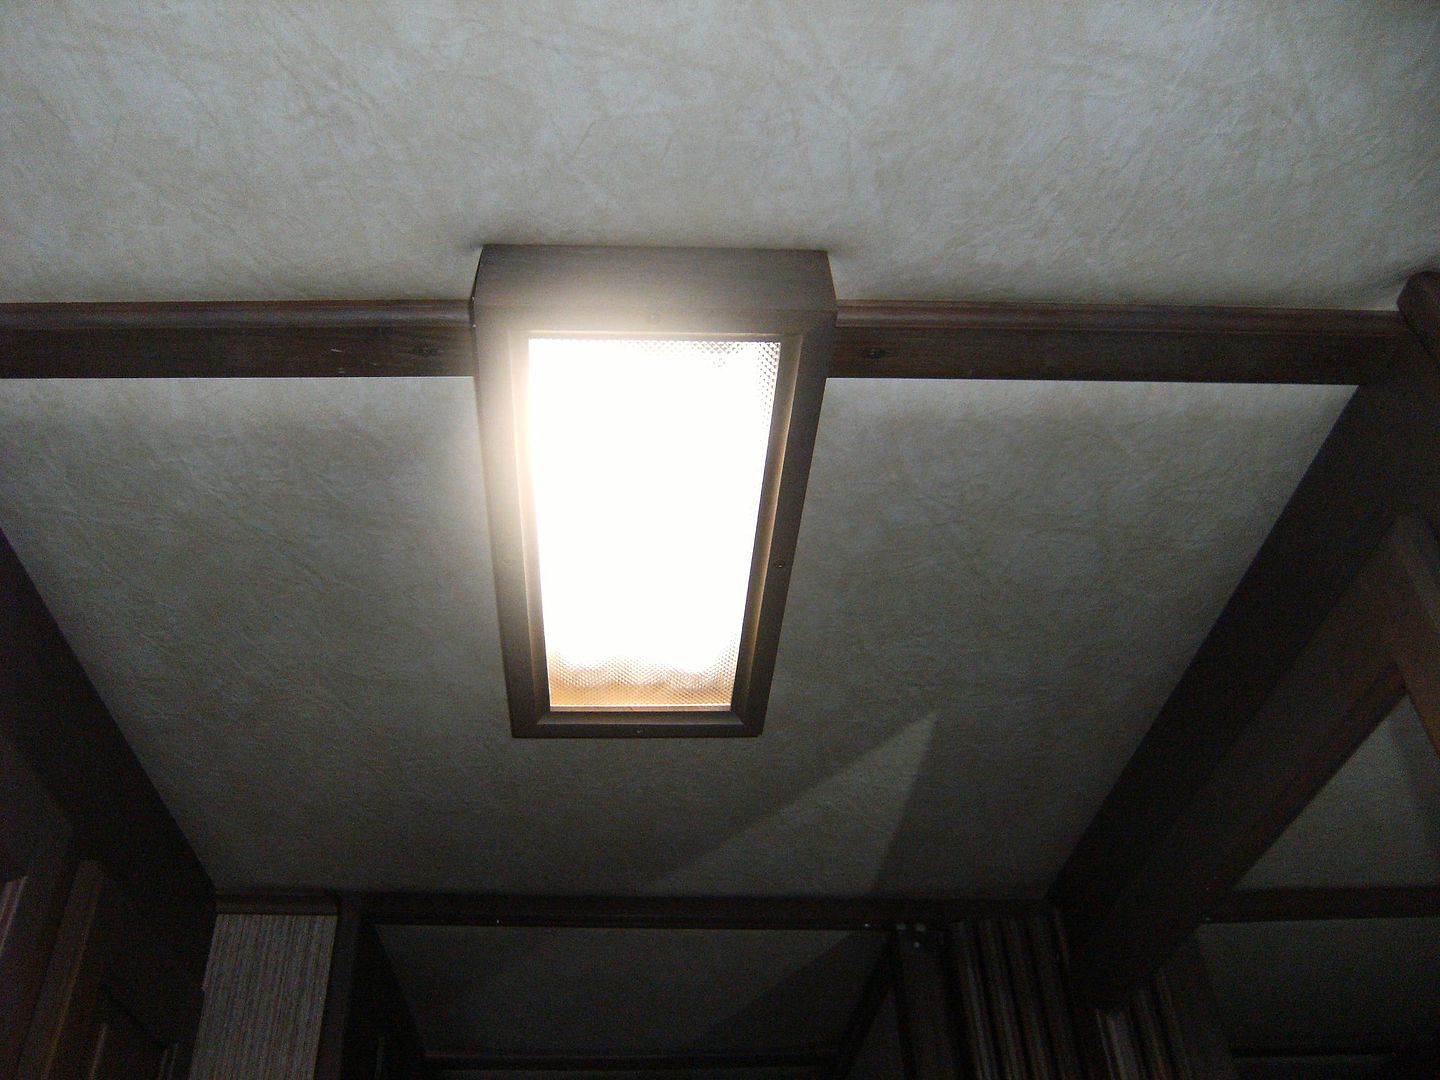 old spot/reading lights: 11391F (34W = 2.8 amps each) REALLY GOT HOT! 6 new reading lights: BA155-WLX1 warm white (1.3W = 0.110 amp each) way cool now... NET REDUCTION = 2.69 AMPS/LIGHT  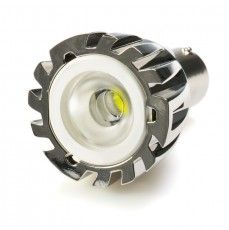 The 2 overhead lights in the cockpit area we replaced with wide angle red LED types for background illumination. new: 1156-R19-WV 19 LED 100 degree (0.093A each) 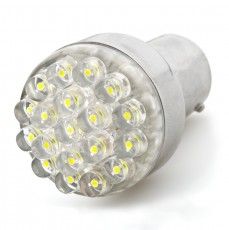 I have also used a few low power type 194 replacements for the instrument panel lights: new: WLED-x4-90 4 LED 7 lumens (0.029 A each)  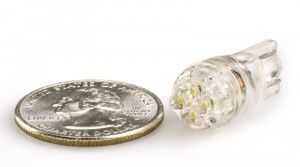 So far, these have resulted in a drastic reduction in all lighting loads. It's like getting a bigger alternator and an extra battery. I have more power available for charging and running accessories while underway, and my lighting demands while parked are about 20 % of what they were before. (Translation: batteries will last 5 times longer!) 9708-M0037-37MM-01 "98" Monarch 37 Spartan MM, 6 spd Allison Cummins 8.3 325+ hp | ||
|
 3/19 3/19 |
EXCELLENT presentation. About a $500 project? | |||
|
Official Barth Junkie |
Thanks for the feedback! This started out with the 3 ceiling fluorescent lights I found at a flea market for $20 each. I have 2 more to go... Next came the interior reading lights and cockpit lights for $105. 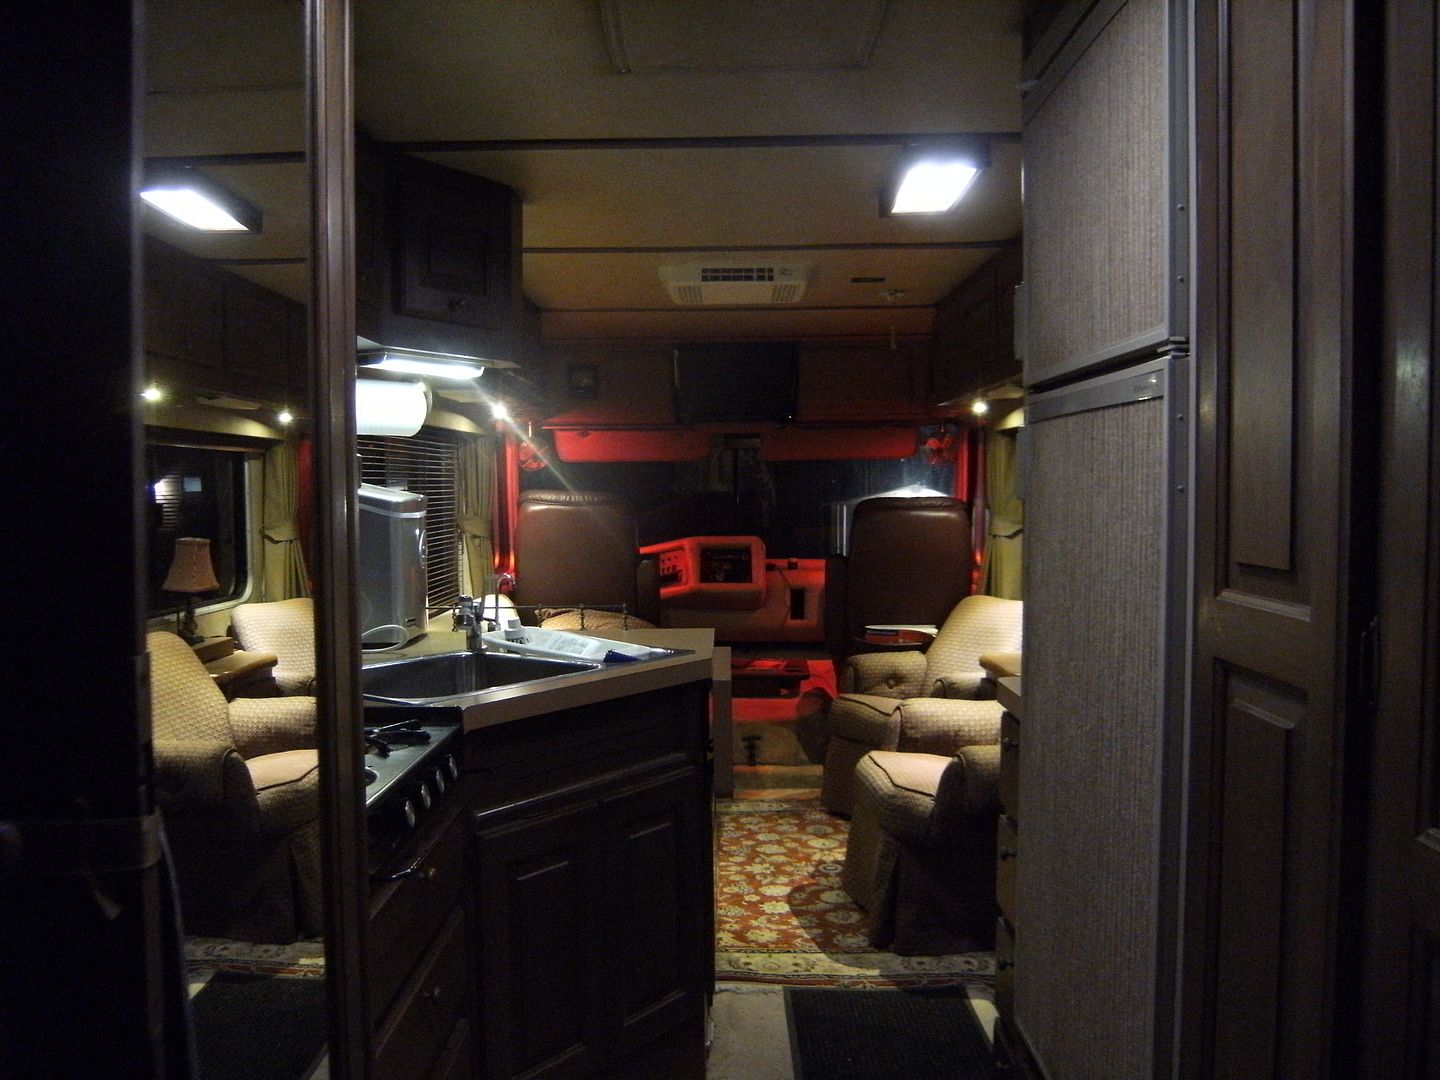 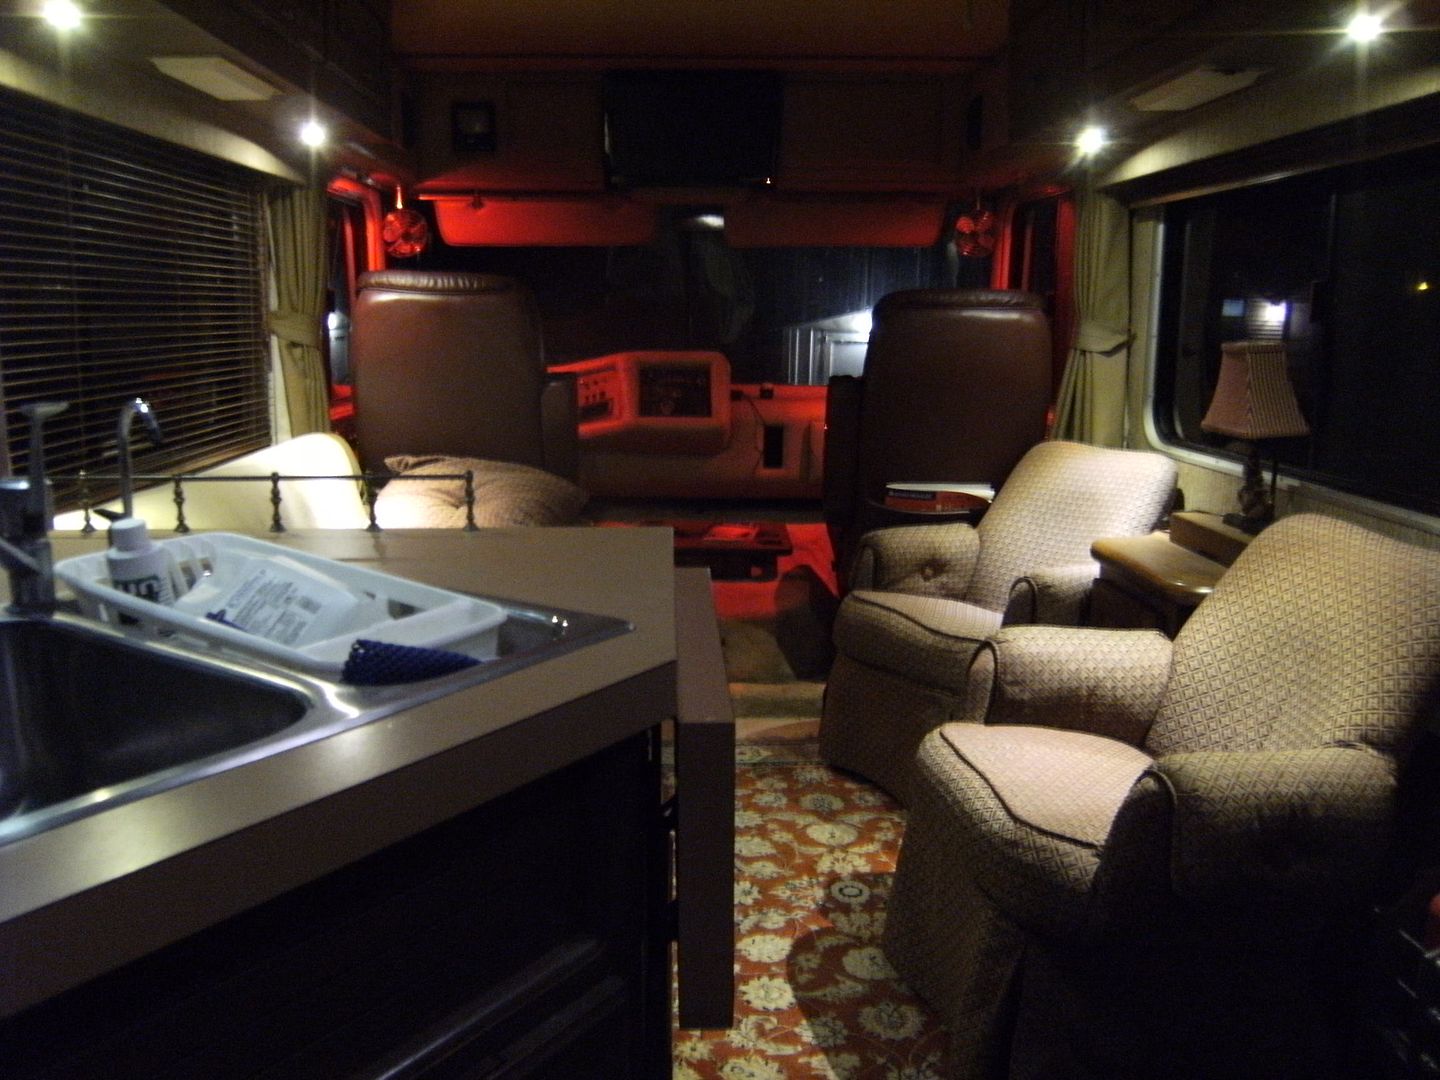 The clearance lights and tail lights were about $230. The pictures don't do full justice, they are bright! (I should have changed one side then taken a picture of both types to compare) 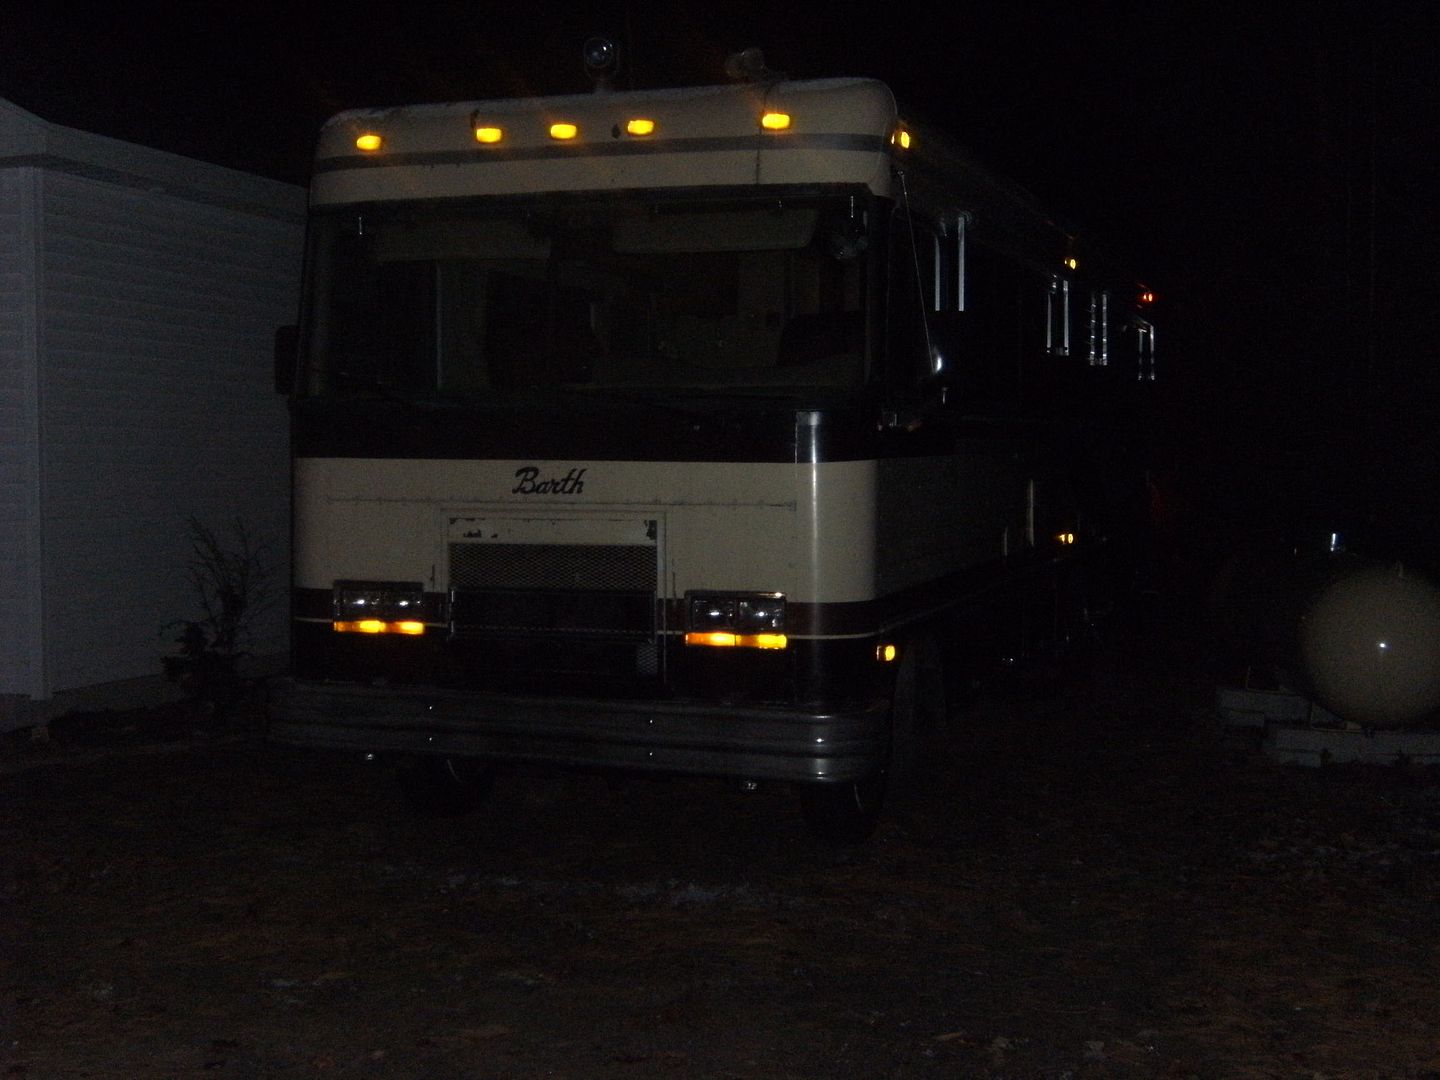 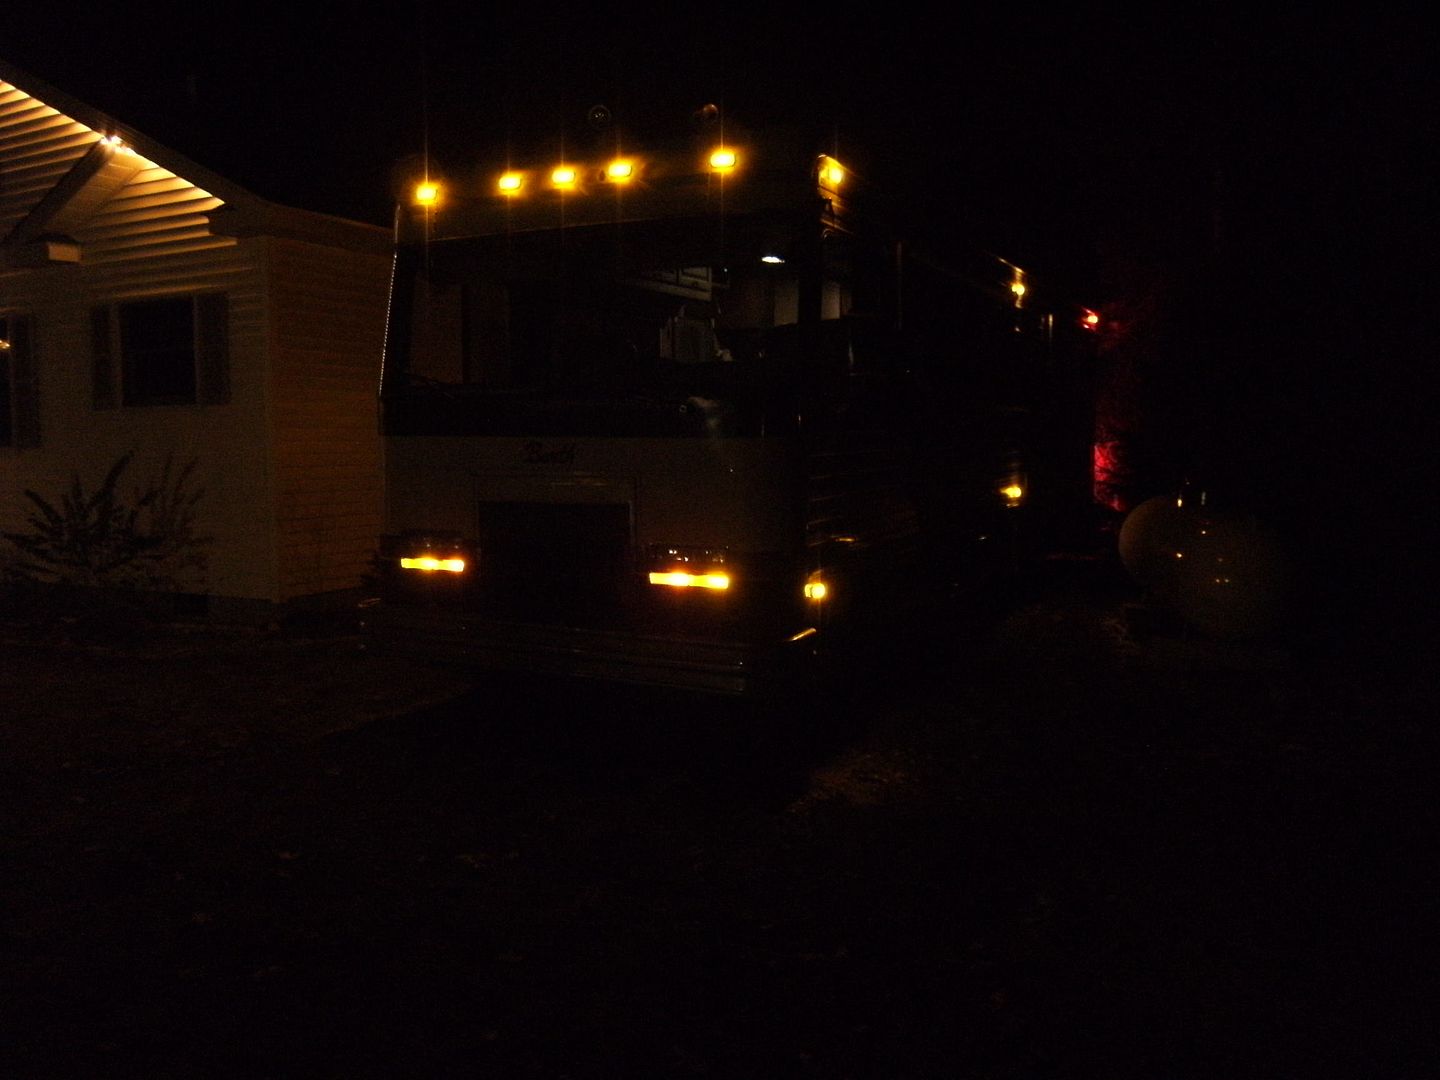 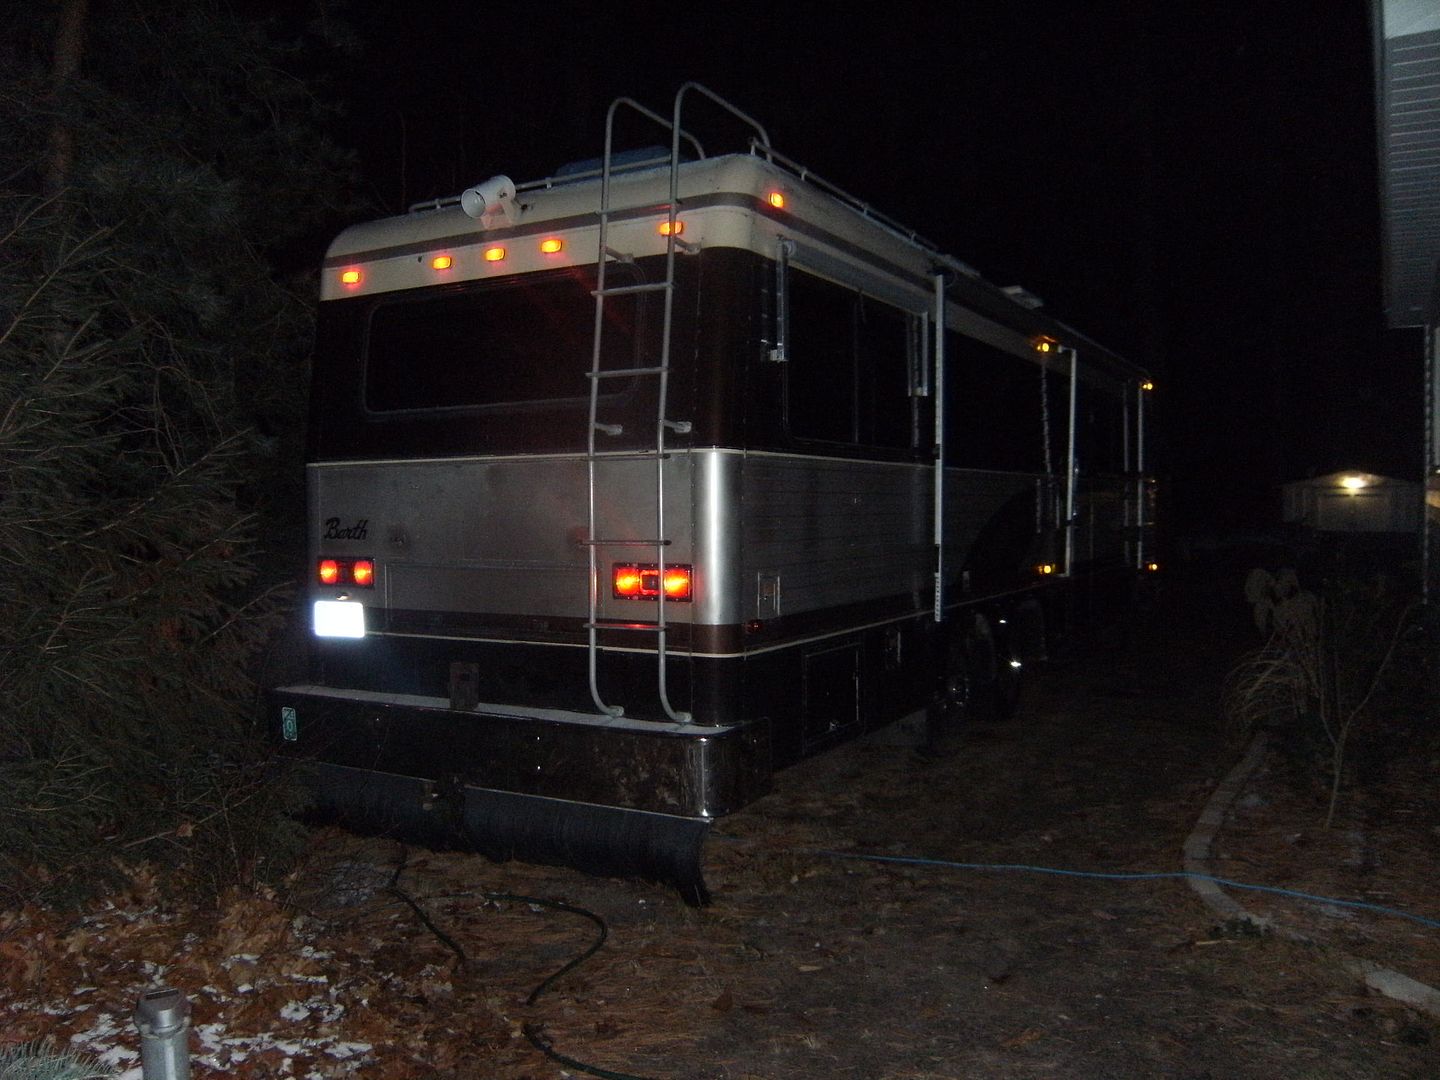 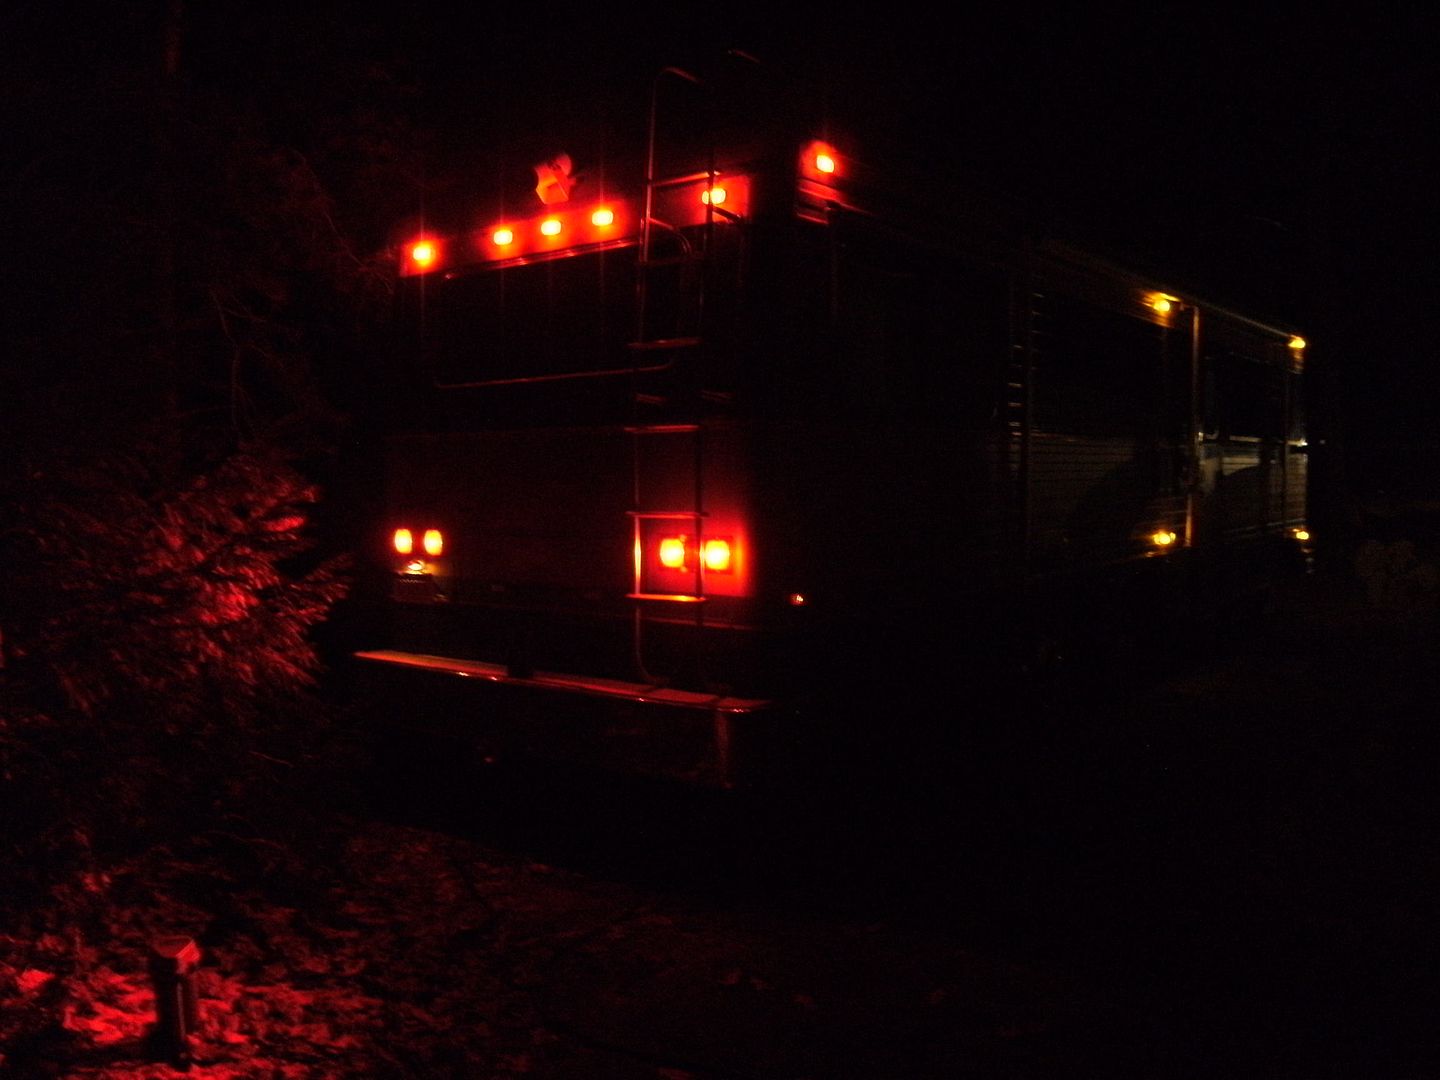 All these lights combined are only using 3 AMPS! Total cost about $400. Less than a new alternator and battery upgrade and almost no work. (How many retired chem teachers does it take to change a light bulb?...) Probably could have saved money by making my own from discrete LED components like Ed did. These were easy and off the shelf. Might be cheaper sources out there, too. These were easy and I like the results. 9708-M0037-37MM-01 "98" Monarch 37 Spartan MM, 6 spd Allison Cummins 8.3 325+ hp | |||
|
Official Barth Junkie |
Kevin, what bulb type do you have in your Regency? You may have to build your own to fit there. Ed (Mwrench) did a nice thread on the ones he custom made. I've seen them and they are excellent. There are numerous LED types to choose from. I found that it was a combination of brightness as well as dispersion. Some of the LEDs were too narrow a beam and did not light up the entire lens. The only ones that looked good in the clearance lights were the 5 LED 360 degree ones. The others were just a bright center dot. (naturally the ones I liked were more expensive) There are some even larger, brighter ones but they are too big to fit in the lights. The brake lights had to be right angle due to the Barth light design. The ones I used have an internal reflector built in to fully illuminate the light lens. The standard type narrow beam didn't look as good from the side. Confession: There were 2 lights I did not replace. The 2 front amber 1157 turn signal/park bulbs. The light reflector is wide and shallow. None of the replacement LED styles had enough side/back scatter to fully illuminate the lens... looked like bright dots. This worked out OK anyway because my turn signal flasher didn't like all LEDs. (It's easy to change flashers but with 1 bulb on each side the flasher is happy) The straight 1157 type LED brake lights with internal reflector worked well in my motorcycle tail light. I used the smallest 194 wedge type to replace the lights in the speedo and tach, the standard bulbs are more prone to fail from vibration. Keep us posted with your project! 9708-M0037-37MM-01 "98" Monarch 37 Spartan MM, 6 spd Allison Cummins 8.3 325+ hp | |||
|
Official Barth Junkie |
Superbright has some similar ones with 18 LEDs but they are $17 for cool white and $19 for the warm white. Looks like yours are a bit cheaper. I haven't looked far and wide but we might find a better price. If several people got together we might get a volume discount, etc. Let us know if you find something better! LEDs are really nice once you get over the initial price... They SHOULD last almost forever, I hope so! I wired some new aisle lights with small white LEDs and a resistor. The original Barth aisle lights were small "grain of wheat" types which didn't last long and got so hot they turned the plastic covers brown. (I'll post pics when I get out there again, it's 26 degrees this morning) That will just about complete my conversion. I should replace my basement lights too, (all shot) but I think that will wait for now. 9708-M0037-37MM-01 "98" Monarch 37 Spartan MM, 6 spd Allison Cummins 8.3 325+ hp | |||
|
 3/19 3/19 |
To have light emitted perpendicular to the socket, particularly in only one direction (down) bulb conversion options are very limited. I like this one, which is what I used for the Bargman patio lamp on the side of my Barth and later on the side of my Pleasure-Way.http://www.ebay.com/itm/180473617815?item=180473617815&viewitem=&sspagename=ADME:L:OC:US:3160&vxp=mtr I think the delivered price <$22 is a good value. | |||
|
You will NOT find any LED lights or products made in USA. They are all made in either Taiwan or China. Taiwan has moved virtually all production to China although sales offices are may be still in Taiwan. LED lights (the actual LED light itself) has never been made in USA, only a small amount of R&D Lights were produced here but never sold. Lamp assemblies have always been made "offshore". Ed 94 30' Breakaway #3864 30-BS-6B side entry New Cummins 5.9L, 375+ HP Allison 6 speed Spartan chassis K9DVC Tankless water heater | ||||
|
Official Barth Junkie |
The final chapter in my LED story: When I got my coach, only one of the aisle lights was working. I decided to try to replace the bulbs. The lights consist of a metal base with a half round, tubular, translucent white plastic insert. Inside the white tubes are small light bulb(s) about the size of a grain of rice. Several problems: the lights produce heat, they warped and darkened the plastic inserts. One could not be reused (see photo) The bulbs burn out quickly, they are hot glued in place and are a PITA to change. At the time I decided it was not worth replacing the bulbs. I got some small generic white LEDs at Radio Shack. (276-0017) I trimmed one lead short and soldered a 1000 ohm resistor (brown, black, red) in line, then attached two wire leads. A short piece of heat shrink tubing completes the "bulb" (see photo) on the right is the cooked single bulb plastic insert. 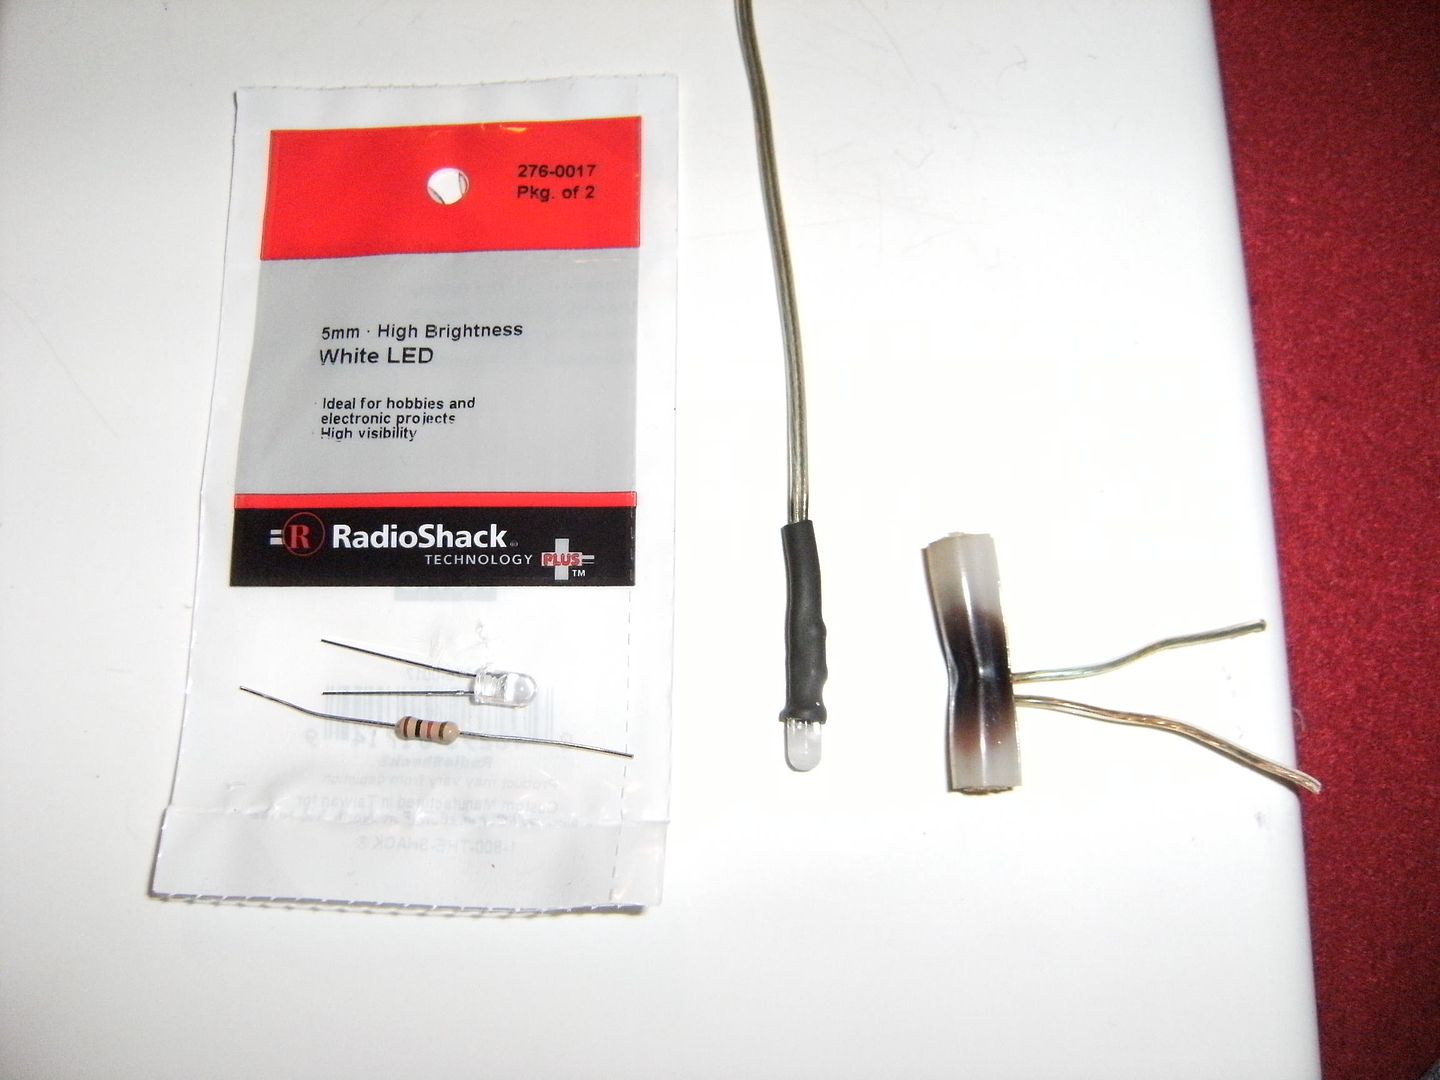 Since the LED normally shines best out the end, I scuffed the end with sandpaper to help diffuse the light to the sides as well. 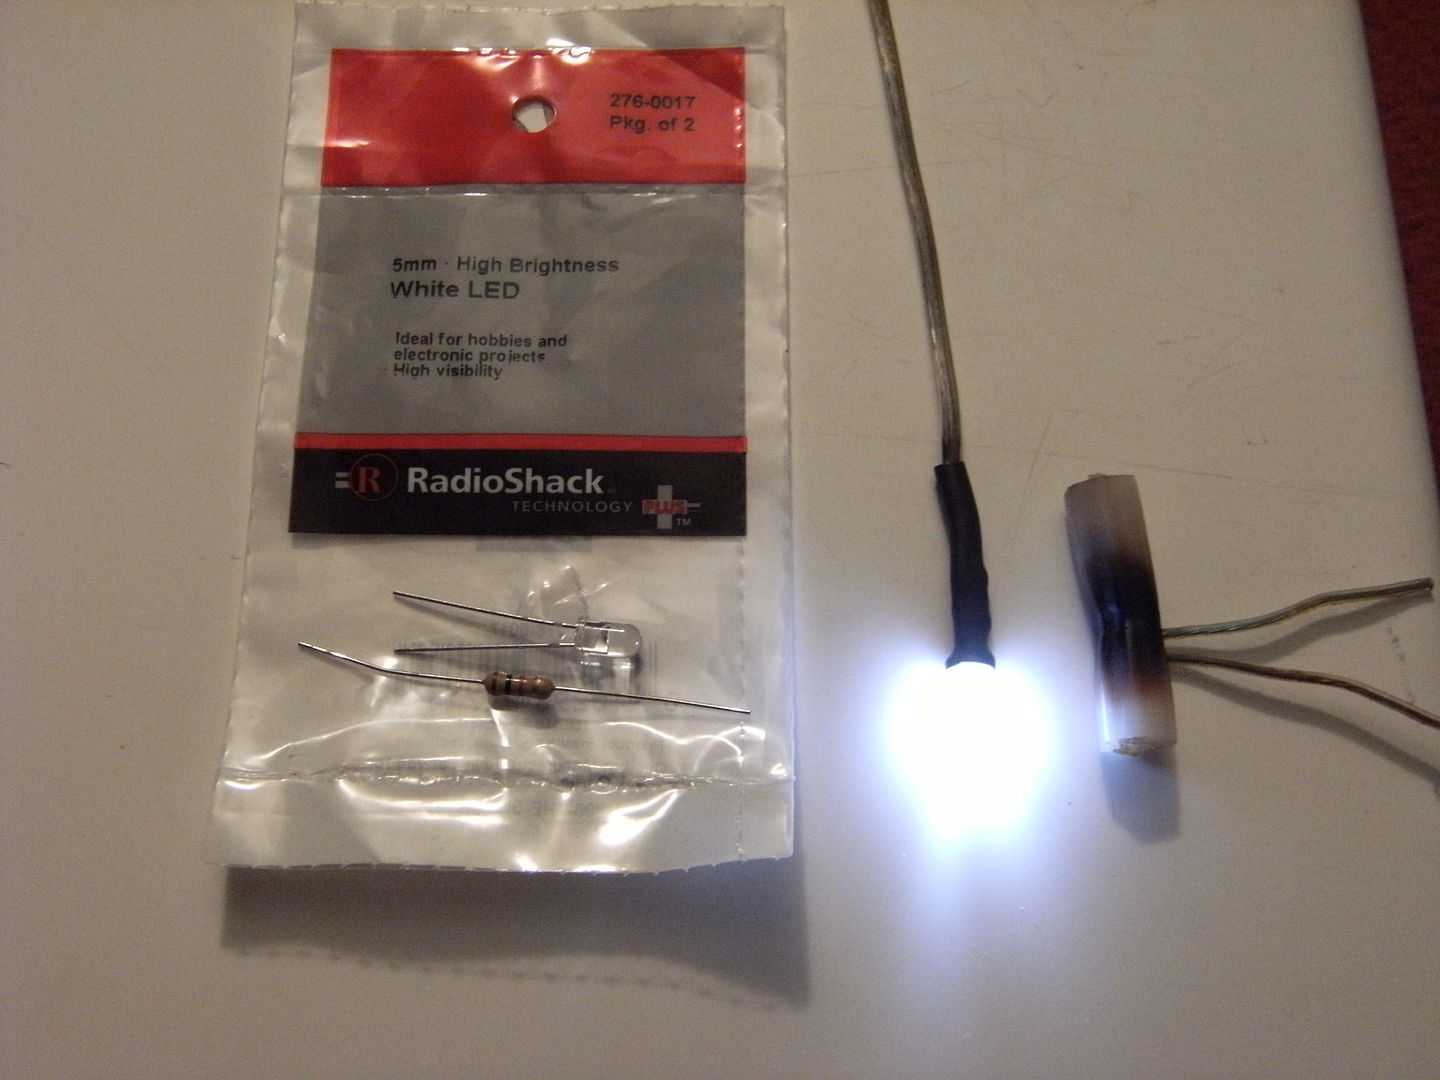 For the 2 bulb lights, I wired 2 LEDs in a "T" with LED on each arm and the resistor and wires in the center. (You can feed 2 LEDs with one resistor) Once you dig out the hot glue and the old bulbs, the LEDs fit right in. Connect the wires (if you hook them up backwards, no harm they just don't work) and tuck the inserts into the base. 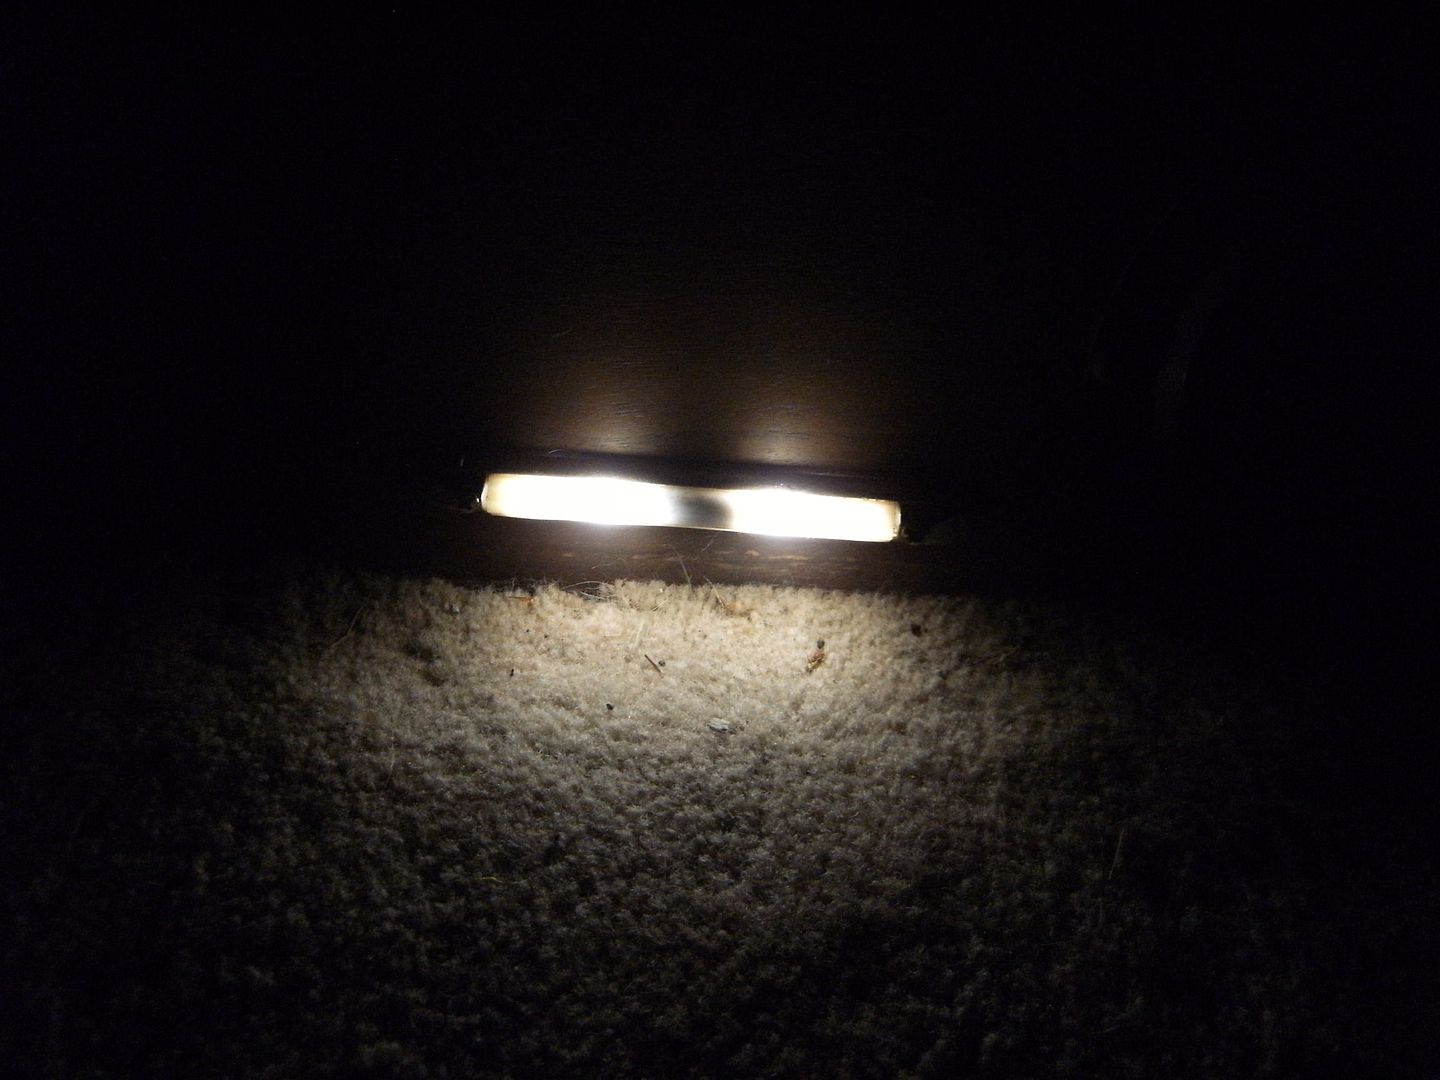 The aisle lights do light the way nicely, never get even warm, and use almost no power so I can leave them on all night. 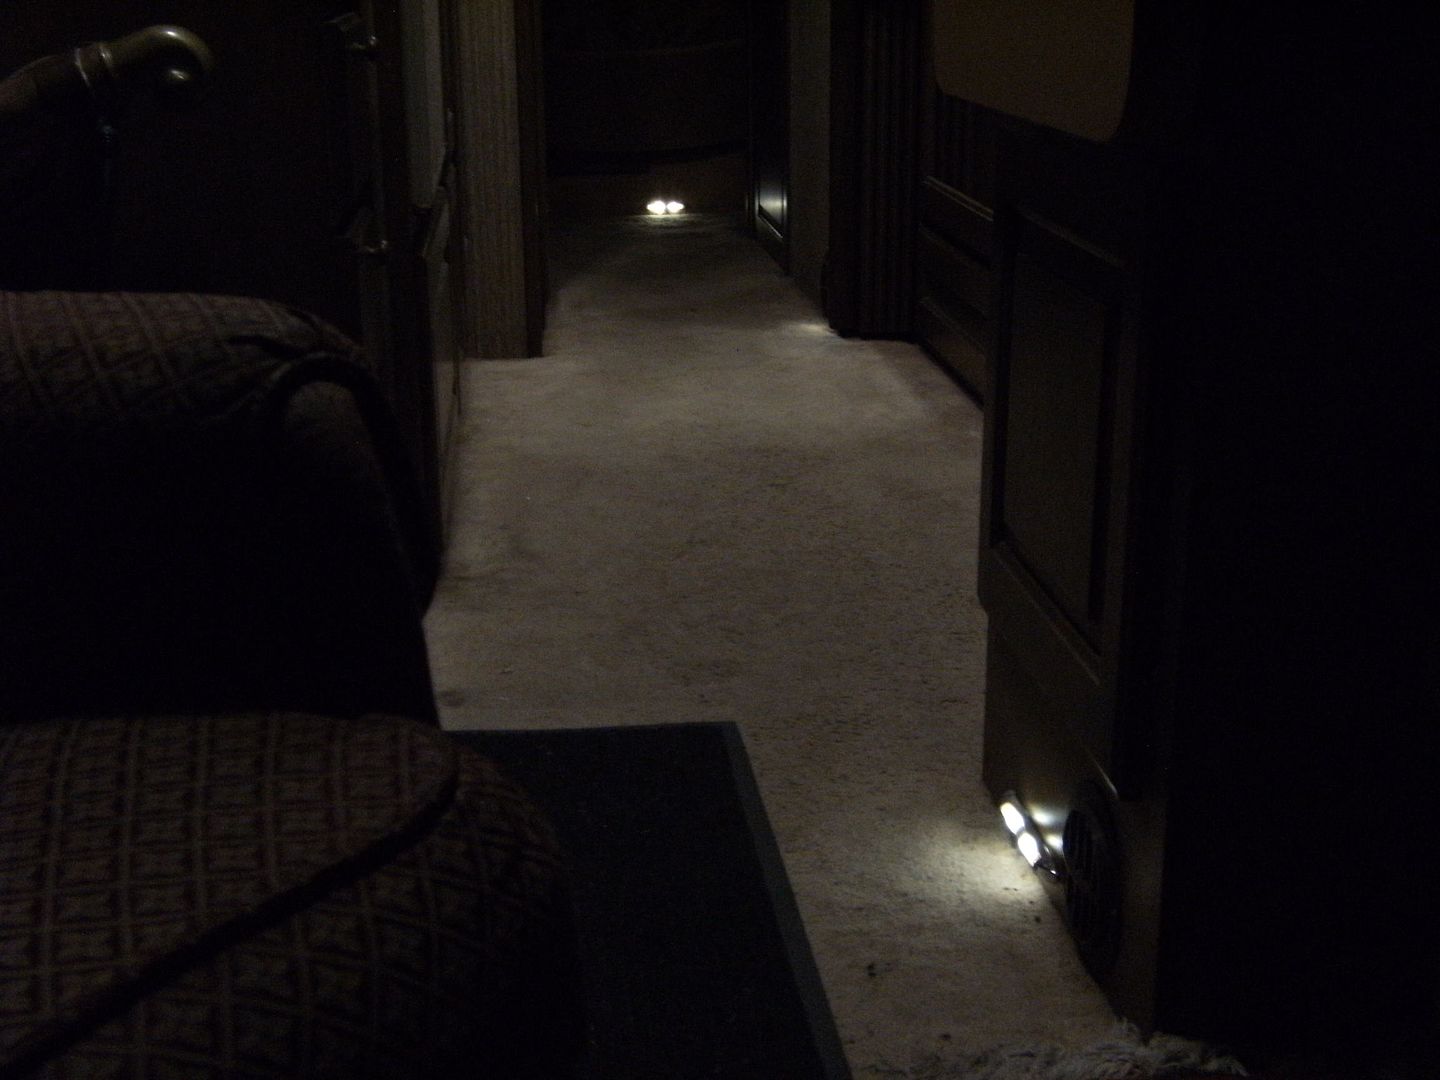 Added bonus: they were really cheap and they will probably last about forever. 9708-M0037-37MM-01 "98" Monarch 37 Spartan MM, 6 spd Allison Cummins 8.3 325+ hp | |||
|
Official Barth Junkie |
LED stands for Light Emitting Diode. Like normal diodes, they will not conduct at all when connected in reverse. When connected with the correct polarity they will conduct (and in this case, emit light!) The problem is that they will conduct too well and the current will fry them if hooked up directly.(short circuit) I use a 1000 ohm resistor to keep the current low and prevent frying the diode. Using Ohm's law (E = I R) voltage equals amps times ohms. Using 12 volts with 1000 ohms gives .012 amps (12 milliamps) and that is well within the normal current range for most small single LEDs. (The Radio Shack ones were rated for 25 ma maximum.) As long as the resistor is inline the diode can't overheat. 9708-M0037-37MM-01 "98" Monarch 37 Spartan MM, 6 spd Allison Cummins 8.3 325+ hp | |||
|
 12/12 12/12 |
Innovative thinking here. Questions: What guage wire is connected to the LED, did you soldier the new LED to the existing fixture wiring and does the originally assembly come with a glass cover over the base for the light to fit under. I noticed that several of mine are out. Tom Taylor | |||
|
Official Barth Junkie |
Good point Kevin. Most of the "bulb replacement" LEDs do have the resistor built in. I have not seen the strips that Sk8er32283 used, they must be internally protected or as you suggested, there were so many that they didn't get hot. I like the flexible strip idea for upgrading fixtures! 9708-M0037-37MM-01 "98" Monarch 37 Spartan MM, 6 spd Allison Cummins 8.3 325+ hp | |||
|
Even if you have many LED connected in series, there must always be a resistor or some current limiting device in line with the LEDs. Each LED will start to conduct (as Steve says) when the LED is connected to the correct polarity voltage, But as soon as it starts to conduct, the voltage across the LED will be a fixed amount. Increasing the voltage to the LED over the forward conduction value of that LED would result in an increasing current flow thru the LED until it would burn out. That is how diodes work, Normal diodes we talk about usually have about 0.7 volts across them when in full conduction. LEDs have between 2.0 volts (for yellow or amber to a bit over 3 volts for white or blue. So the proper way to connect multiple LEDs is to connect them in series. If Steve used 2 white LEDs in his assembly he probably tied one LED to the other LED and then the resister in series with the +12 volt input. I will draw a schematic later after I get back. Those strip LED strings have resisters built in and can be seen as small black squares, these are "surface mount" resisters and you will see them along the string of LEDs that are connected in series. Now to add to Steve's explanation. according to ohms law. if 2 LEDs are in series, then the forward conduction voltage across the 2 is going to be about 6 volts. Subtract this voltage from the input voltage (11-14 VDC)so in the worst case at 14VDC 8 volts at <0.025A must be dropped across the resister. in this case to get full input rated current thru the LEDs a 320 ohm resister must be used. If a 640 ohm resister were used then I agree that 0.012A would be flowing thru the LED string. Steve if you connected both LEDs together in parallel, then the LEDS would not necessarily share the current equally as production tolerances would be slightly different. One LED may be brighter than the other. Even in this case you must subtract the forward conduction voltage of the LED ~3VDC from the applied voltage so you would have maximum current at 14 VDC applied of 0.011A using a 1000 ohm resister and if the LEDs forward conduction were nearly equal, would have half of that to each LED. Tying multiple LEDs in parallel is not the recommended way for equal lighting and best reliability. Resisters are not available in every value of resistance, so you have to pick a standard value resister that is close to the value that is calculated. if this isn't clear I will write more later and have schematic Ed 94 30' Breakaway #3864 30-BS-6B side entry New Cummins 5.9L, 375+ HP Allison 6 speed Spartan chassis K9DVC Tankless water heater | ||||
|
Official Barth Junkie |
I was hoping Ed was out there. Thanks for refining my ballpark answer. (I was thinking .6 V for LEDs and ignoring the voltage drop in the calculation) Resistor selection is important if you want full brightness and efficiency (and not as simple as it sounds for multiple arrays) Close inspection of those ribbons does reveal surface mounted resistors at regular intervals. I have limited experience with surface mounted components and multiple arrays. Since I am using the LEDs for aisle lights I didn't need them to be very bright. (Besides I already had a bunch of 1K resistors) I just figured 1K ohm would be in the ballpark. 9708-M0037-37MM-01 "98" Monarch 37 Spartan MM, 6 spd Allison Cummins 8.3 325+ hp | |||
|
 12/12 12/12 |
glad to know that the resistor can be connected input or output. Tom Taylor | |||
|
 12/12 12/12 |
I sort of figured that the resistor should be on the input side but did not see that mentioned in the one one thread I was following.- thus mypost. Glad to see it is the longer wire side. I do plan to replace some of my floor lights with the LEDs and resisters as shown on the post covering that. Good information. Thanks Tom Taylor | |||
|
| Powered by Social Strata | Page 1 2 3 |
| Please Wait. Your request is being processed... |
|
This website is dedicated to the Barth Custom Coach, their owners and those who admire this American made, quality crafted, motor coach.
We are committed to the history, preservation and restoration of the Barth Custom Coach.
We are committed to the history, preservation and restoration of the Barth Custom Coach.