Go to...  | Start A New Topic  | Search  | Notify  | Tools  | Reply To This Topic  |  |
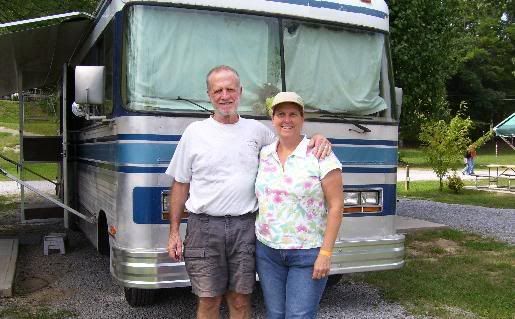
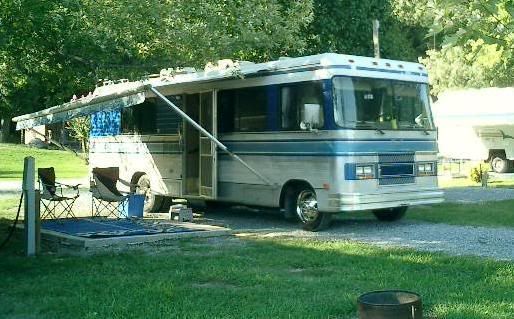
Steve - not a Barth, but you get the idea. 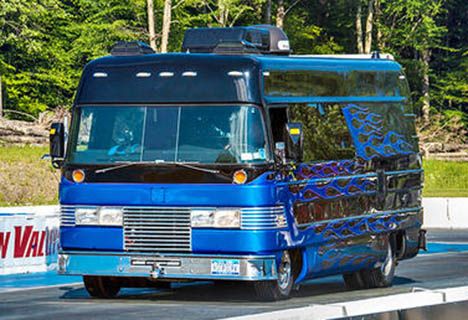 Also, a few more shots of tonight's install. Dinette benches done, just waiting for the cushions to get finished. I thought about replacing the dinette with more contemporary fare, like a couple of barrel chairs on swivels, but I would give up seating, sleeping, and a table... so this way it's more original, just with nicer fabric. 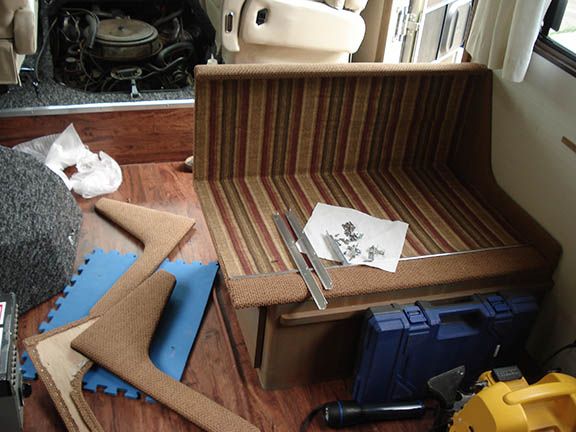 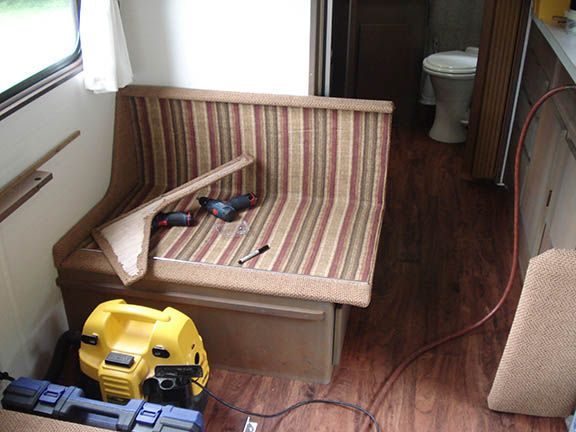 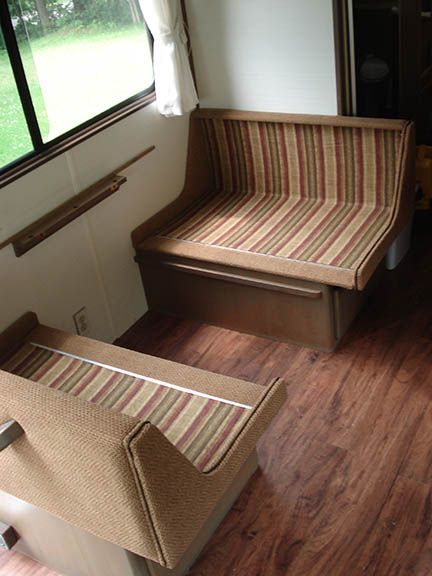 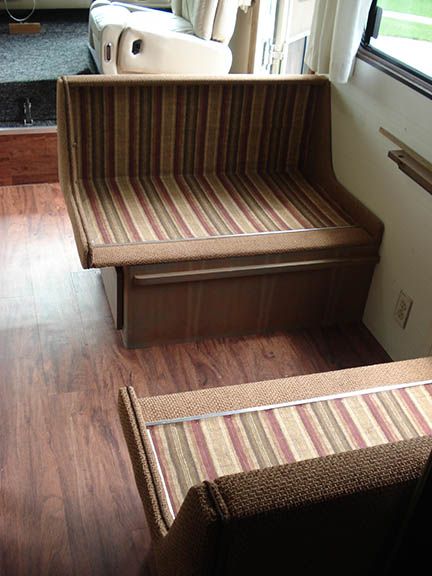 1989 22' Regal 454 | ||||
|
 6/12 6/12Formally known as "Humbojb"  |
Makes me want a Barth(just kidding. I'll always want one, just won't have one). Jim
| ||||||||||||
|
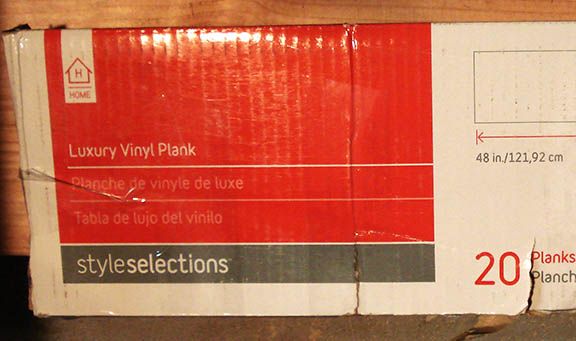
Hey Kevin, You mentioned Vinyl Planks. Not that brand matters, but is that the "Allure" type stuff. I have put it into three rooms in homes and love it. and it is the direction that I plan to go in my Barth. There are probably many brands, I think that is "Big oranges". johnny | ||||
|
| ||||
|
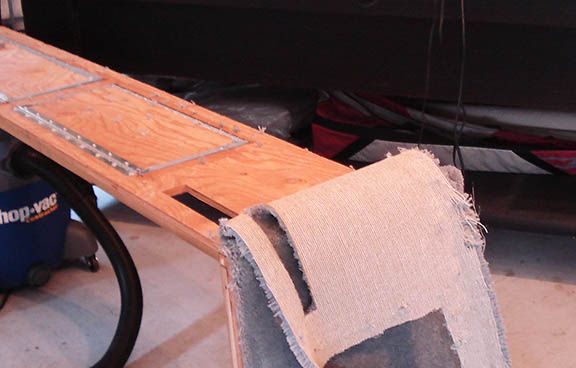
Closing in on the finish line. Sofa back and seat covers came home from the tarp shop and I've hog ringed them back onto the frames. They set atop the dinette, with those cushions finished and back and in place, but hidden from view. The sofa frame is recovered and now set in place, but the photo is from in my studio about to have the front doors fastened back in place. I cut new plywood and replaced the awkward long piece (that opened the two spaces underneath the jackknife sofa) with two separate doors. I think it looks better. Tomorrow I should have everything buttoned back up and will take a few final photos. I also have been working to plug up a leaking/rusted out air injector and can take a few photos of that and post to another topic. 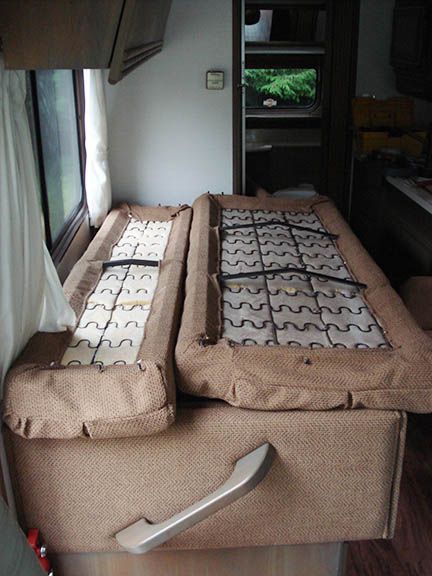 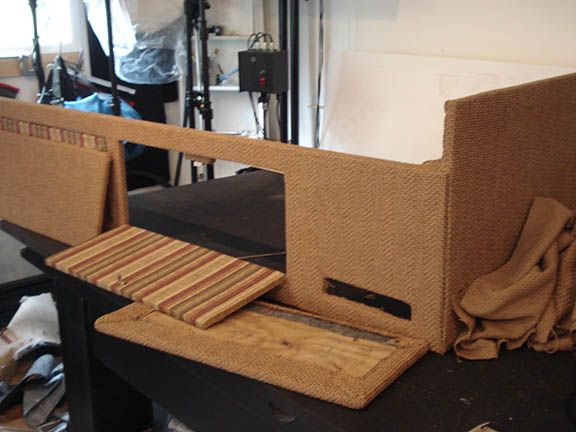 1989 22' Regal 454 | ||||
|
Finally! I got it all put back together yesterday in time to pack up and take a quick overnight trip to see the kids in Orchard Park (outside of Buffalo). Celebrated my birthday and came home tonight. I still have to put away tools and clean up my shop, but after I install the new LED aisle lights. New pics show the Cherry board going in and a few shots of the new interior. I'll get my fisheye lens out soon and try to do better justice to the "new look". 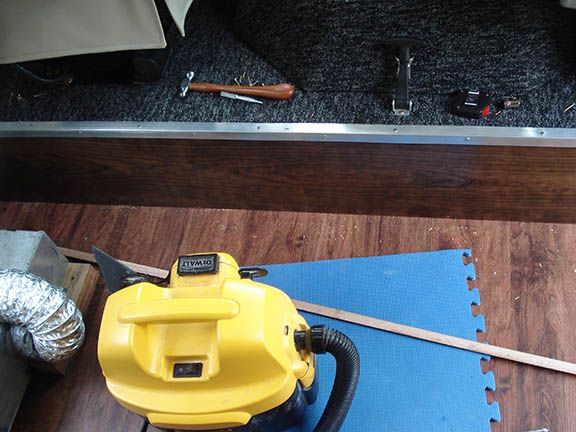 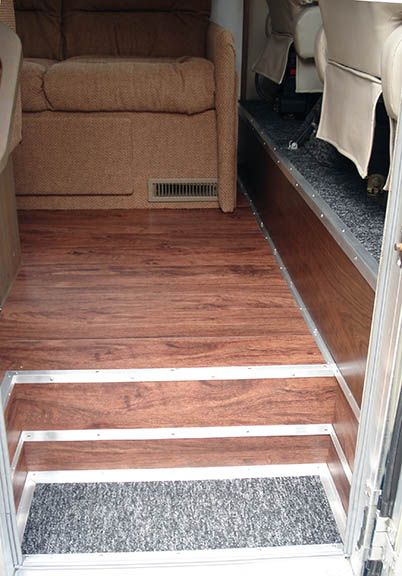 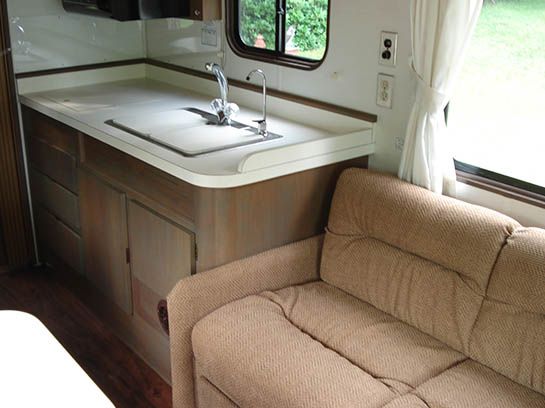 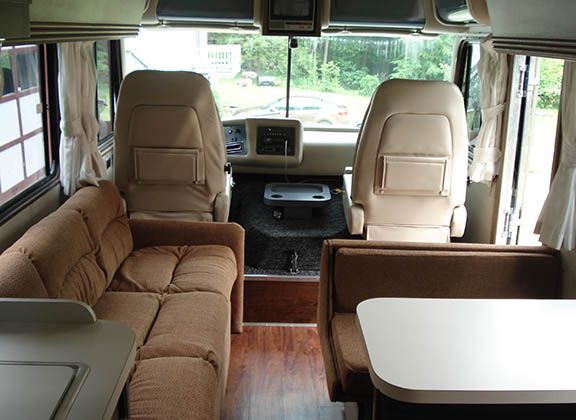 1989 22' Regal 454 | ||||
|
 3/09 3/09 |
Great job! I'll be doing this to my Barth. How did you secure the flooring? Three Times A Charm 88 30' Regal John Deere Hot Rod Lincoln 511 Cubic Inches 8712-3499-30J-A | |||
|
Dave, I used the self-adhesive vinyl floor planks from Lowes. First, the old carpeting, underlayment foam, and staples were removed and any wood splinters, etc. sanded down flat. I also had to deal with several of the long, self-tapping flathead screws Barth used to secure the plywood subfloor to the steel framework between the floor and truck chassis. I had to remove some because they either were no longer holding (i.e. stripped) or never were screwed in far enough and would have "broadcast" through the vinyl in no time. (I found that shag carpet covers over LOTS of misadventures in assembly/finishing of coach interiors and this was one of them). Some of these were re-drilled, countersunk, and then screwed back down - if I thought that area of floor needed the additional securing. The plywood then received a couple coats of sealing from Henry Bond Enhancer http://www.homedepot.com/p/Hen...imer-12056/202046165 and I simply laid the vinyl according to package instructions. There were heavier vinyl products available, but I liked the one I used b/c it is soft, thin, and pliable enough that I could cut it easily with a utility knife. Fitting around the rounded radius corners of the dinette, bathroom, and galley area was accomplished using paper patterns and an X-acto knife. Unlike floating laminate floors, the vinyl does not require molding trim to cover the edges - if one can cut it that close... that's why I used craft paper patterns pushed into the creases for the tricky stuff. It took a little trial-and-error, but I eventually got the hang of it. I found that pre-fitting the vinyl piece BEFORE peeling the waxy paper off the adhesive side was the only way to get a good fit, as some fine trimming usually was necessary. Yes, in case you've guessed, my OCD includes being fussy about fitment, but it subsided somewhat as the job wore on. Here's a couple of close-ups to show you what I mean. 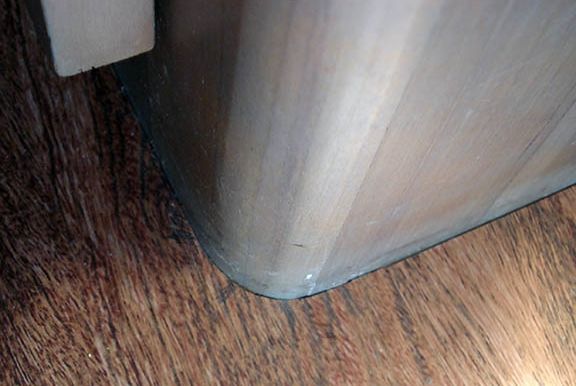 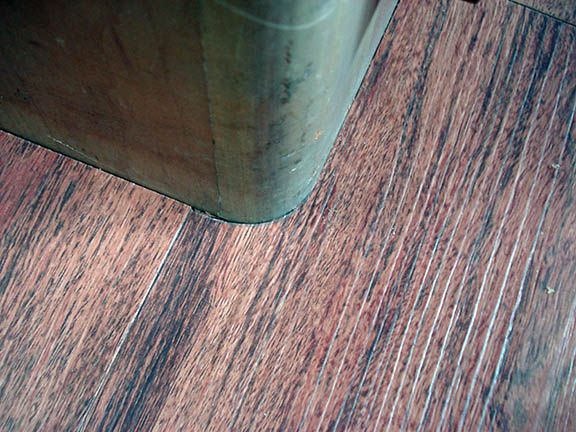 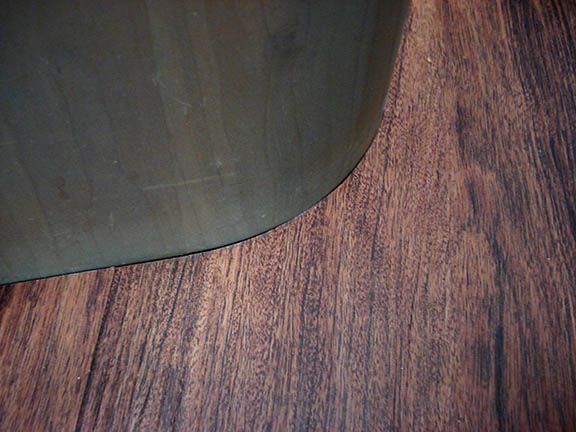 1989 22' Regal 454 | ||||
|
As a final note to this thread, I would make a small recommendation to anyone who removes their dinette bench tops (for recovering or otherwise) and plans to reattach them to the bases. Make sure enough clearance is maintained between them to assure the table top will still manage to slip down onto the ledges along the front of the bases. This, of course, is only necessary for converting the dinette to a bed, but I didn't consider and will be taking something apart to regain bed-making ability. Also, last photos using wide angle lens. 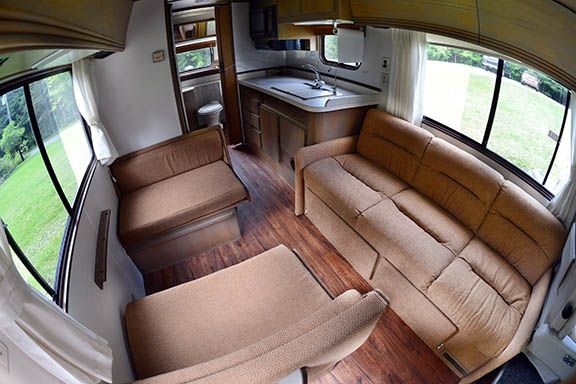 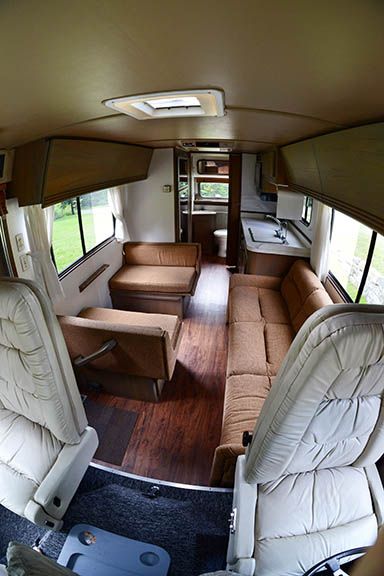 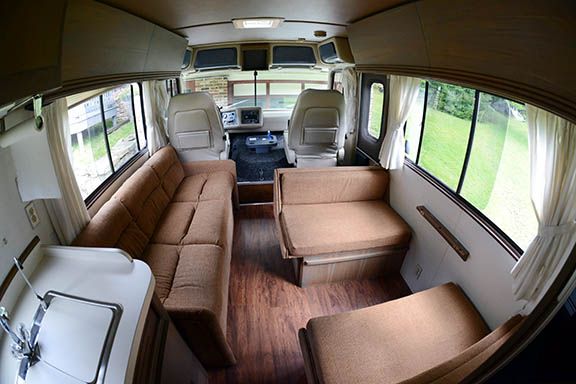 1989 22' Regal 454 | ||||
|
 3/09 3/09 |
That's one superb job. If mine comes out half that good I'll be happy. Thanks for all the tips. Three Times A Charm 88 30' Regal John Deere Hot Rod Lincoln 511 Cubic Inches 8712-3499-30J-A | |||
|
Official Barth Junkie |
That is an exceptional job. I really like how it turned out. One of the nicest interiors I have seen. When I get done re-powering I have interior work to do. Hope mine turns out as nice as yours. 9708-M0037-37MM-01 "98" Monarch 37 Spartan MM, 6 spd Allison Cummins 8.3 325+ hp | |||
|
Hey, thanks a lot you guys. The response from the family has been very positive as well, so I'm happy I undertook the challenge. Now onto other things that require attention, like prepping and treating the interiors of the storage lockers underneath with POR, figuring out why the genset won't stay running, getting the propane system tested and working properly, and that pesky rain-leaking driver's side window! I did get the rusty exhaust manifold air injectors removed and plugged up - solved the knocking when engine was under load problem, but sorry, I didn't take photos. More later... and keep us updated on that new engine Steve! 1989 22' Regal 454 | ||||
|
 3/19 3/19 |
Kirk, thanks for the detailed narrative and photos. You should be PROUD of what you have accomplished! | |||
|
Looks super! Love your coach too. This is VERY helpful because I am about to attempt the same project. 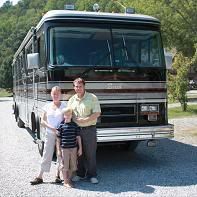 1988 Regency 38' Gillig 3208 T Cat | ||||
|
Are those stock edges...shiny metal L-shaped moldings that cover stair edges and screw in? They look great.  1988 Regency 38' Gillig 3208 T Cat | ||||
|
| Powered by Social Strata | Page 1 2 3 |
| Please Wait. Your request is being processed... |
|
This website is dedicated to the Barth Custom Coach, their owners and those who admire this American made, quality crafted, motor coach.
We are committed to the history, preservation and restoration of the Barth Custom Coach.
We are committed to the history, preservation and restoration of the Barth Custom Coach.
