Go to...  | Start A New Topic  | Search  | Notify  | Tools  | Reply To This Topic  |  |
 6/12 6/12Formally known as "Humbojb"  |
1.Clean roof with dawn soap & clorox & stiff brush. I had a broom handle & a scrub brush attached. Rusty used "Purple Power". The dawn & clorox were on hand so that is what I used. Probably 3 or 4 scrubbings & rinsings. Allow to dry.--I did NOT remove A/C.s. Neither leaks so rather than create a leak I left them/ 2)Take a firm wire or hard plastic brush & a 1 1/2" wide putty knife & “remove all mildew, dirt, rust, loose coating or other contaminants which would prevent maximum adhesion of the Anvil roof coating”. I used a metal paint removing tool & in some spots I put all I had into scraping down to aluminum. If I could not remove with elbow grease I left it in place. The seal around some of the rivets had deteriorated & was loose but not too loose. I used a lot of elbow grease getting around these rivets because I didn't want it to haunt me in the future. There were some rivets that were worn out & needed to be replaced or just not there. Drill them out & replace. Aluminum w/aluminum mandrels. I have what you need if you want me to send you some. Rivet tool is under $25. 3)Get some TSP Trisodium Phosphate 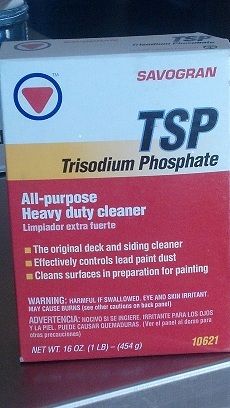 2 tablespoons to a gallon of water. Apply this a couple of times by scrub brush, then rinse. You're supposed to check the roof after it dries & be sure the chalky residue left by the TSP is gone or minimal. I started working on mine & there was still a chalky residue but I couldn't get it to go away. I'll check it in 5 yrs to see if there was any adverse affects 2 tablespoons to a gallon of water. Apply this a couple of times by scrub brush, then rinse. You're supposed to check the roof after it dries & be sure the chalky residue left by the TSP is gone or minimal. I started working on mine & there was still a chalky residue but I couldn't get it to go away. I'll check it in 5 yrs to see if there was any adverse affects4)Buy some spray on self etching primer “SMS” at auto paint store. NAPA has a product but I used the SMS. Take a rough grade of Scotch Brite pad (NAPA) & scuff up the aluminum that is now exposed & apply primer to any bare aluminum. a)After I primed the bare aluminum spots(gray self etching primer)I let it dry then went over primed spots with a coat of anvil before rolling whole roof. 5)Buy Grey Seam sealer in quart can (NAPA brand) http://www.napaonline.com/Cata...eProductImageWrapper http://media.napaonline.com/is...ePartsCompany/250368 It is for sealing seams on semi tractor truck trailers. Note: The first can was easier to apply than the second one because it was thinner. This was a little frustrating. 6)I taped off the perimeter of the roof for neat lines. 2” left of seam & 2” right of seam.* The seam itself had the most sealer & I tapered off to the edges for a convex application. I was being much neater than original application because I was going to paint just up against the roof so I taped my lines. I would recommend anyway. a) If there was any roofing material or sealant I could not manually remove with some SERIOUS elbow grease I decided not to remove it. It had survived 25 yrs it would make it another 25yrs. Apply thick. 1/4". The more the merrier. If you tape it give it about an hour to cure & remove the tape. REMOVE TAPE BEFORE DRYING COMPLETELY Slope away from the vents so water will flow off. 7)I took some self leveling product; Dicor self leveling sealant, 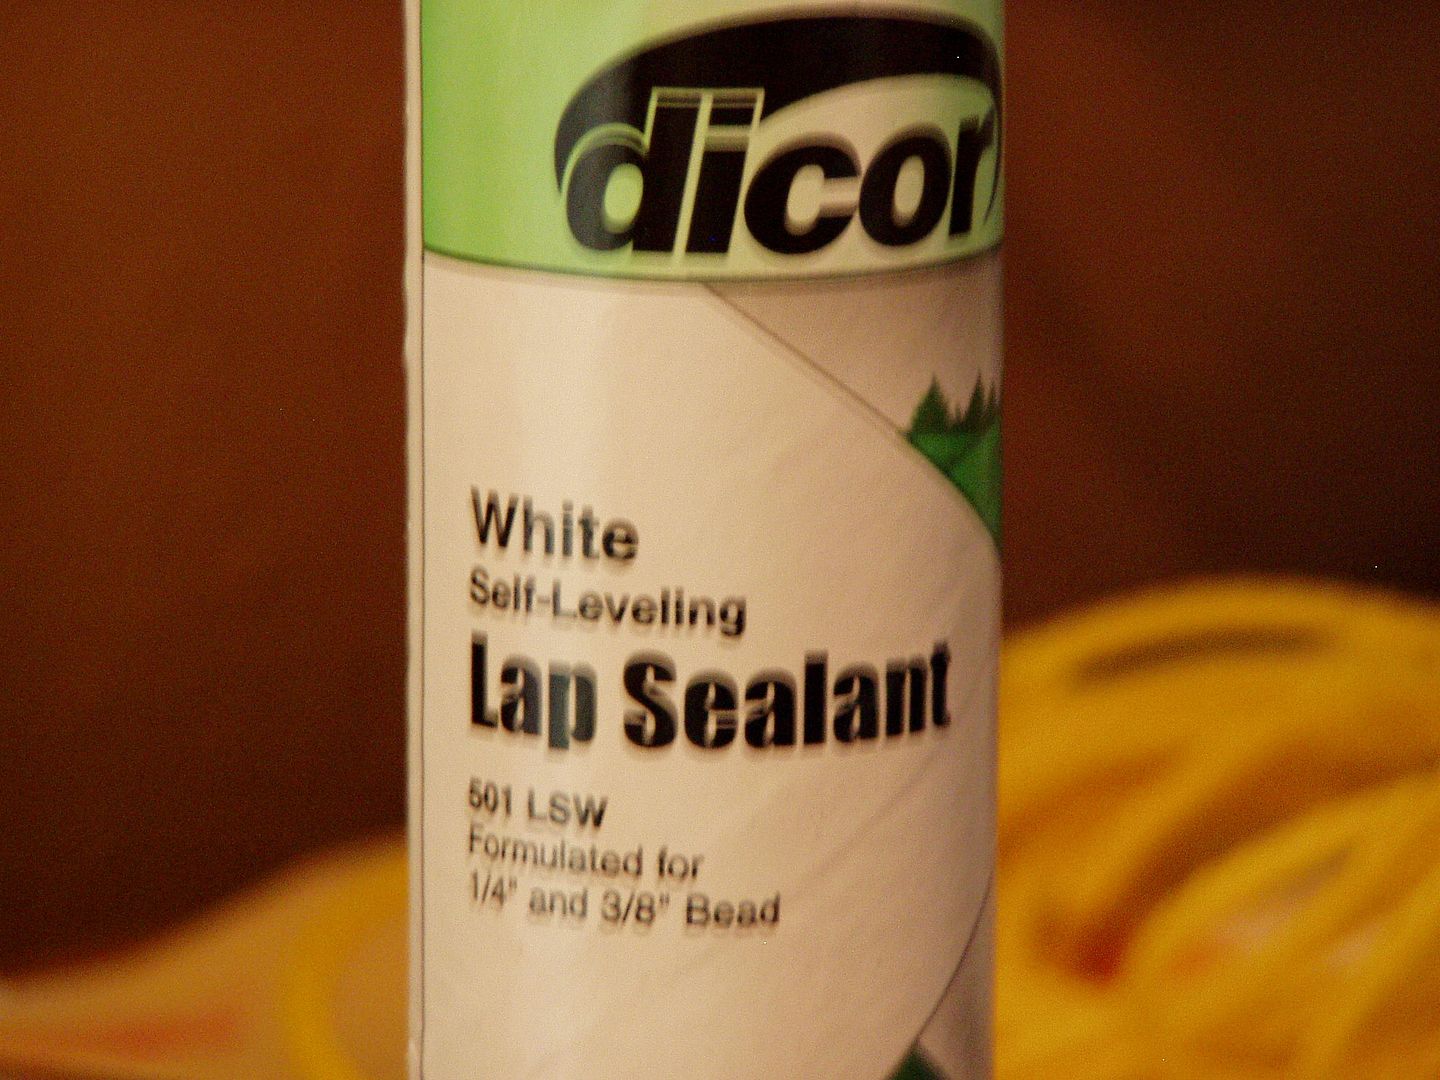 “painted” thin coat with a brush over the DRY gray seam sealer vent openings, roof rack anchors, and old covered air horn hole. I did this after the 1st coat of Anvil. This was probably over kill. I did this so I could get down into the cracks & seals that the firmer gray sealer may have missed. I did not go over the perimeter seams with this product. Let dicor dry thouroughly before 2nd coat of Anvil. Day or so. My son in law had recently painted the top circumference of rv ergo taped plastic all around to protect before using anvil. 8)Call Sherwin Williams & ask them to special order a gallon of bright white Anvil multi-purpose Elastomeric Roof Coating. It is about $35. Paint your vent seams & roof edges with a paint brush & roll on the rest. It goes on like a dream. I put on two coats & still have some left over. Depending on the temp & humidity will determine the drying rate. Ideal conditions temp above 70* & 50% or less humidity. If conditions are favorable coat once wait 2 hrs & recoat. If you have a hot sunny day or two or three, park in sun & allow to really dry. Our weather was extremely humid & it took a month for it to dry. Wear white soled shoes, the black soled tennis shoes leave foot prints. 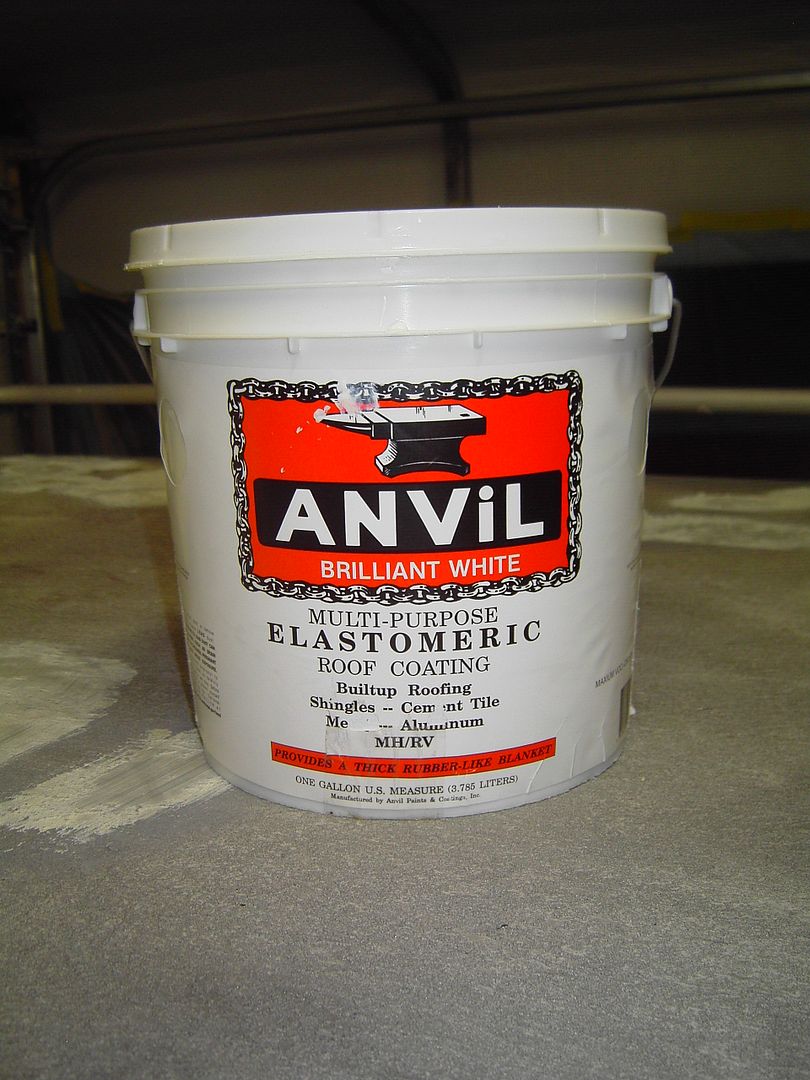 9)Anvil Paints & Coatings, Inc. 1255 Starkey Road Largo, FL Anvil makes a seam sealer but I didn't know that until I had already done all of my sealing. Don't know anything about their product. Some of my applications were not recommended by dicor company. Applying elastomeric to dicor not recommended. We'll see. 10)Barth originally used Anvil on it's roof application. Someone added sand to it. I checked into this & Anvil did not recommend it. I painted over the original application without sand because most of the sand remained on my roof. If you have a smooth aluminum roof I would suggest some sand but make sure it is "clean" sand & check for chemical reactions in product you use. before 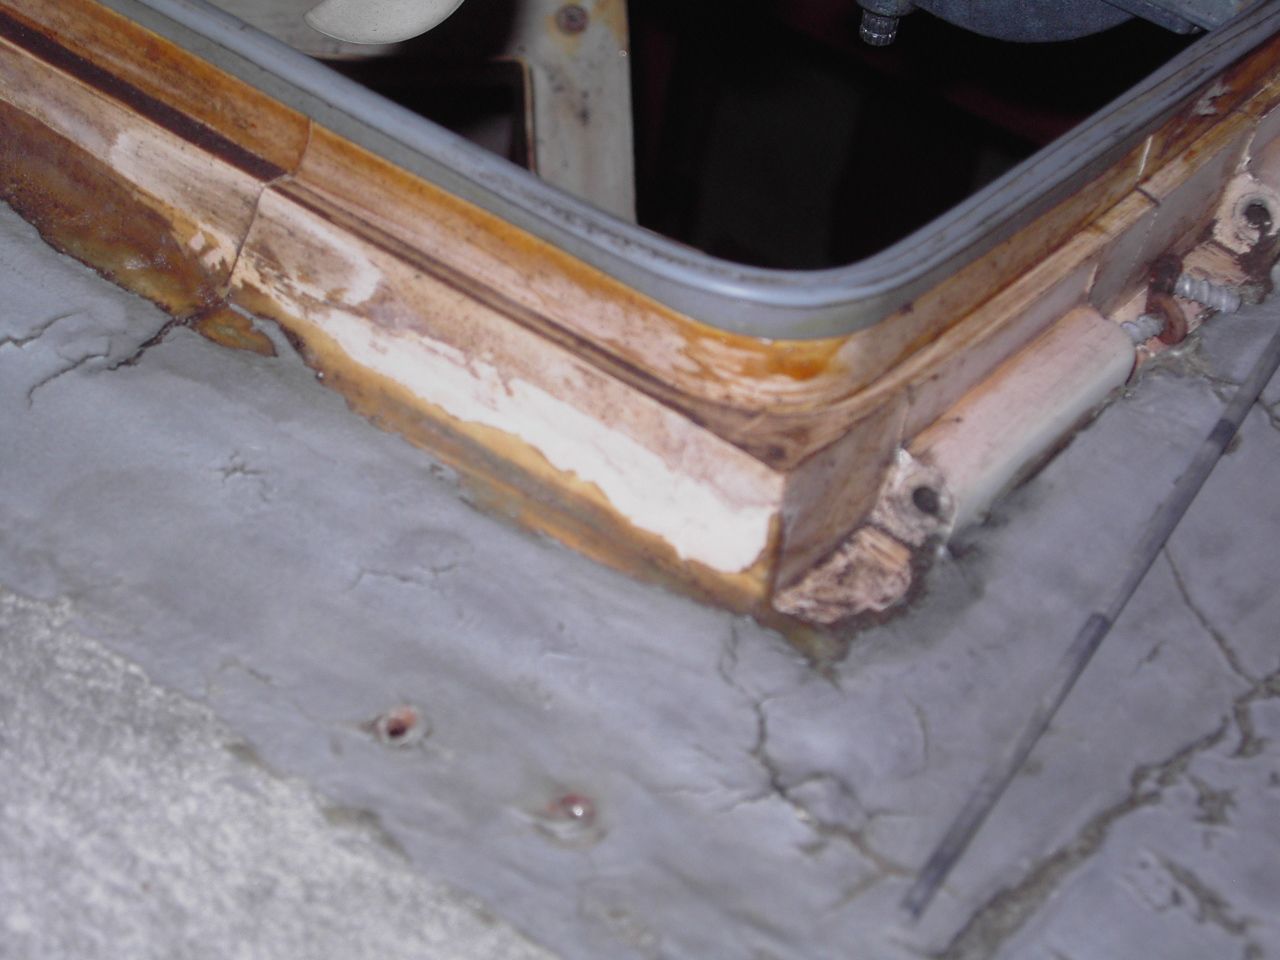 before 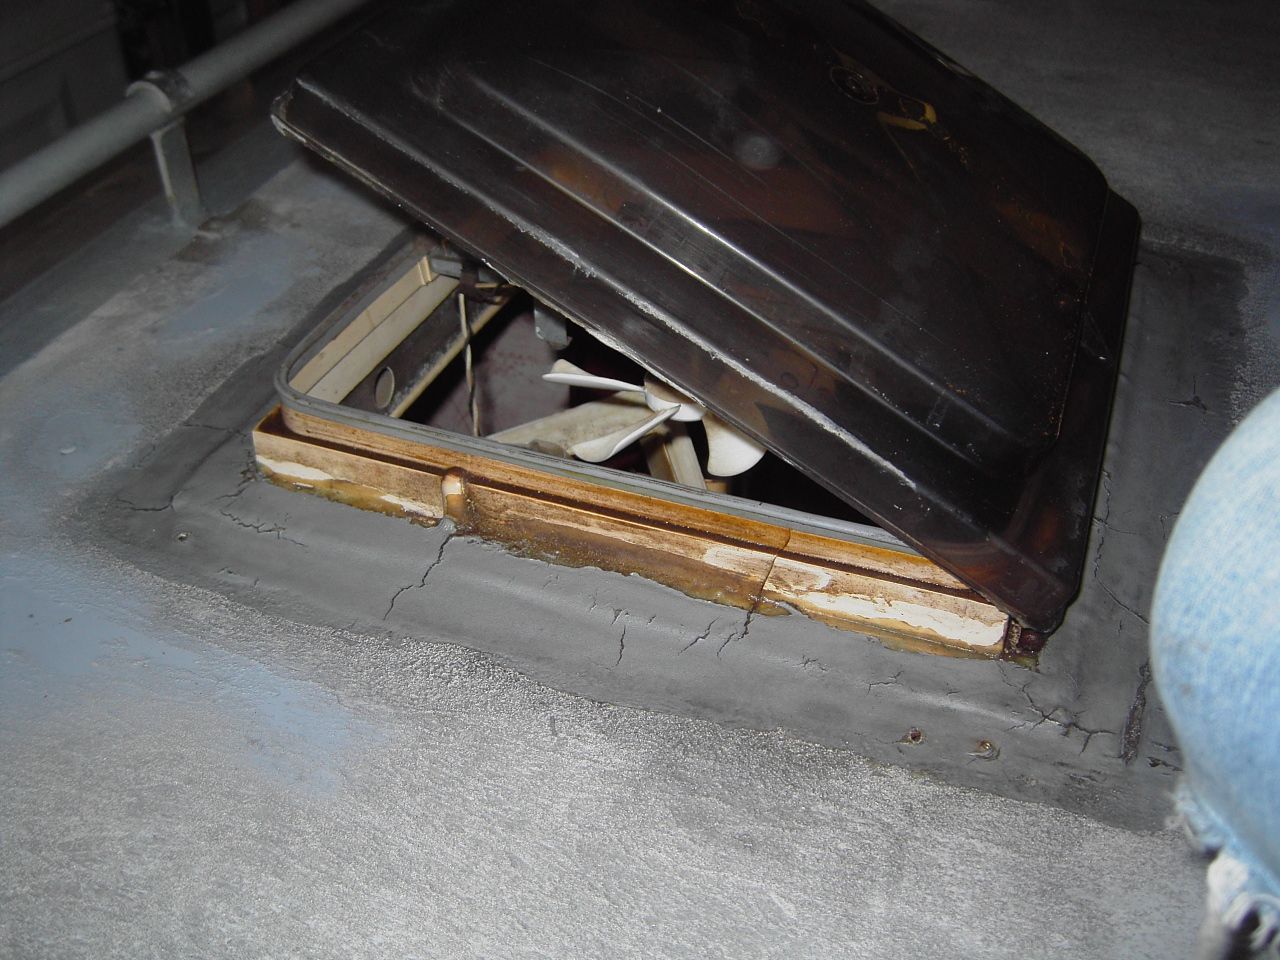 after 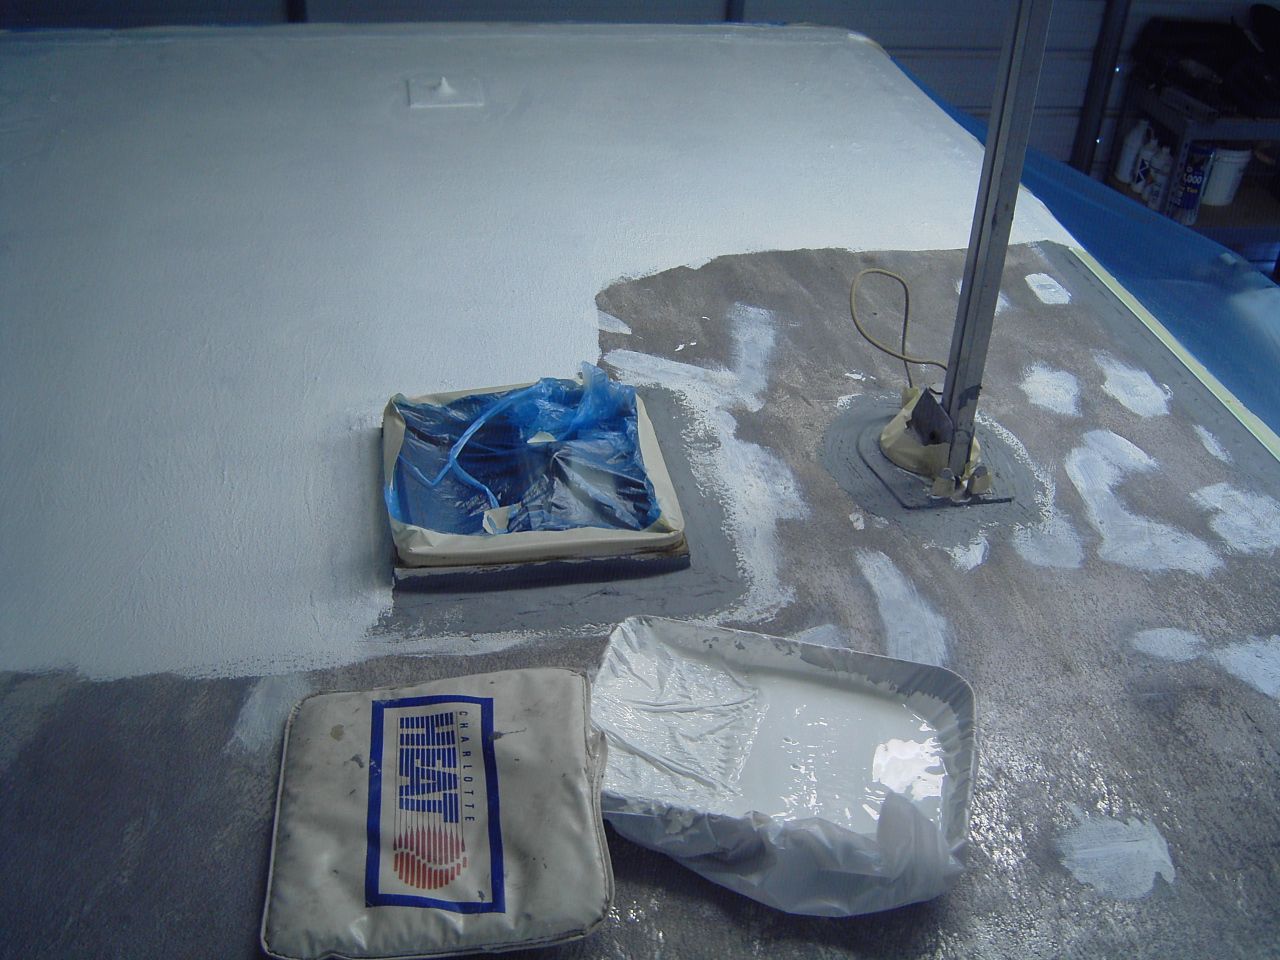 after 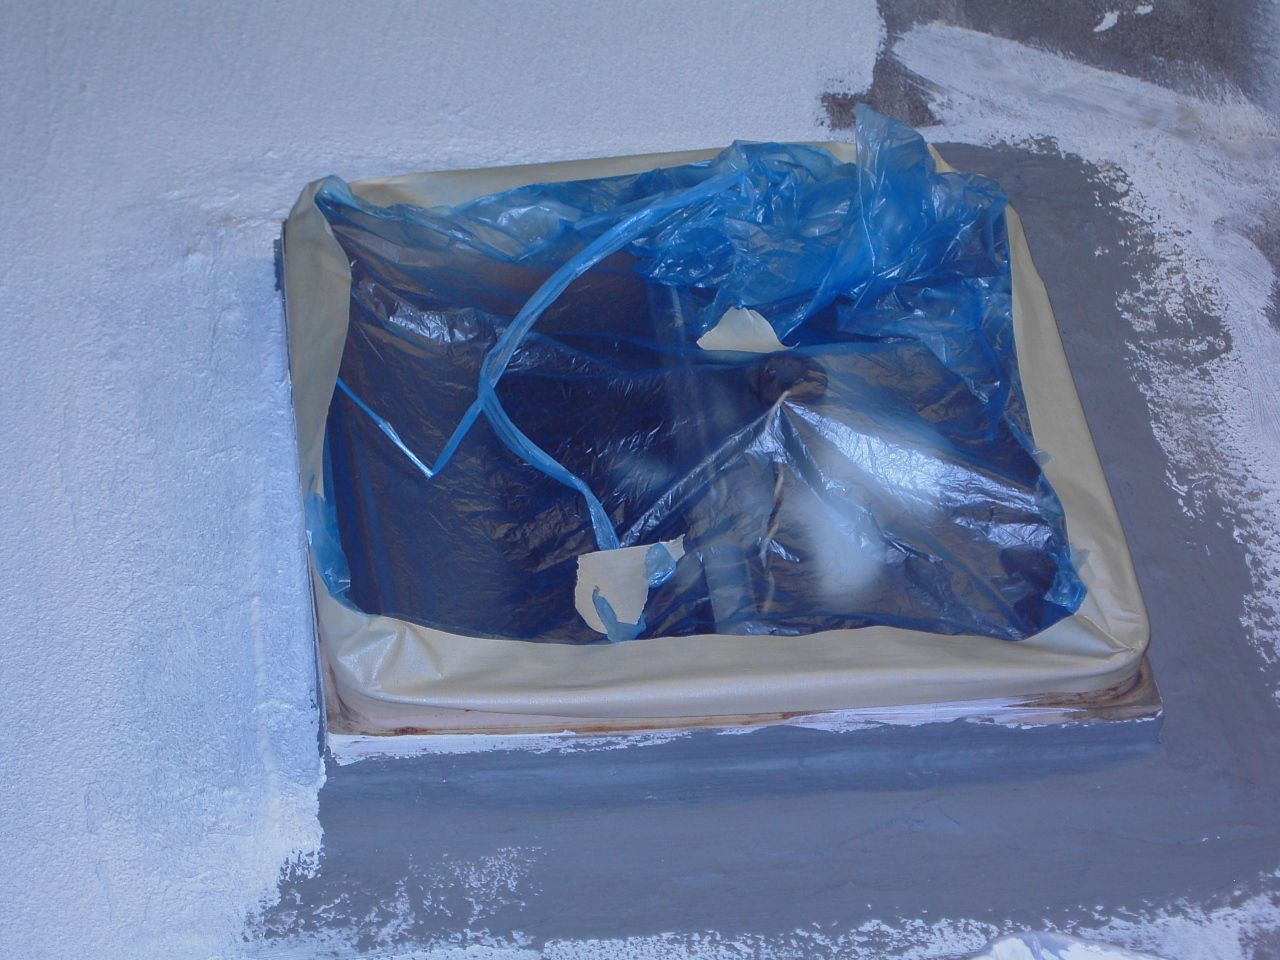 before 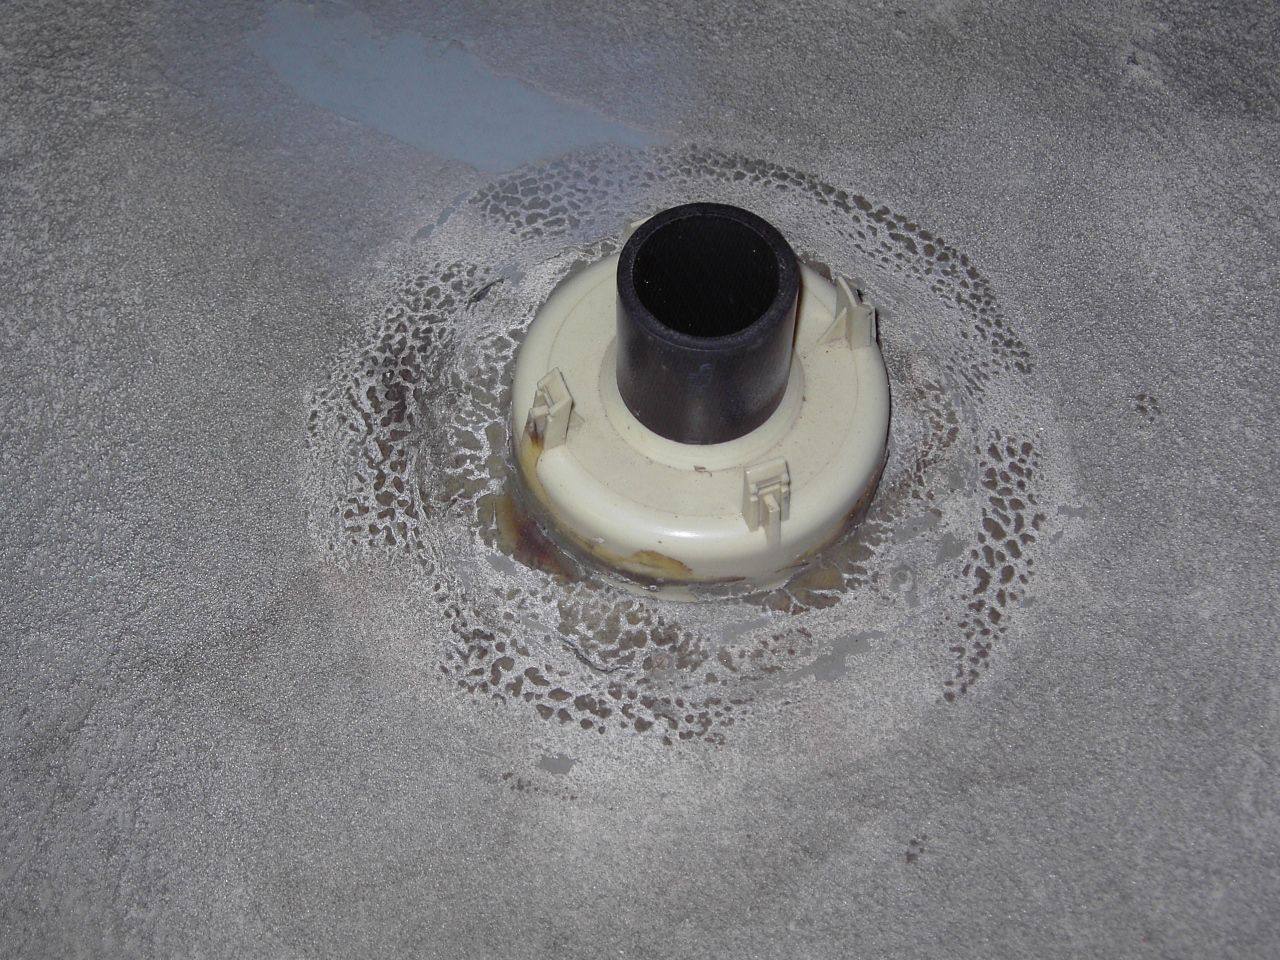 after thin coat dicor-let dry, coated that with gray seam sealer-let dry, applied 1st coat anvil-let dry, put final coat dicor-let dry, applied final coat of anvil 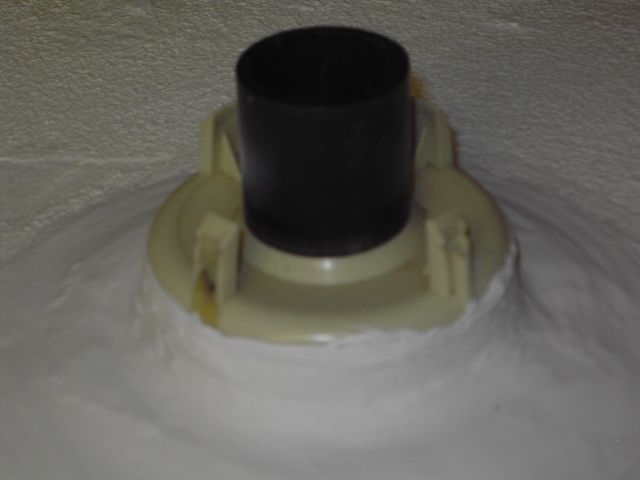 Before paint 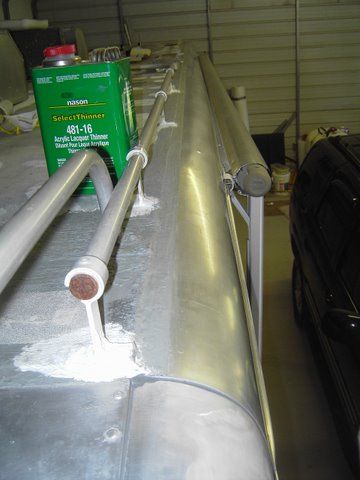 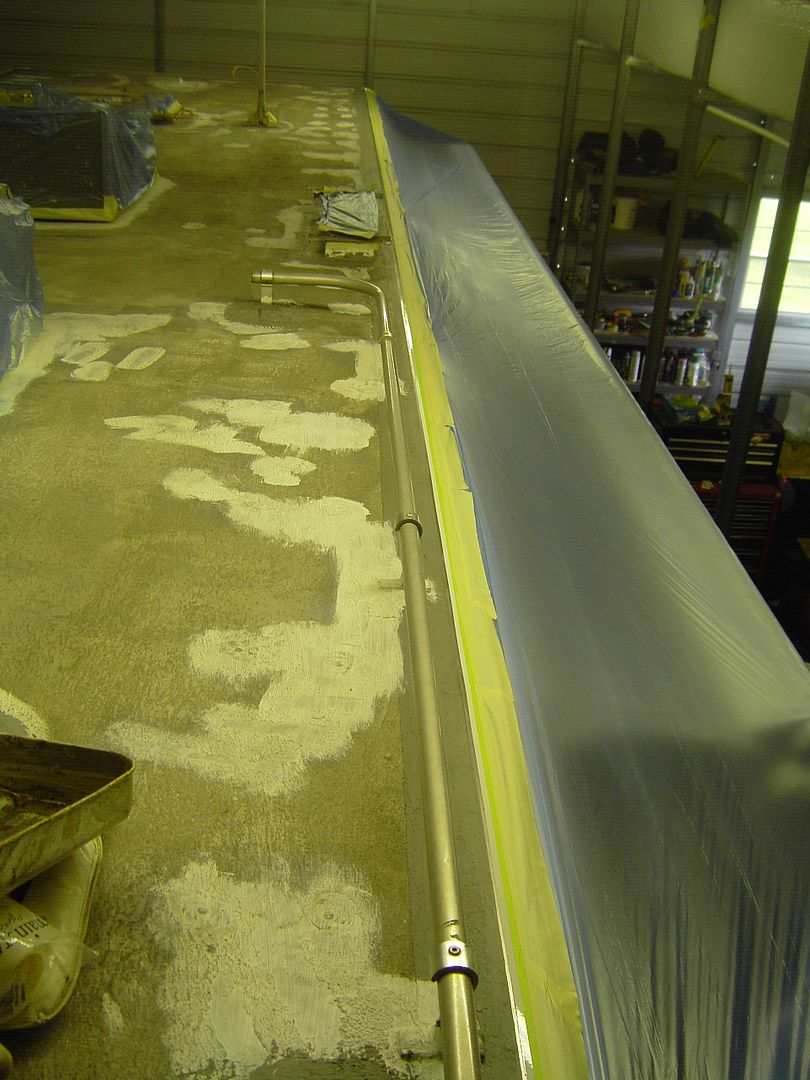 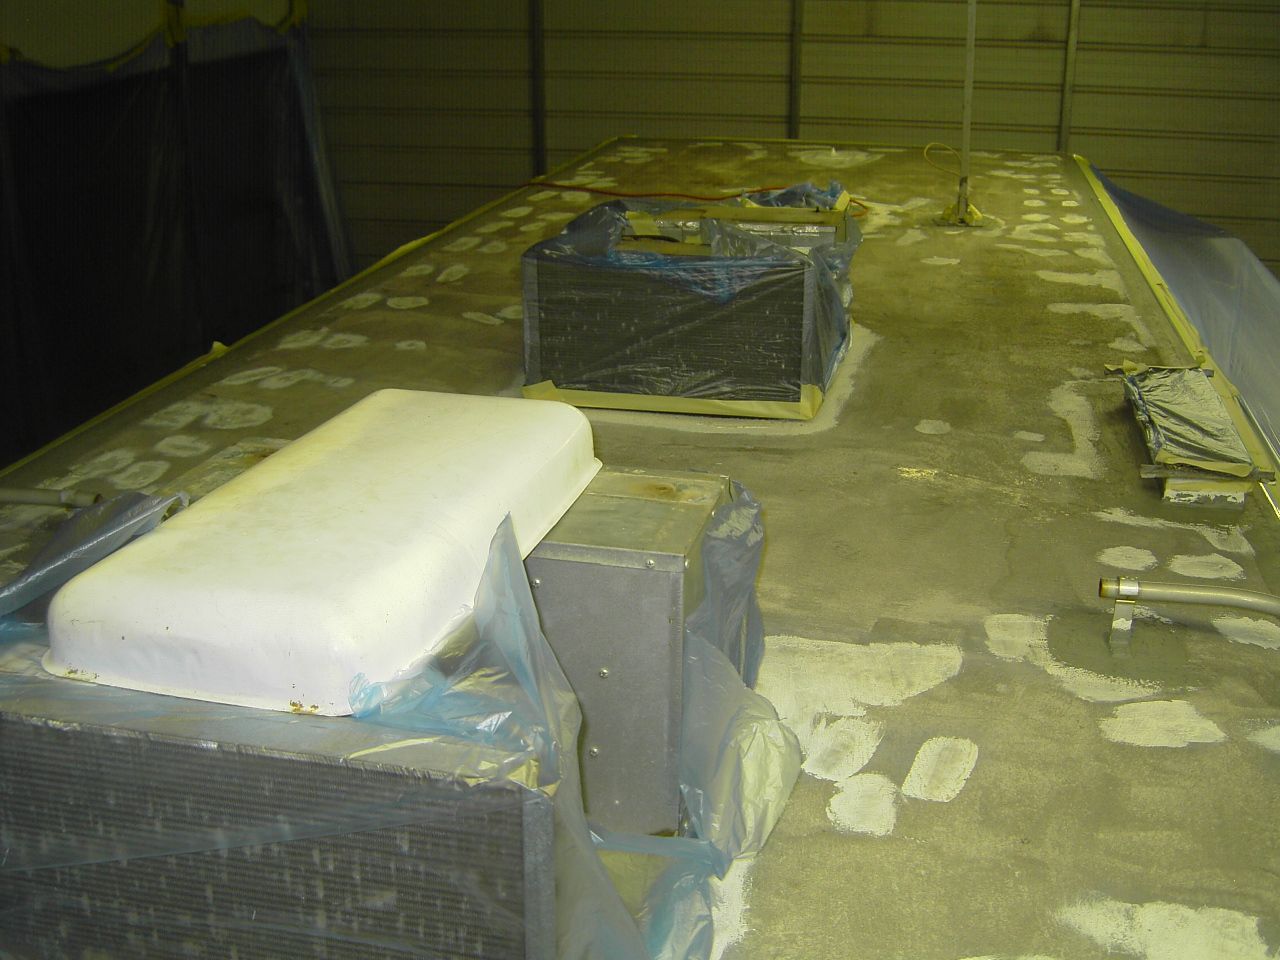 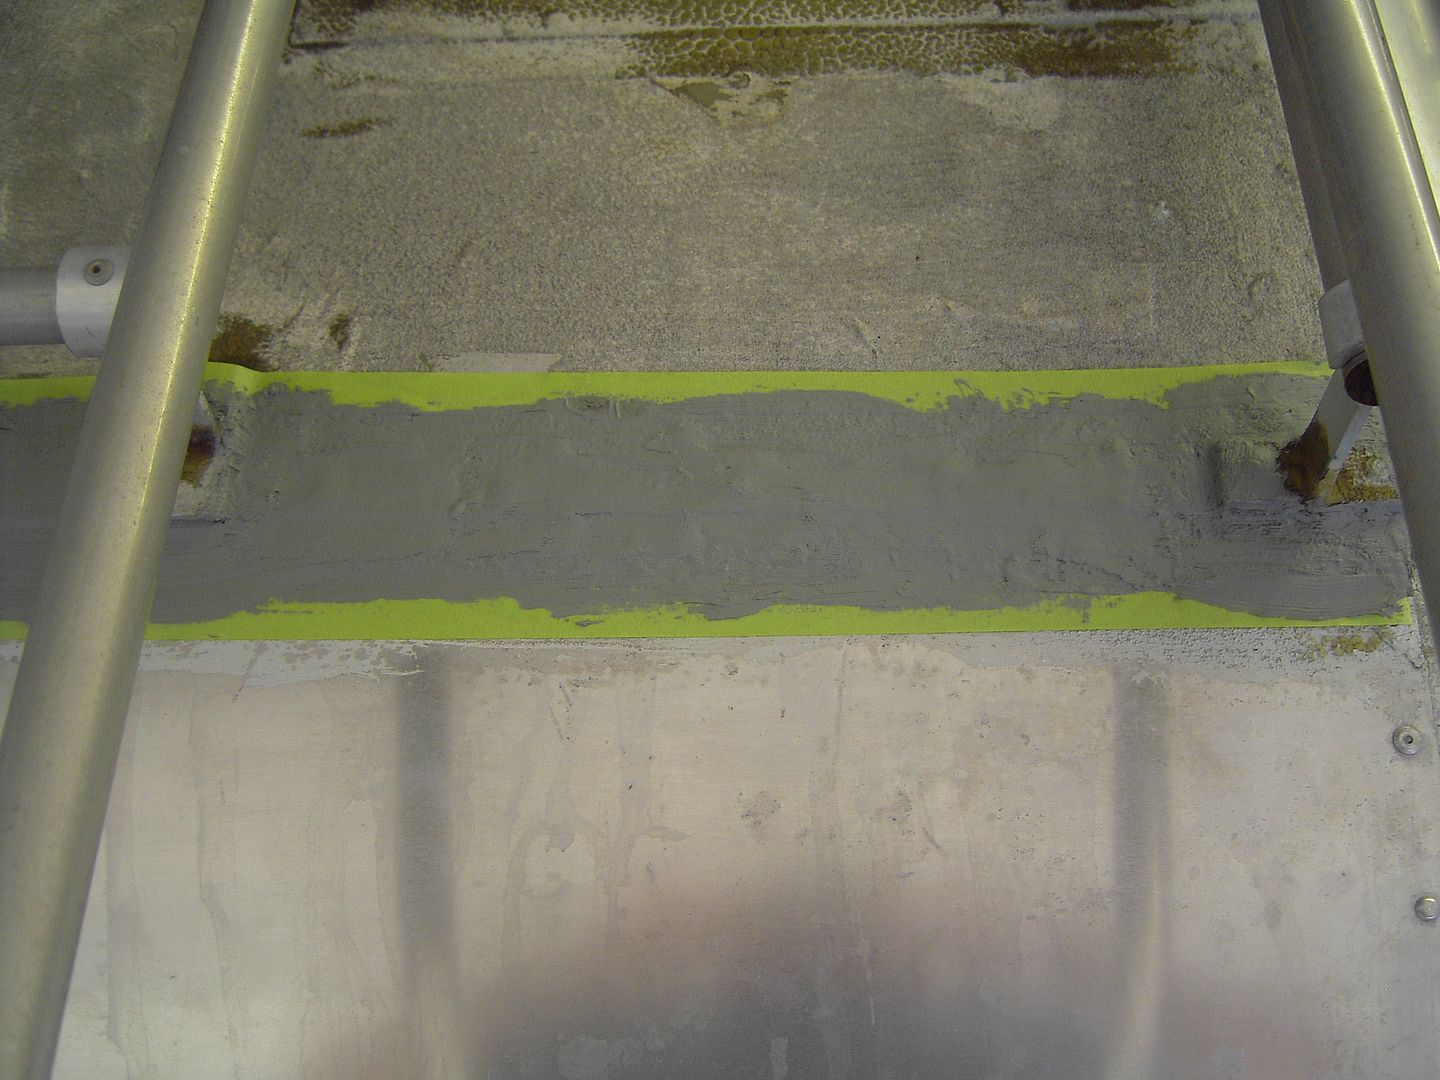 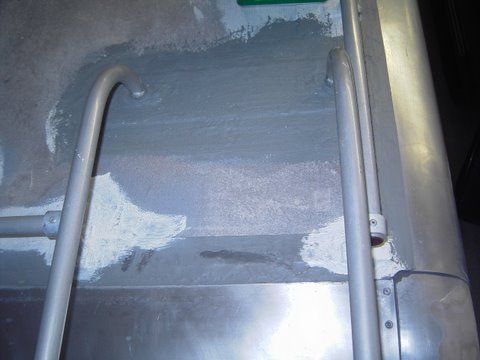 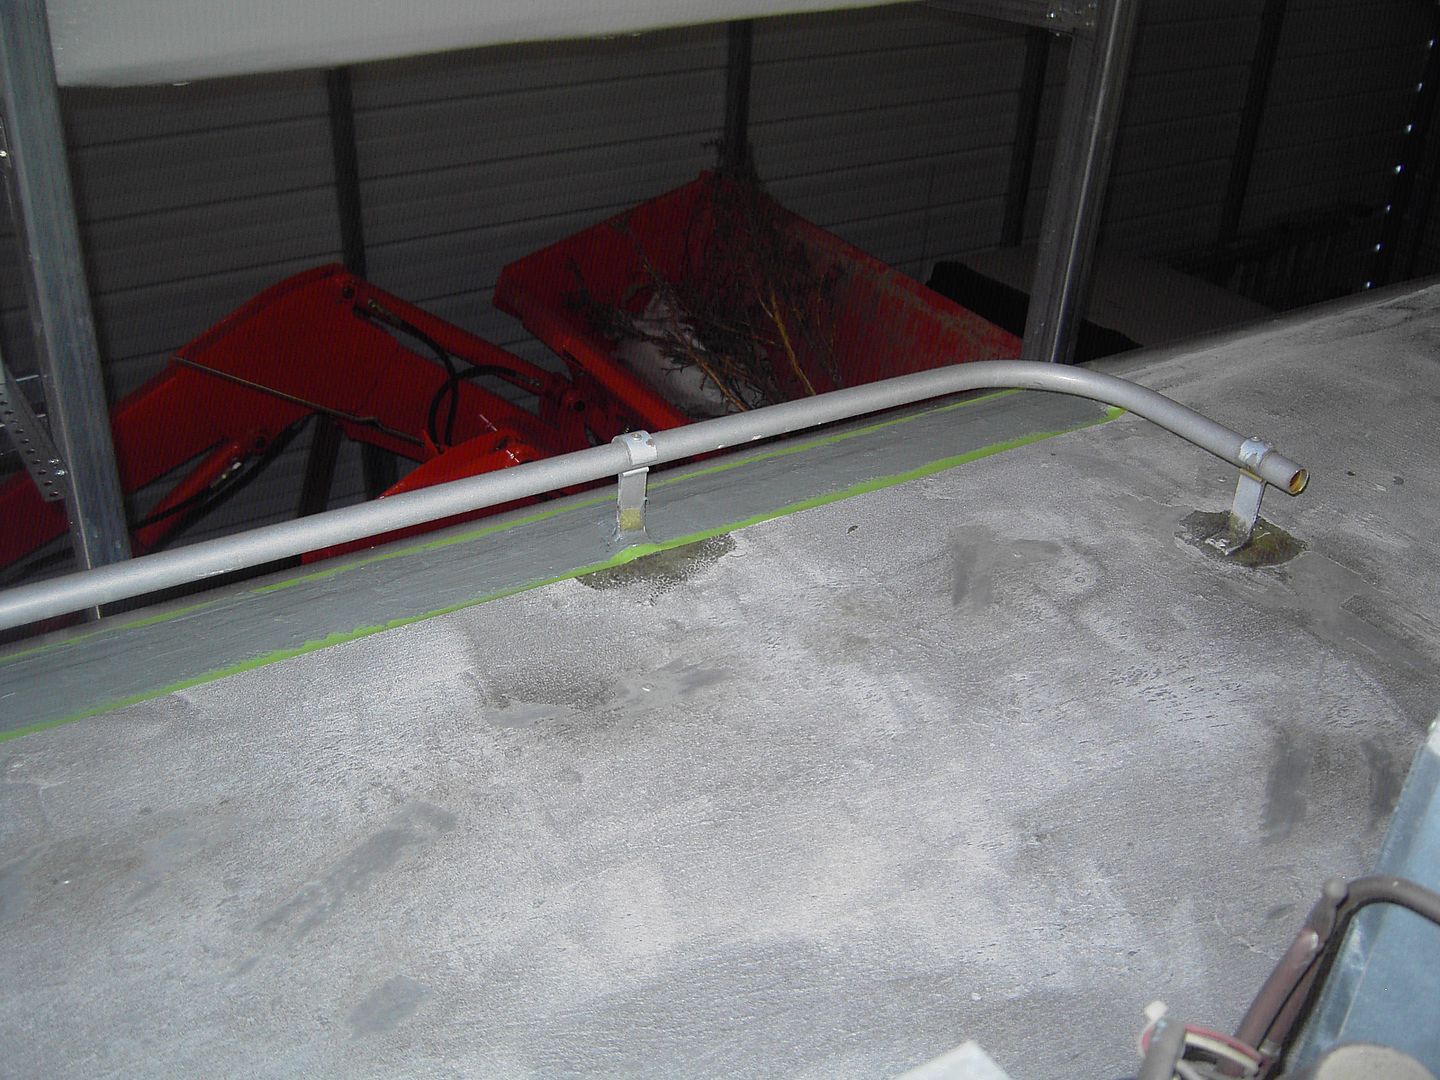 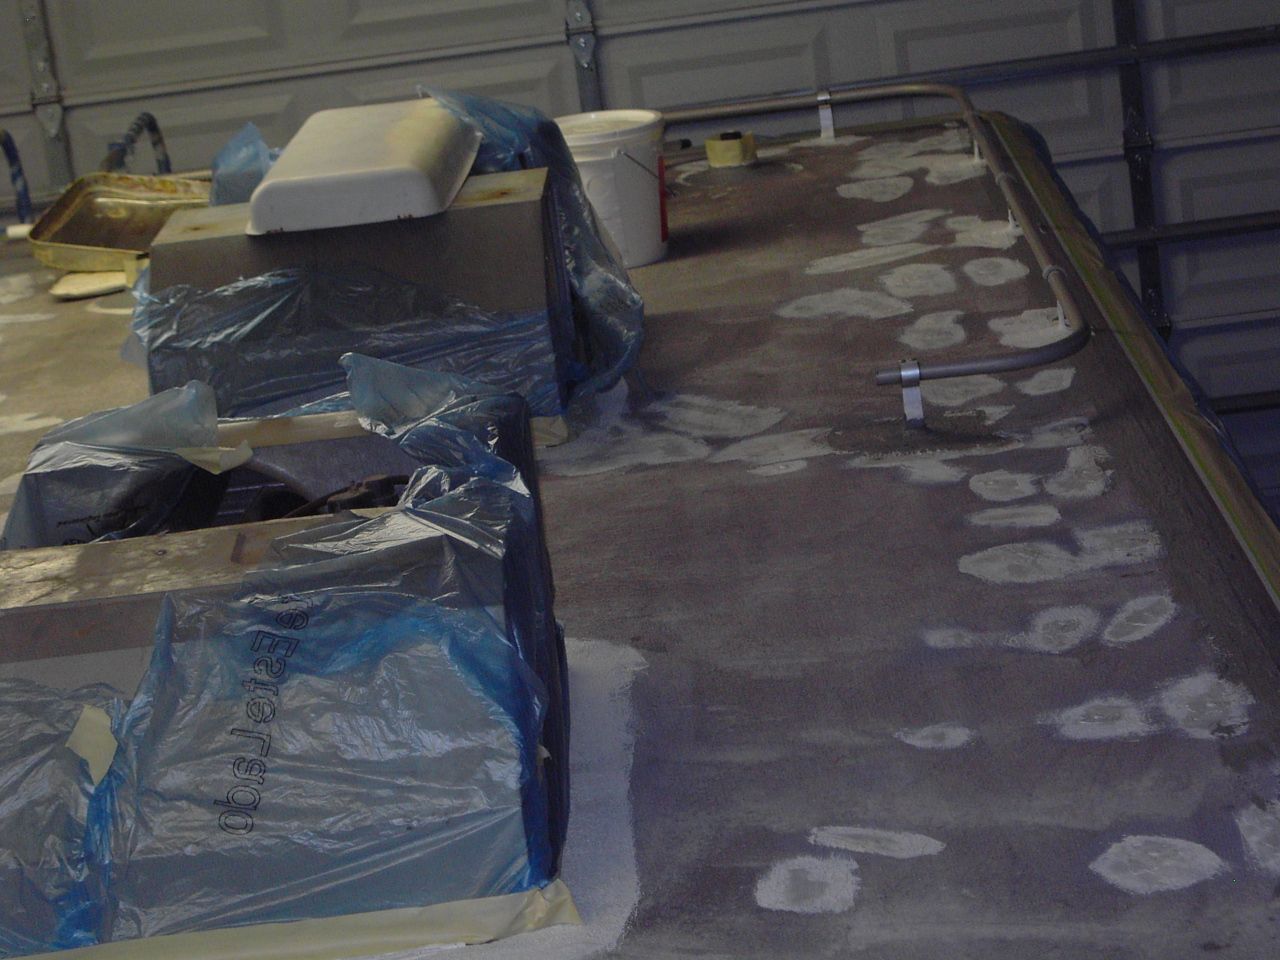 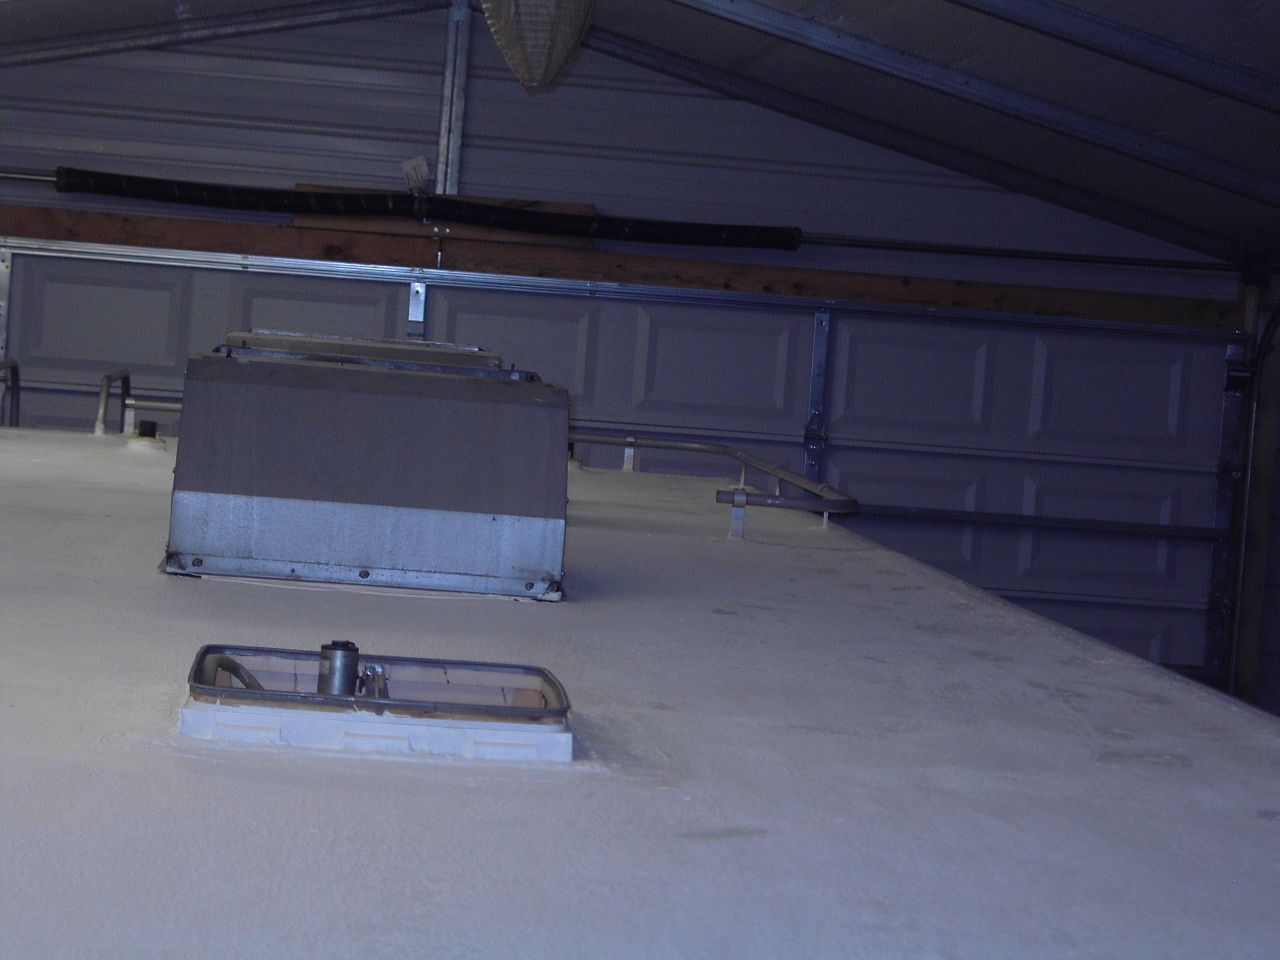 Before old paint completely removed for paint & roof work 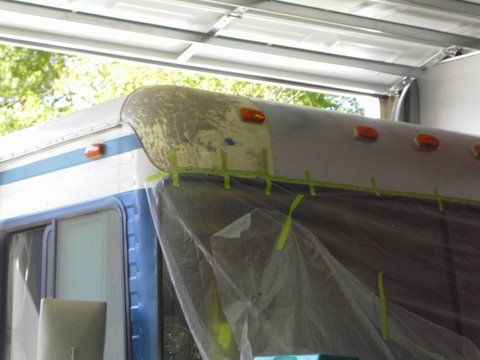 before - Before paint, or any other work done. Picture taken from roof looking toward front @ seam going down passenger side of front brow. 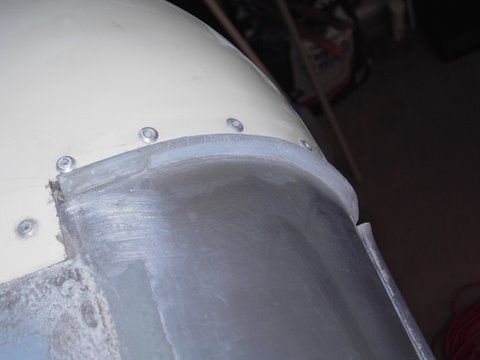 Passenger seam @ brow before any work done 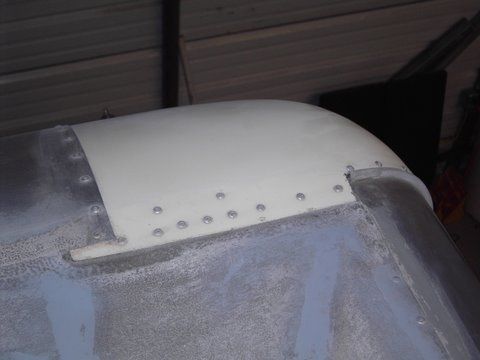 AFTER - This shot is looking from passenger side to drivers side across roof seam @ top of brow. Same seam as above but different angle & finished product. 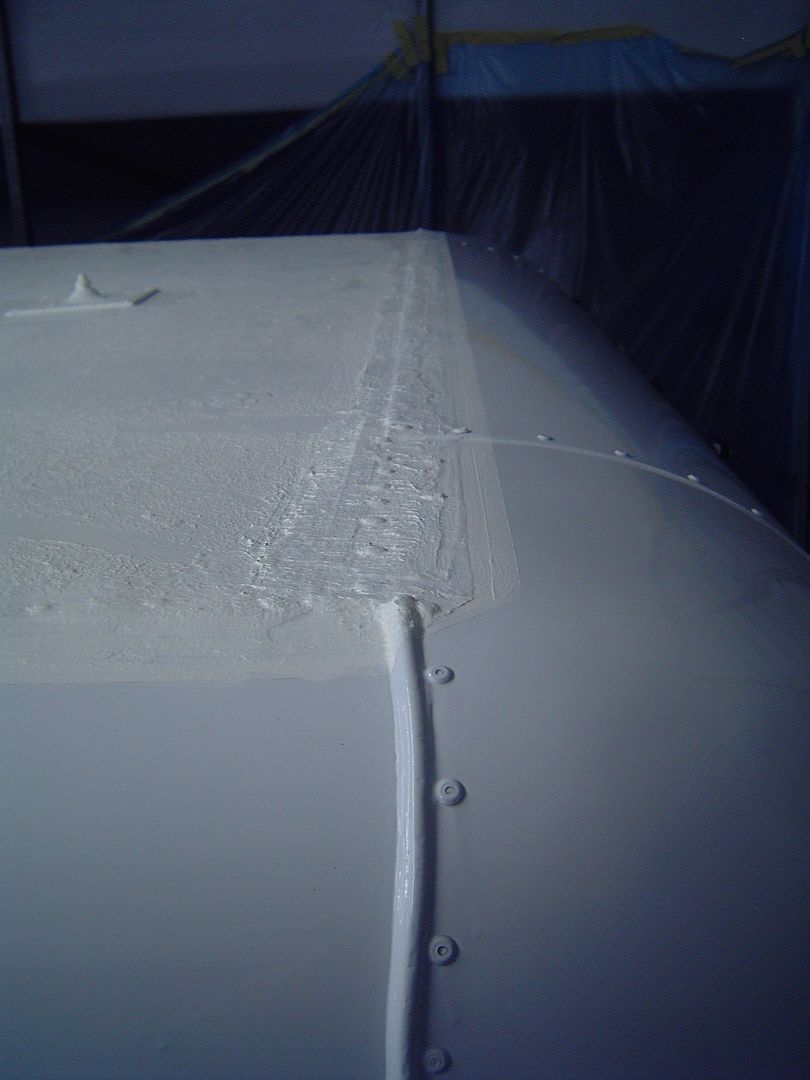 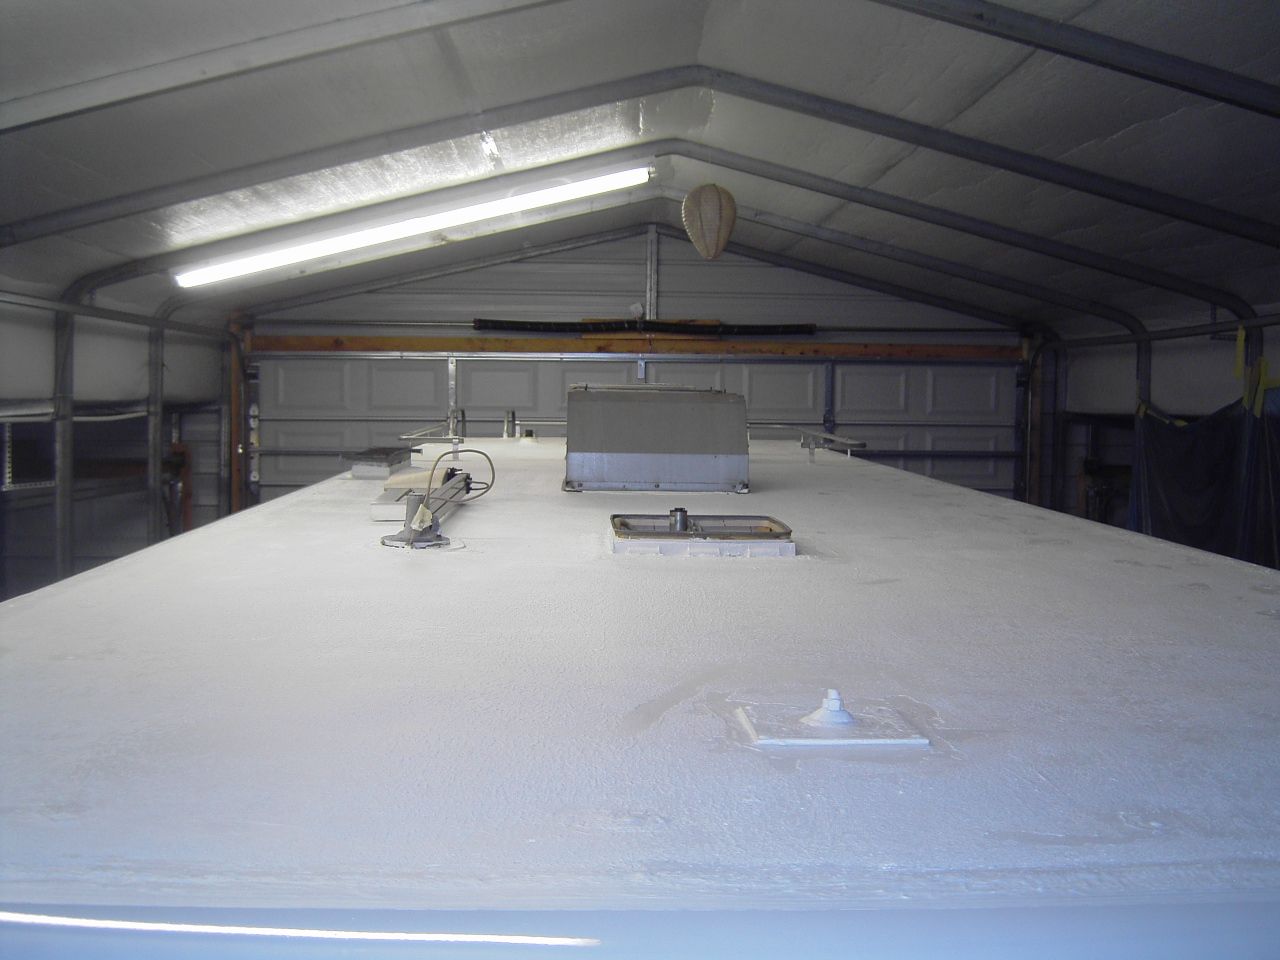
| |||||||||||
|
 6/19 6/19 |
Thanks Tere, I think this will be my next project. Bill & Sherrie '65 Barth Travel Trailer (built in '64) B1-174-24 '66 Barth Travel Trailer D11-412-24 www.WilliamMitchellStudios.com | |||
|
 6/12 6/12Formally known as "Humbojb"  |
William, I noticed you had a couple of sheets of what I assume are aluminum on your roof where the seams were coming apart. Do you know if they were riveted? I didn't look real close at how the perimeter of the roof was attached. Or do you know yet? Tere
| ||||||||||||
|
 6/19 6/19 |
It's riveted in the spots I can see. I'm going to scrape off the old roof coat, which is split at the seams and see what it looks like underneath. I'll take some pictures before and after the cleaning. Bill & Sherrie '65 Barth Travel Trailer (built in '64) B1-174-24 '66 Barth Travel Trailer D11-412-24 www.WilliamMitchellStudios.com | |||
|
Thanks for the info. Tere! As you know, this project is on my hit list to get done before next season.... 9303 3855 33BS 1B Bruce & Kathleen 1993 33' Front Entrance Breakaway 230HP Cummins 5.9, Allison 6 speed, Spartan Chassis, Nicely Optioned | ||||
|
Hi there. I have read (several times) your post on recoating your roof. I have a couple questions. You mention that your air horn was covered. My air horns were recently ripped from my roof during a storm, and I have thought seriously about covering my air horn hole. So what type of horns are you using now? 8411316331FP1 1985 Barth 31 foot 454 Chevy | ||||
|
 6/12 6/12Formally known as "Humbojb"  |
Talk about a delayed answer, sorry Drew. The Barth was hornless (air) when we bought it. I did not install air horns. Tere
| ||||||||||||
|
 8/11 8/11 |
Outstanding job Jim n Tere. If i wasn't so concerned about our "convex" roof, that would have been a great alternative to the rubber roof we installed. Even after all of that, the roof still holds water on the front half of the coach. Billy & Helen Thibodeaux Retired from Billy Thibodeaux's Premiere RV, Inc. Scott, LA 70583 I-10 Exit 97 The Farm is near Duson, LA I-10 Exit 92 then N 1 mile on right Three Full 50 Amp RV Hookups ! billynhelen@me.com Data Tag: 9404-3908-36XI-2C 1994 Sovereign 36' Widebody on Spartan IC (Mountain Master Lite) Chassis. Powered by Cummins ISL9-450 Onan 8,000 Quiet Diesel Genset Toad: 2018 Chevy Colorado ZR2 Diesel with M&G Car Brake  | |||
|
 8/09 8/09 |
Thanks for the great write up. Must be nice being able to work inside like that. If I ever do this, I'll have to keep a close eye on the weather! "The greatest good you can do for another is not just share your riches but to reveal to him his own." Benjamin Disraeli | |||
|
 6/12 6/12Formally known as "Humbojb"  |
Yes, the weather was definitely a factor even under roof. Took forever for the Anvil to dry. i applied in high humidity. Took forever to dry.
| ||||||||||||
|
 6/12 6/12Formally known as "Humbojb"  |
Billy, Mine does too. I usually find a nice hill to drain it off before parking it in the garage. Or I go up & squeegee it off before storing. Sometimes i take some really sharp curves fast enough to send the water off the roof.
| ||||||||||||
|
 3/22 3/22 |
Nice write up Jim. I am getting ready to recoat my roof. I need to redo the front clearance lights first and then the recoat. I am going to use all Dicor. Their self leveling sealant and then their Elastomeric coating. I'll take pictures (if I remember) Dana & Lynn 1997 38ft Monarch front entry Spartan Mountain Master Chassis Cummins 8.3 325hp Allison MD-3060 6 speed 22.5 11R Cummins Factory Exhaust Brake 8000 watt Quiet Diesel Generator 9608-M0022-38MI-4C Christened Midnight 1972 22ft 72081169MC22C Christened Camp Barth | |||
|
 8/11 8/11 |
Well all I can say is you want to do another one haha! Great Job looks like a new roof! | |||
|
| Powered by Social Strata |
| Please Wait. Your request is being processed... |
|
This website is dedicated to the Barth Custom Coach, their owners and those who admire this American made, quality crafted, motor coach.
We are committed to the history, preservation and restoration of the Barth Custom Coach.
We are committed to the history, preservation and restoration of the Barth Custom Coach.
